BigBlueButton is an open-source virtual classroom software platform. How to record sessions on BigBlueButton? Its built-in screen recording feature allows the session moderator to make a BigBlueButton recording. How to use its built-in screen recorder? What can you do if you are a session participant and want to record the session? This MiniTool free video converter article will detail step-by-step guidance.
Get to Know BigBlueButton
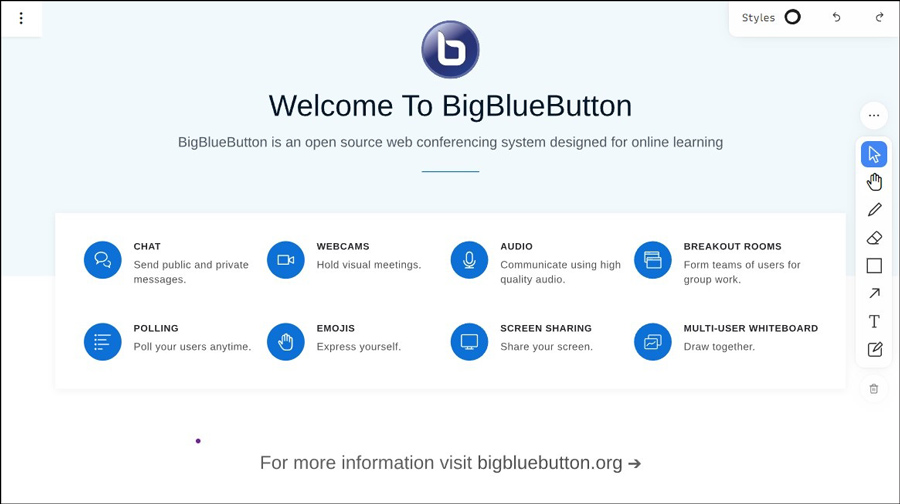
BigBlueButton is designed for online education. It allows students to collaborate and receive feedback in real-time, thus maximizing time for applied learning. It enables educators to interact with their students remotely through Learning Management Systems which provide engagement tools and analytics. BigBlueButton enables you to launch a meeting and provides you with various tools for applied learning, such as video, audio, screen sharing, chat, and others.
How to Make a BigBlueButton Recording as a Moderator
As a moderator of a BigBlueButton session, you have the right to make a BigBlueButton recording with its built-in screen recording feature. You need to enable the recording feature in advance and start recording manually. Below is a detailed tutorial on how to record on BigBlueButton.
Step 1. Enable the recording feature. Open BigBlueButton and go to Activity settings. In the General settings section, you need to choose the Room/Activity with recordings option. Next, in the Activity/Room settings section, you need to make sure that the Session can be recorded checkbox is ticked.
Step 2. Begin a session on BigBlueButton and record it. Go to the course or group where you want to start a session and choose the Meetings tab from the menu. Click the Create Meeting button and finish some information about the session. Then click the Start recording button and choose Yes in the next popup to confirm the operation.
Step 3. Finish the recording process. When the session is over, you can click the Pause recording icon to complete the recording and there will be a message “This session is not being recorded anymore”.
Step 4. Access the recording. How to access BigBlueButton recordings? You can access them by clicking the BBB link. If the recorded video is too long, it will take a long time to process the recorded video. Generally, the length of time to process the recorded video depends on the length of the session. Once processing is complete, you can go to the Recorded Sessions section to find and play the recorded video.
4 Useful Ways to Record BigBlueButton Sessions as a Participant
Here are four useful screen recording tools to help you make the BigBlueButton screen recording as a session participant on different platforms.
#Way 1. MiniTool Video Converter
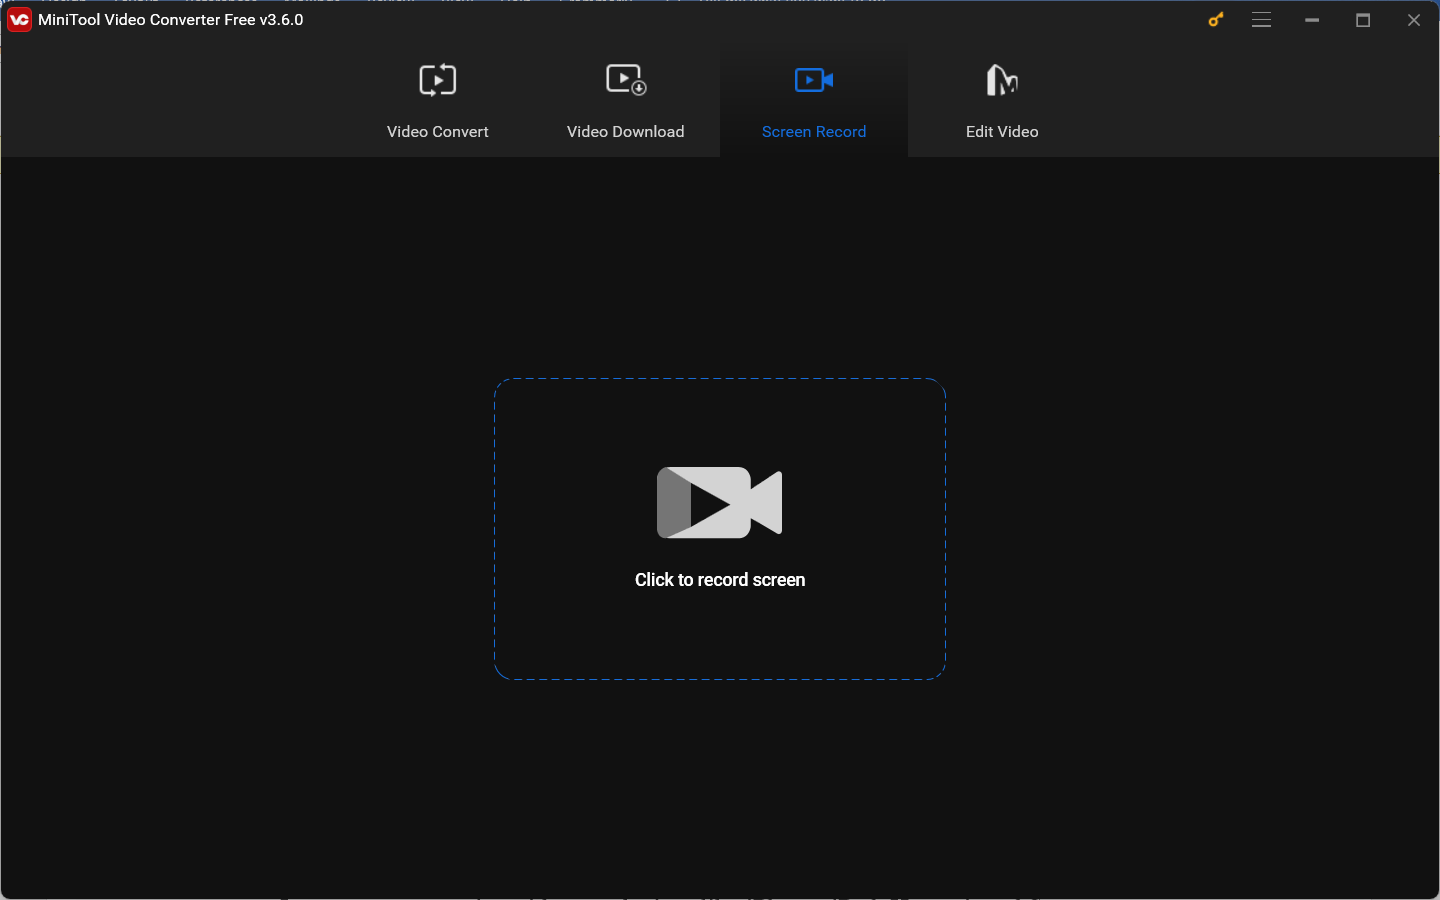
MiniTool Video Converter is a free and reliable screen recorder for BigBlueButton recording. It can record any activities happening on the screen, such as online lectures, video conferences, streaming videos, game tutorials, etc. It enables you to record a BligBlueButton session with the option to record in full screen or a selected region. What’s more, it can record the system sounds and microphone audio separately or simultaneously.
MiniTool Video ConverterClick to Download100%Clean & Safe
Moreover, MiniTool Video Converter provides you with the options to adjust the recording frame rate (including 15fps, 20fps, 25fps, 30fps, and 50fps) and quality (including Standard, High, and Original). Meanwhile, you can start, pause, resume, or stop the recording process using shortcut keys.
Other Key Features of MiniTool Video Converter:
- It can record the screen smoothly without the problem of audio and video being out of sync.
- It supports recording 4K computer screens in 3 quality options.
- It records the screen in MP4 format.
- It also works as a video and audio converter that can convert a wide range of formats.
- It can not only convert audio to video but also extract audio from video.
- It supports converting videos to devices like iPhone, iPad, Huawei, and Samsung.
- It can be used as an audio or video compressor to reduce file size.
- It offers customizable format parameters, including the encoder, resolution, frame rate, and bitrate of video, and the encoder, channel, sample rate, and bitrate of audio.
#Way 2. QuickTime Player
If you are a Mac user, you must be no stranger to QuickTime Player which is the default media player pre-installed on your Mac computer. In addition to working as a media player, QuickTime Player is also a screen recorder that can record your entire screen to capture all activities or record a specific region according to your needs. Moreover, it can record the screen and webcam at the same time. It can record the screen with the audio from a microphone.
However, QuickTime Player doesn’t support recording the system sounds natively. If you want to record the system audio, you need to install additional software, such as Soundflower or BlackHole.
Other Main Features of QuickTime Player:
- It offers high-definition playback and can play a wide range of audio and video formats, such as MP4, MOV, MP3, etc.
- It supports recording the mouse movements and clicks in the screen recording.
- It provides you with many basic editing features. For instance, it can trim, split, rotate, or flip videos, add additional video clips, or remove an audio track from a video.
- It supports recording audio only.
#Way 3. Screencastify
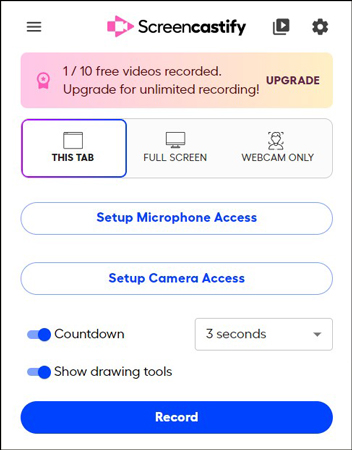
Screencastify is an online platform for screen recording and video editing. With its intuitive interface and simple operation, you can easily record BigBlueButton within a few clicks. As a screen recorder, Screencasitify supports recording Chrome tab, desktop, webcam, and audio from a microphone and system.
What’s more, Screencastify offers some editing features. With it, you can create videos for instruction, assessment, student creation, or other interactive videos. But it is not completely free. Its free version only allows you to capture 10 videos with a maximum recording time of 30 minutes per video. Meanwhile, its editing feature is also limited. If you want to record unlimited videos and enjoy more features, you need to pay for its Starter or Pro plan to upgrade it.
Other Features or Screencastify:
- It provides you with multiple annotation tools, such as highlighters, pens, and emojis.
- It has some basic editing features like trimming or merging videos, adding text, and others.
- It supports saving recordings as MP4, MP3, or GIF files or directly exporting to Google Drive.
- It enables you to share the recorded video easily via a video link.
#Way 4. Loom
For both Android and iOS users, Loom is a good choice. You can access it through not only its online version but also its mobile apps. It is designed for remote working, which enables you to record and share video messages with your customers or teammates to achieve effective communication. With its screen recording feature, you can freely record BigBlueButton sessions or other on-screen activities. It supports recording screens, microphones, internal audio, and external cameras simultaneously.
Other Main Features of Loom:
- It saves recorded videos to the cloud automatically.
- It enables you to share recorded videos instantly via a link.
- It allows you to quickly share recordings via Slack, SMS, Messenger, or other platforms.
- It supports editing your recordings using the Loom web app.
- It supports only recording audio.
Detailed Guidance on How to Record BigBlueButton
The above has shown you several screen recorders for BigBlueButton recording. You can choose one from them. In this section, we take MiniTool Video Converter as an example to show you the detailed tutorial on how to record BigBlueButton easily.
Stage 1. Open MiniTool Screen Recorder
In the beginning, you need to get and open MiniTool Screen Recorder.
1. Click the button below to download the installation package of MiniTool Video Converter and then install it on your Windows PC based on the on-screen instructions.
MiniTool Video ConverterClick to Download100%Clean & Safe
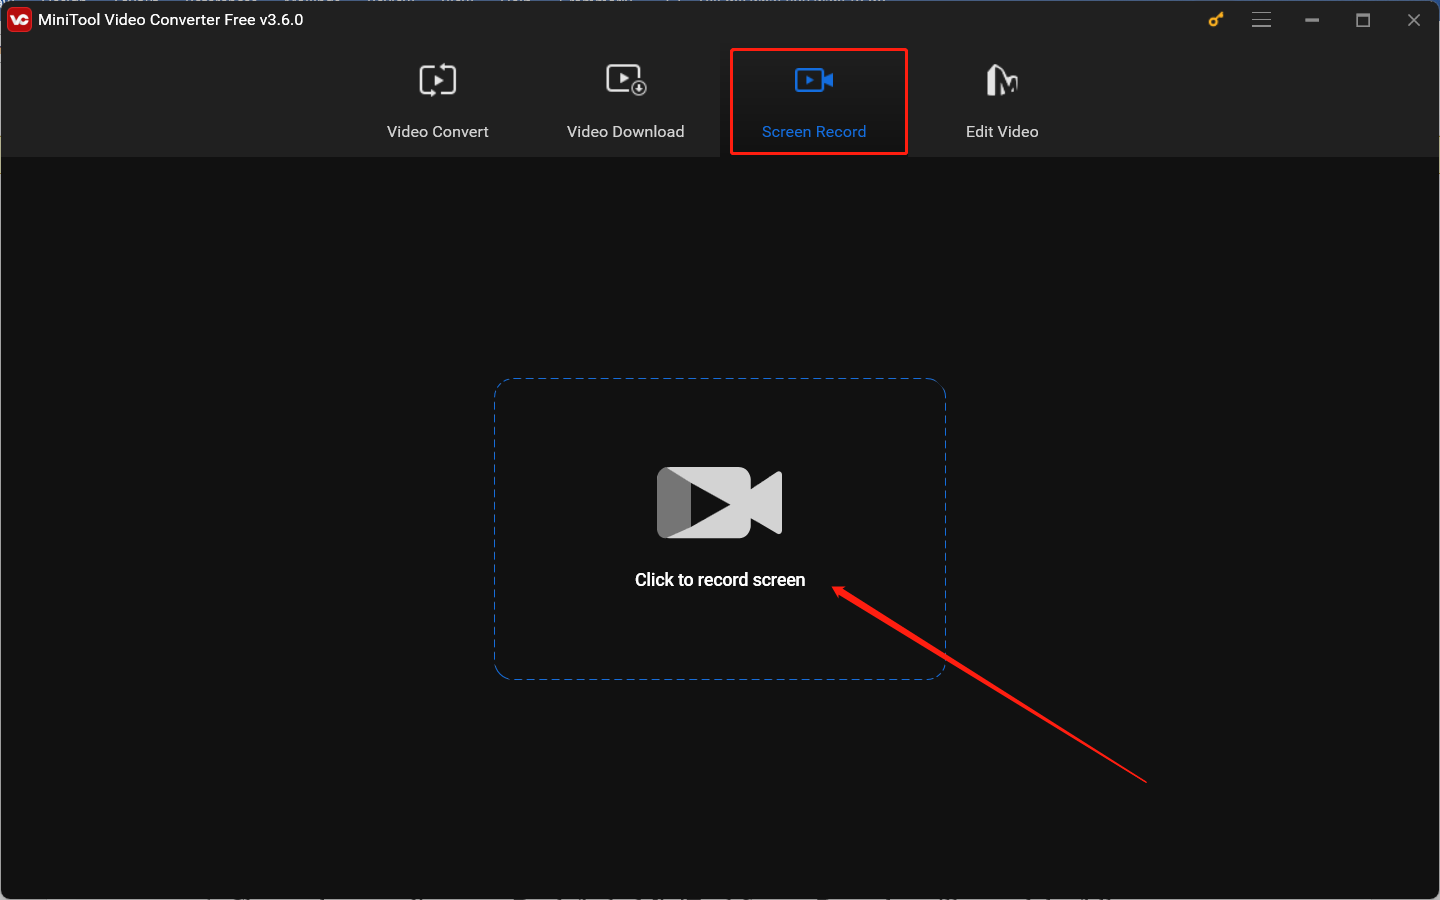
2. Run MiniTool Video Converter to get to its main interface, switch from the Video Convert module to the Screen Record module, and hit the Click to record screen region to open MiniTool Screen Recorder.
Stage 2. Adjust Settings for BigBlueButton Recording
Then the MiniTool Screen Recorder panel will appear, you can choose the recording area, audio source, and others on this panel.
1. Choose the recording area. By default, MiniTool Screen Recorder will record the full screen. To record a selected region or specific window, you need to click the inverted arrow next to Full screen to choose Select region and then click and drag the mouse cursor to choose the desired recording region.
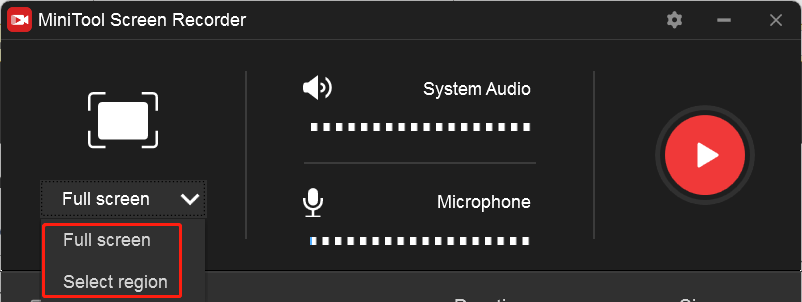
2. Select the recording audio source. You can click on the speaker and microphone icon to turn the system and microphone audio on or off. For BigBlueButton recording, you can choose to record both system and microphone sounds if you are ready to speak.
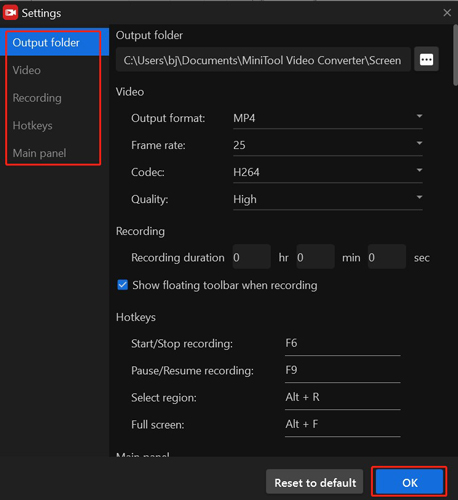
3. Adjust more settings. Click the Settings icon at the higher right corner and then the Settings window will pop up. On this window, you can change the recording saving path, adjust the recording frame rate and quality, personalize the recording hotkeys, and others. Then click OK to confirm the changes.
Stage 3. Join the BigBlueButton Session
After making the above recording preparations, you can go to join the BigBlueButton session and be ready to start recording.
1. You will receive a link for the BigBlueButton session and you need to click on it. Then the link will be opened on your web browser and take you to the BigBlueButon session page.
2. Then you may need to enter your name to help the moderator identify you before joining the session. Once that’s done, you will enter the session.
3. An audio prompt will show up. You can select to join with a microphone if you want to speak or choose the listen-only mode. Optionally, you can click the webcam icon and allow the browser to access your camera to share your video. Now, you can use other tools within BigBlueButton to interact with other participants.
Stage 4. Start the BigBlueButton Recording Process
Once you have finished setting up the recorder and joined the BigBlueButton session, you can start recording with MiniTool Viideo Converter at any time.
1. To start the recording process, you can either press the default F6 hotkey or click the red Record button and the recording will begin after a 3-second countdown.
2. During the recording process, you can press F9 to pause and continue recording.
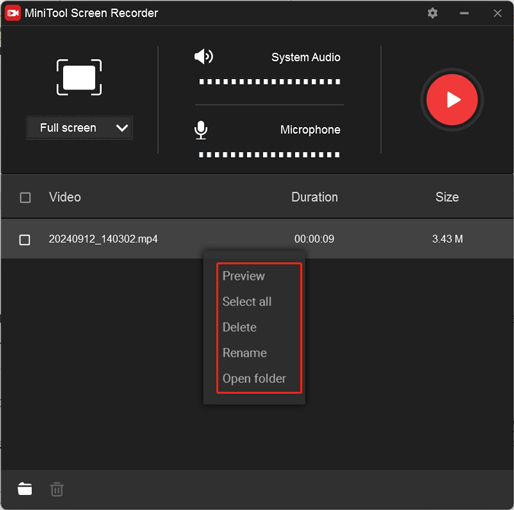
3. When the session is over or you want to end recording, you can press F6 again to complete the recording process. You will be returned to the MiniTool Screen Recorder panel where you can find the recorded BigBlueButton video. You can right-click on the recording to preview, rename, delete, or locate it.
How to Edit Recorded BigBlueButton Session
It is better to fine-tune the recorded BigBlueButton session before sharing it on certain social media platforms. Because these social media platforms have specific requirements for video uploading. To present professional videos, you need to adjust the video length, aspect ratio, formats, and others. How to edit a recorded BigBlueButton session? MiniTool MovieMaker is worth a try.
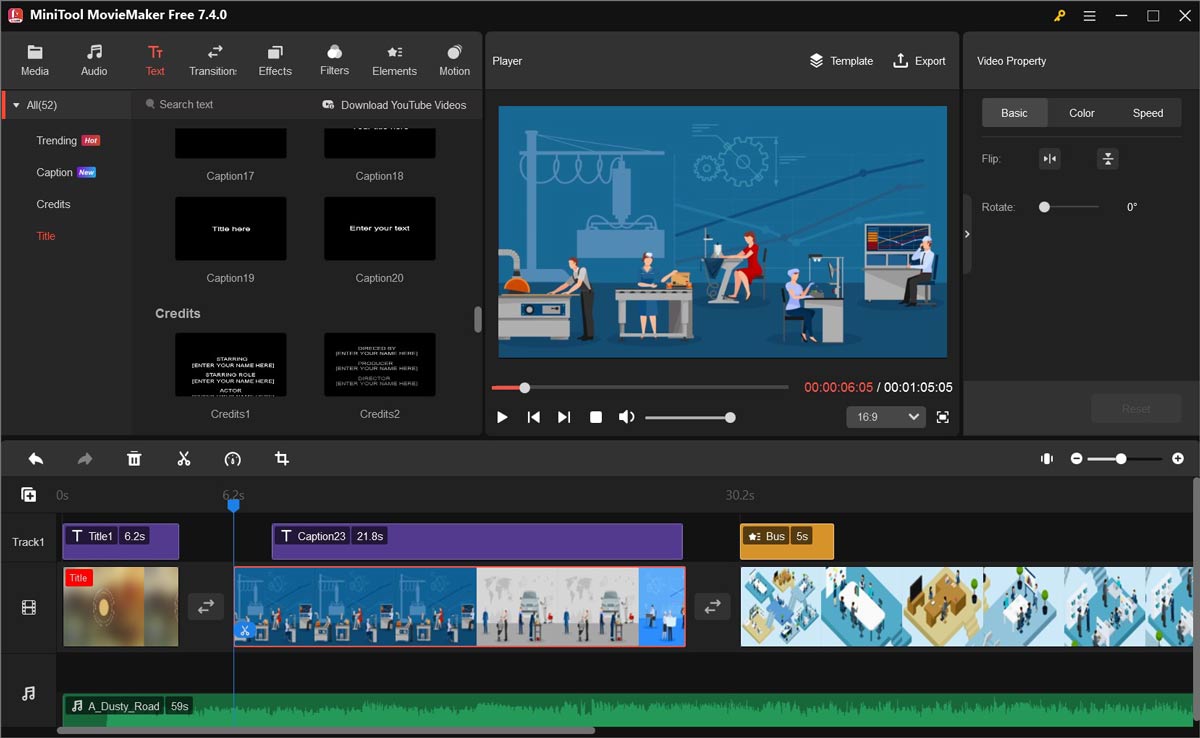
MiniTool MovieMaker is a free movie maker and video editor without watermarks or ads. It comes with several Hollywood-style video templates, various useful editing features, and royalty-free resources. You can trim or crop videos, rotate or flip videos, add subtitles, and make other edits.
Besides, MiniTool MovieMaker offers 4 popular aspect ratio options, including 16:9, 9:16, 4:3, and 1:1. These aspect ratios are widely supported by YouTube, Facebook, Instagram, Twitter, and other platforms. Furthermore, it provides several output format choices, such as MP4, WMV, MP3, and GIF.
MiniTool MovieMakerClick to Download100%Clean & Safe
Final Words
How to make a BigBlueButton recording? You can use its built-in recording feature if you are the session moderator. If you are a session participant and want to record BigBlueButton, it is recommended to use third-party screen recorders like MiniTool Video Converter and QuickTime Player. The above has also provided a detailed tutorial. You can follow the tutorial to have a try. If you have any questions when using MiniTool Video Converter, don’t hesitate to get in touch with us via [email protected].


![Why Google Meet Recording Is Unavailable & How to Fix It [6 Ways]](https://images.minitool.com/videoconvert.minitool.com/images/uploads/2024/08/recording-unavailable-google-meet-thumbnail.jpg)
User Comments :