If you’re facing problems while uploading your videos to SmugMug, you’re not alone. This guide will explore the SmugMug video size limit and cover the best free & paid video compressors for SmugMug. Most importantly, you’ll learn how to reduce your video size under 3GB without sacrificing quality, so that you can upload successfully to SmugMug.
Part 1: What Is SmugMug
SmugMug is a premium online photo and video hosting platform designed for photographers, videographers, and creatives to showcase, store, and sell their photos and videos. Launched in 2002, it has grown into one of the most respected services for professionals who want more control over how their photos and videos are displayed and delivered.
Key features include:
- Unlimited Storage: Every paid plan offers unlimited photo and video uploads, so you never have to worry about running out of space.
- Customizable Portfolios: Users can create personalized websites using pre-made themes or advanced design tools to showcase their portfolios and galleries.
- Privacy and Security: Users can password-protect their galleries, limit downloads, or set the expiration dates.
- E-commerce Tools: Photographers can sell their photo prints or digital downloads directly from their websites.
- Full-Resolution Hosting: SmugMug stores full-resolution images and videos.
What Is SmugMug Video Size Limit
While there is no limit on the number of videos you can upload, each video file must meet certain requirements. What is the video size limit for SmugMug? This is the first thing you must figure out when it comes to uploading videos to SmugMug.
Now, let’s take a look at SmugMug’s limitations for video uploads:
- SmugMug video size limit: The maximum file size for a video is 3 GB.
- SmugMug video length limit: Videos can be up to 20 minutes long.
- SmugMug maximum resolution: Videos are displayed at up to 1080p (Full HD), even if you upload a 4K file.
- SmugMug supported video formats: MP4, MOV, AVI, MPEG, M4V, and MTS.

Part 2: 4 Best Free Tools to Compress Videos for SmugMug
If your file exceeds the SmugMug video upload size limit, a helpful solution is to compress the video file to a smaller size. In this part, we’ll round up the 4 best free video compressors for SmugMug. Let’s delve into them now!
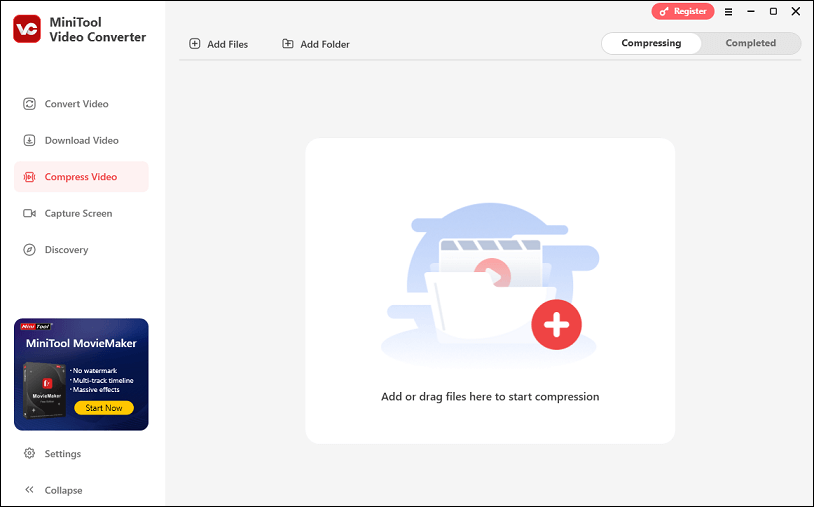
#1. MiniTool Video Converter
MiniTool Video Converter is a free desktop application that comes with many impressive features, one of the most notable of which is video compression. This tool allows you to shrink your video file size to your desired level with just a few clicks.
With MiniTool Video Converter, you can compress your videos in almost all formats and export them in MP4, WebM, or MKV. It even supports the compression of 8K resolution videos. There are no limits on the number or size of videos you can compress. This makes it ideal for compressing large video files for SmugMug.
What makes this software stand out is that it maintains a balance between the size and quality of the compressed video. Furthermore, if you plan to compress multiple videos, it enables you to compress up to 5 videos at once. This feature saves you time, as you won’t have to import and export each video repeatedly.
MiniTool Video ConverterClick to Download100%Clean & Safe
Pros and cons of MiniTool Video Converter:
| Pros: | Cons: |
| 1. Free, no ads, no limitations, no watermarks. 2. Reduce video size to 100% – 10%. 3. Support common video formats. 4. Compress up to 5 videos in bulk. | Only available on Windows OS. |
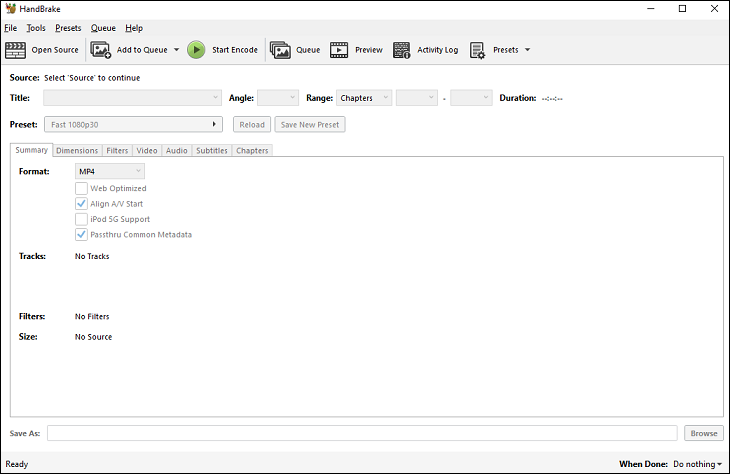
#2. HandBrake
HandBrake is a free and open-source video compressor and transcoder that works on Windows, macOS, and Linux. Originally developed for ripping DVDs, it has developed into a powerful video compressor and conversion tool used by both professionals and beginners.
This free SmugMug video compressor is one of the most popular tools that offers a wide range of compression options, allowing you to customize the output settings to your needs. It can compress your videos by lowering the video resolution, reducing the bitrate, or changing the video codec.
One of the key features of HandBrake is its ability to compress videos without significant loss of quality. HandBrake also offers batch processing, which means you can compress multiple videos at the same time.
Pros and cons of HandBrake:
| Pros: | Cons: |
| 1. 100% free (no ads, no trial). 2. High-quality compression without noticeable quality loss. 3. Compatible with Windows, macOS, and Linux. | Interface and options may feel overwhelming at first. |
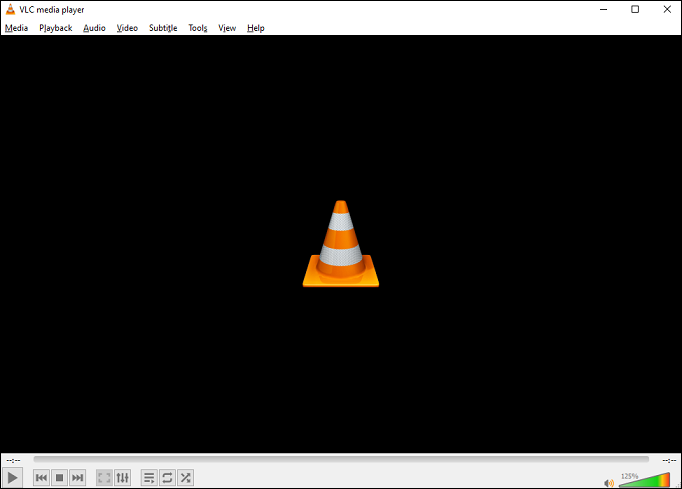
#3. VLC Media Player
VLC is a well-known open-source media player that also has video compression capabilities. It’s available for Windows, Mac, Linux, and mobile devices, making it easily accessible. Besides, VLC is free and doesn’t add any watermarks to the output files.
To compress a video using VLC, you can use its conversion feature. VLC supports a wide range of output formats, and you can adjust parameters, such as video codec, audio codec, frame rate, and bitrate.
While this tool may not offer as many advanced compression options as some dedicated video compressors, it can be a quick and simple solution for basic video compression needs.
Pros and cons of VLC media player:
| Pros: | Cons: |
| 1. Available on Windows, Mac, Linux, iOS, Android, and other platforms. 2. Support a vast array of video formats. 3. Does not add watermarks to the output videos. | Relatively slow compression speed when compressing large videos. |
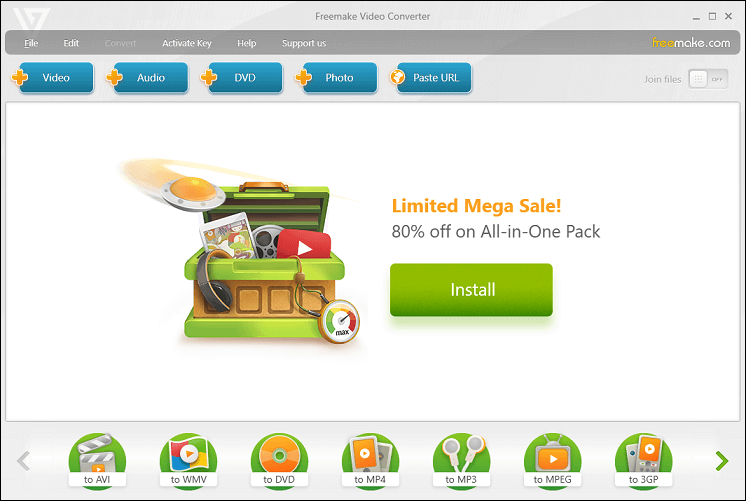
#4. Freemake Video Converter
Freemake Video Converter is a free SmugMug video compression tool for Windows. Its wide support for output formats, including MP4, MPG, AVI, WMV, and more, makes it suitable for different devices and platforms, including SmugMug.
This tool enables you to adjust various settings, such as resolution, frame rate, and bitrate, to compress your videos. It also offers some basic video editing features, like cutting, rotating, adding watermarks, and more.
Even if you’re a beginner, you can easily use it due to its user-friendly interface. However, the free version adds a Freemake logo to the output videos, which may not be ideal for professional use.
Pros and cons of Freemake Video Converter:
| Pros: | Cons: |
| 1. Support almost all video and audio formats. 2. Preview before and after the compression. 3. Relatively fast compression speed. 4. Has basic video editing functions. | The free version adds a Freemake logo to the output video. |
Part 3: Top 3 Paid Tools to Compress Videos for SmugMug
To compress your videos under 3GB to bypass SmugMug video size limit, here are the top 3 paid tools:
#1. Adobe Media Encoder
Adobe Media Encoder is a professional-grade video compression tool that is part of the Adobe Creative Suite. If you’re already using other Adobe applications like Premiere Pro or After Effects, Adobe Media Encoder integrates seamlessly with them.
Adobe Media Encoder uses Adobe’s advanced encoding technologies to ensure high-quality output. It gives you control over the compression process, allowing you to fine-tune settings for optimal quality and file size. It also includes presets for different platforms, which can be useful when preparing videos for SmugMug.
However, this SmugMug video compressor requires payment as part of an Adobe Creative Cloud subscription. It may be a bit expensive for some users, especially those who need video compression occasionally.
Pros and cons of Adobe Media Encoder:
| Pros: | Cons: |
| 1. Seamless integration with Adobe software. 2. Provide many preset options and adjustable parameters. 3. Compress multiple files at the same time. | 1. Has a large demand for CPU resources. 2. A little complex for novice users. |
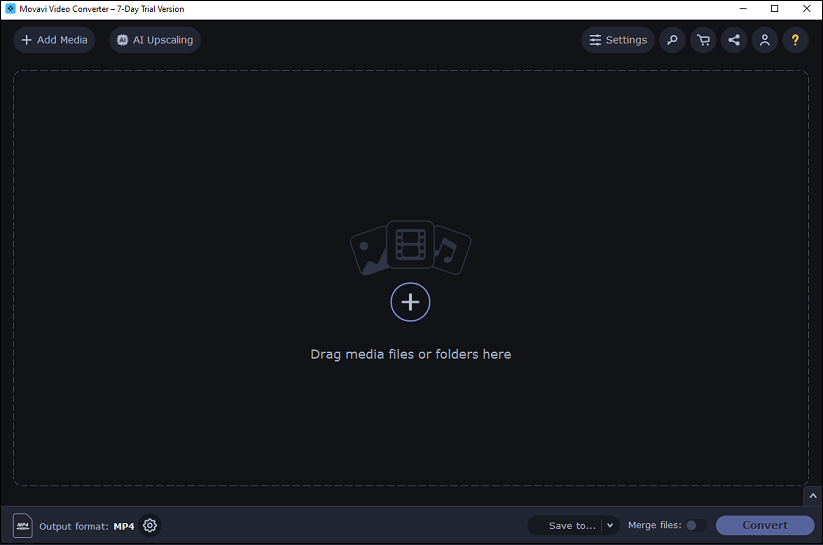
#2. Movavi Video Converter
Movavi Video Converter is a paid software that offers a comprehensive set of features for video conversion and compression. It’s available for Windows and Mac and is known for its ease of use. The program can convert media files to over 180 formats and has a built-in editor for basic video editing tasks.
When it comes to compression, Movavi Video Converter can reduce the file size of your videos without quality loss. It offers a simple interface where you can choose the output format, adjust parameters like resolution and bitrate, and start the compression process.
The software also offers a free trial, so you can test its features before buying. However, for budget-conscious users, the cost of the full version might be a drawback compared to some free tools.
Pros and cons of Movavi Video Converter:
| Pros: | Cons: |
| 1. Fast, free video compression without quality loss. 2. Has an AI-quality upscaling function to improve quality. 3. Comes with built-in video editing functions. | Expensive subscription plans. |
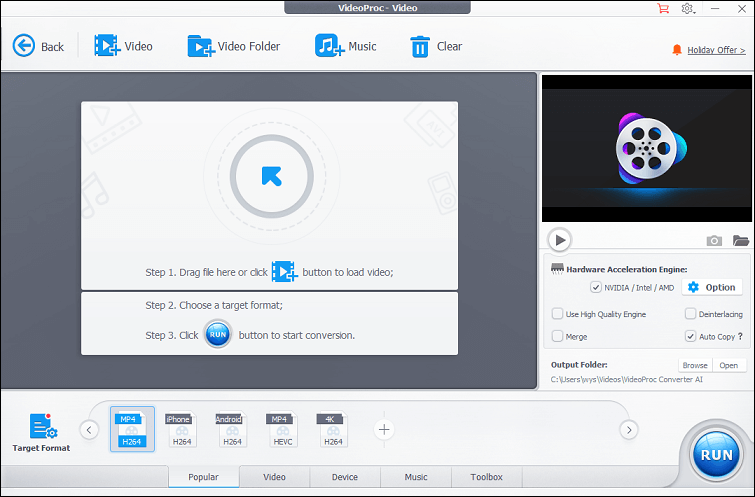
#3. VideoProc Converter AI
VideoProc Converter AI is a powerful AI toolkit that can compress, convert, download, and edit videos in 320 + formats. This tool is suitable for both beginners and more advanced users.
For those uploading videos to SmugMug, its fast compression speed can be a huge advantage, especially if you have a large number of videos to process.
VideoProc Converter AI stands out with its ability to shrink video size by up to 90% at a remarkable 47x faster speed without any noticeable loss in quality. This software provides 7 compression methods, including the option to specify a target file size directly.
However, like other paid tools, it needs to be purchased. The premium plan starts at a fixed price. Whether to purchase it depends on your budget and how often you need to compress videos.
Pros and cons of VideoProc Converter AI:
| Pros: | Cons: |
| 1. Use hardware acceleration technology to speed up the compression. 2. Achieve a compression ratio of up to 90% with extremely small quality loss. 3. Provide a variety of preset compression configurations. | 1. Minor lag and drop rate may occur occasionally on PC. 2. Only email customer support. |
Part 4: Step-by-Step Guide: Compressing Videos for SmugMug
How to compress a video for SmugMug using one of the video compressors mentioned above? Here, I will give a step-by-step guide on the process with MiniTool Video Converter – the best free video compressor for SmugMug.
Step 1. Install MiniTool Video Converter.
Get the latest version of MiniTool Video Converter by clicking the download button below and following its on-screen instructions to install it. Then, launch it.
MiniTool Video ConverterClick to Download100%Clean & Safe
Step 2. Import your video.
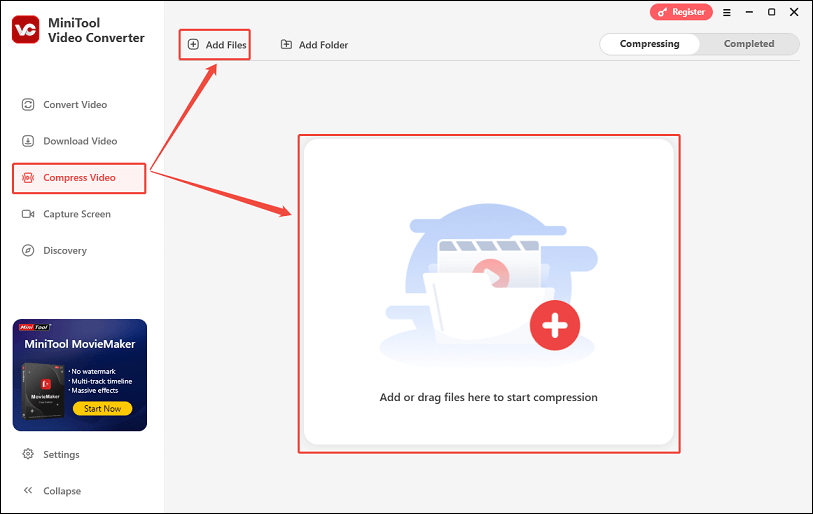
- Navigate to the Compress Video tab on the left of the interface.
- Click anywhere within the Add or drag files here to start compression box, or click Add Files to import your large video. Alternatively, you can drag and drop the video into the software to import it directly.
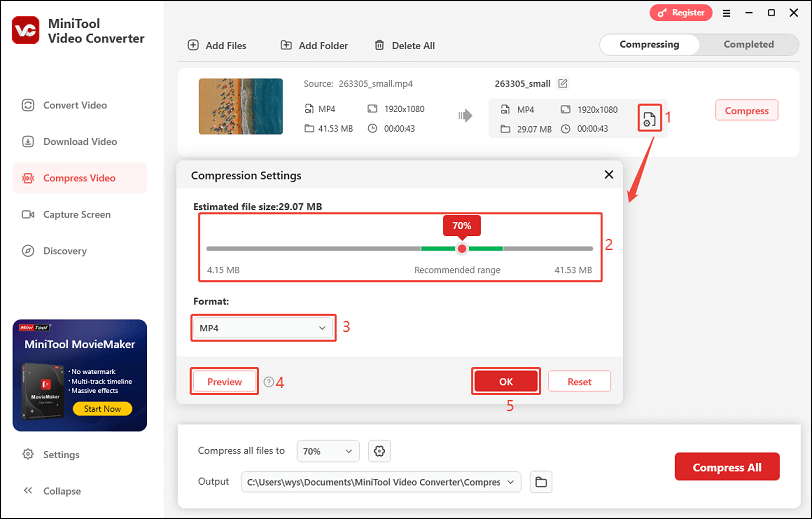
Step 3. Configure the compression settings.
- On the target output file, click the settings icon.
- Determine the compression level by dragging the compression ratio slider.
- Choose the output format by expanding the Format menu.
- Check out the quality of the compressed video by clicking on Preview.
- Click on OK to save the settings.
Step 4. Compress the video.
Click on the Compress button to start reducing the file size. This may take a few seconds.
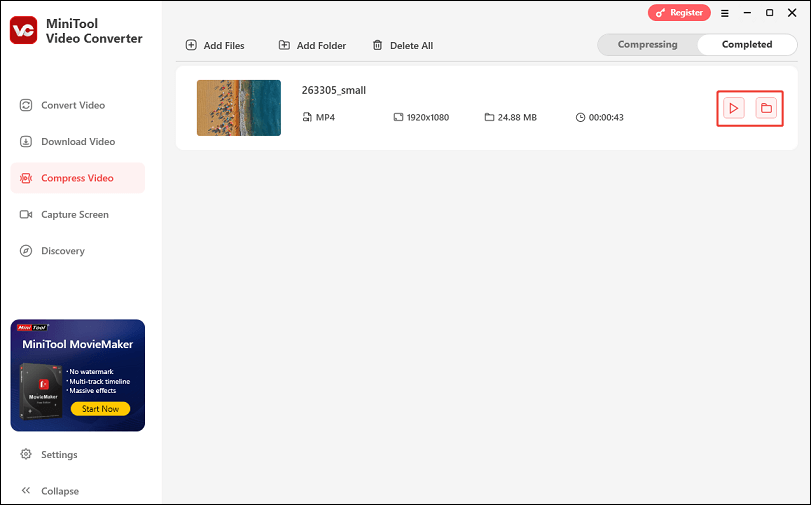
Step 5. Check the compressed video.
It will automatically turn to the Completed tab once it completes. Next, you can play the compressed video by clicking the play icon or locate the file by clicking the folder icon.
Compressing videos with MiniTool Video Converter has never been easier! Apart from video compression, it also features video conversion, video downloading, and screen recording. You can convert video formats, download online videos, and record your computer screen easily. Try it now to experience its powerful feature!
Part 5: Wrapping Up
SmugMug has a 3GB limit on the size of videos you can upload. How can you bypass the SmugMug video size limit? Consider the 7 video compressors in this article! With the right compression tools, you can upload high-quality videos that look great and load quickly. Moreover, by following the guide outlined above, you can compress videos for SmugMug using MiniTool Video Converter with ease.
Finally, if you encounter any problems while using MiniTool Video Converter, please feel free to contact us via support@minitool.com or send me messages on X.
User Comments :