Even in the digital age, you may still have precious memories stored on MiniDV tapes. These tapes were once a fashion for storing family videos, important events, and special moments. However, they are becoming outdated. Converting MiniDV tapes to digital format is a smart way to make your memories more accessible and shareable in today's digital world. If you're wondering how to convert MiniDV to digital, then you come to the right place. This post from the free file converter will guide you through the process easily.
Mini DV is a digital medium. However, it fails to offer the convenience typically associated with digital media. Mini DV saves video in cassette, making it easy to be physically damaged. And it has become hard to access in today’s digital world. You need a specific Mini DV player to play it. To better keep the precious memory and easily playback, it’s wise to transfer Mini DV to digital. Next, we will see why and how to do it.
What Is Mini DV
Before we dive into how to convert Mini DV tapes to digital and the reasons to do so, let’s first take a moment to understand what Mini DV is.
MiniDV, introduced by Sony and Panasonic, is a tape format mainly used in digital video camcorders. Those tapes were popular from the late 1990s to the early 2000s. They offered high quality with small sizes, making them the preferred choice for capturing personal videos, documenting special events, and even creating short films.
Characteristics of Mini DV Tape
- Recording Time: The recording duration of a Mini DV tape is generally 60 minutes, but some may offer longer recording time, up to 90 minutes, depending on the type and brand of the tape. For example, Sony’s Mini DV tape typically offers a 60-minute recording time.
- Tape Types: Mini DV tapes are usually categorized into two types: the standard-format DV cassette and the more economical options designed for DVCAM/HDV formats. The standard-format DV cassette is compatible with various camcorder models. On the other hand, DVCAM/HDV tapes offer a cost-effective solution.
- Tape Features: Some Mini DV tapes have special characteristics. For instance, Sony’s Mini DV tapes include a SuperDLC protective film that improves wear resistance for long-term durability. They also contain high-durability (HD) lubricant, which provides high reliability and maintains a low error rate in harsh conditions. In addition, these tapes use super-vertical magnetic materials, resulting in a high C/N ratio that ensures excellent recording quality.
Current Situation of Mini DV Tape
Mini DV tapes were very popular in the past, but as technology has improved, many camcorders have switched to other storage media such as hard drives and flash memory. However, Mini DV tapes are still used in some specific application scenarios, such as some professional video production or by users who have high requirements for video quality.
Why Do You Need to Convert MiniDV to Digital
- Preservation
One of the biggest reasons for transferring MiniDV to digital is preservation. Mini DV tapes have a limited life span and are prone to physical damage and degradation over time. Factors such as temperature, humidity, scratches, bends, breaks, and the number of times the tape is played can all affect their life span and video quality.
However, digital files are more stable and durable. Files stored in the cloud are not vulnerable to physical degradation, ensuring that your videos remain intact and accessible over the long term, which helps preserve the quality and longevity of your cherished memories.
- Accessibility
Another major reason for this job is compatibility. Digital files are much easier to access compared to Mini DV tapes. With digital videos, you can quickly search for a specific moment within the video, while with a tape, you may have to spend a long time fast-forwarding or rewinding to find the desired part. Moreover, digital files are usually compatible with a wide range of devices such as computers, tablets, smart TVs, and smartphones, without the need for a specific Mini DV player.
- Sharing
In today’s social media-driven world, sharing memories with friends and family is an important part of our lives. Digital videos can be easily shared on platforms like Facebook, YouTube, Instagram, and WhatsApp.
- Editing
Editing is also much easier with digital formats. By converting MiniDV to digital, you can easily use editing software to enhance the video quality by applying filters, transitions, and text to the video, adjusting its speed and color, cutting unwanted sections, and more, which is significantly more difficult to do with MiniDV tapes.
What Do You Need to Convert Mini DV to Digital
Converting between digital formats, like MP4 to MP3, MOV to AVI, 3GP to MPEG, etc., is pretty easy. All you need is a reliable video/audio converter. However, converting Mini DV to digital is much more complex. Do we need a Mini DV to digital converter for this task? What do we need to convert Mini DV to computer? Let’s find out together.
Tools you need:
1. Mini DV Player or Camcorder
A Mini DV player or camcorder is used to play your Mini DV tape. Ensure it has the necessary input and output connectors.
2. Computer
A computer is also necessary. Ensure it has sufficient storage space and processing power to handle the video files. Usually, a one-hour video from a Mini DV tape will require about 13 GB of storage.
3. USB or AV Cable
This cable is used to connect your Mini DV player to your computer. USB cables are commonly used for newer devices, while AV cables (such as RCA or S-Video) are used for older models.
4. Video Capture Software
Unlike converting MP4 to MP3, you will need a screen recording tool not a video converter for the Mini DV to digital task. Make sure the screen recorder is compatible with your computer’s operating system.
Recommended Video Capture Software
Here are 3 easy-to-use screen recorders.
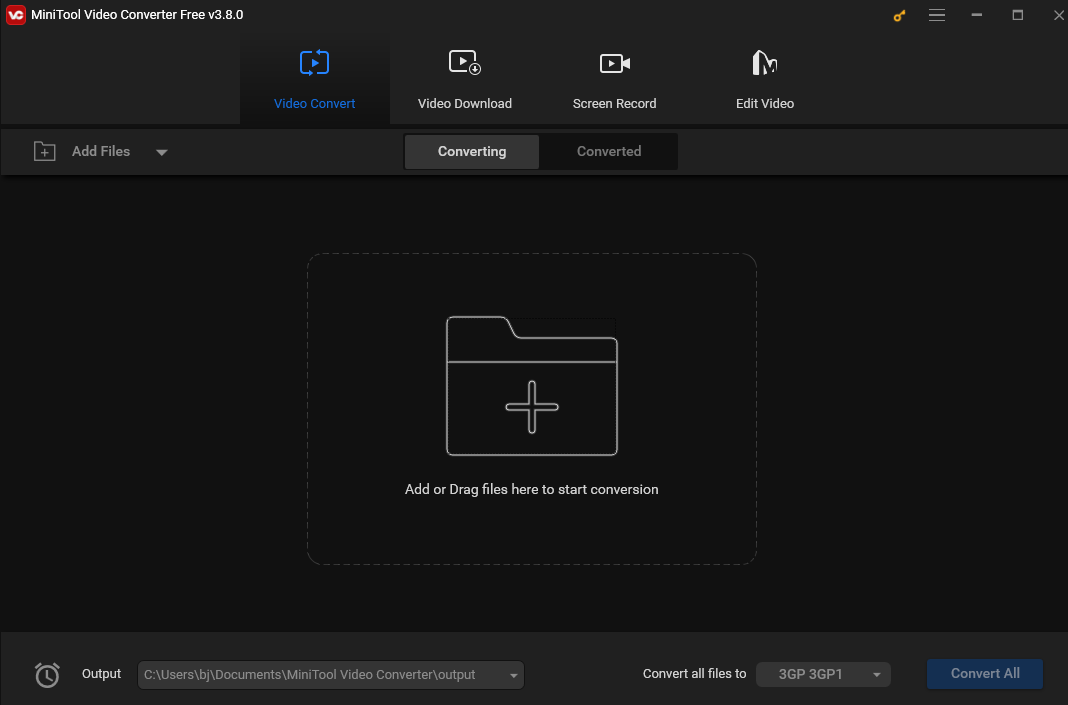
1. MiniTool Video Converter
If you are a Windows user, I highly recommend you use MiniTool Video Converter to record the Mini DV video. This tool is free and smooth. It allows you to record your screen as long as you want and does not add a watermark to the recorded video. With its flexibility, you can record the entire screen or a specific area with or without your voice. It also allows you to adjust the recording quality including original, standard, and high, the frame rate from 50fps, 30fps, 25fps, 20fps, to 15fps, the output folder, and more.
MiniTool Video Converter saves the recording in MP4 format. If you want to convert the MP4 recording to another format, this tool can also satisfy your needs. As its name suggests, MiniTool Video Converter can work as a file converter. It supports all popular formats, allowing you to convert MP4 to MOV, AVI, MKV, VOB, MP3, AAC, etc.
What’s more, this application can function as a file compressor. After finishing the recording, you can use the tool to reduce the file size if needed.
MiniTool Video ConverterClick to Download100%Clean & Safe
2. Aiseesoft Screen Recorder
Aiseesoft Screen Recorder is a professional screen recorder that is compatible with Windows and Mac operating systems. It’s feature-rich, allowing you to record all your on-screen activities effortlessly. Whether you’re recording gameplay, video calls, presentations, or live streaming content, Aiseesoft Screen Recorder can always meet your needs in high quality.
In addition to its recording features, Aiseesoft Screen Recorder offers various editing tools to improve video quality.
3. QuickTime Player
QuickTime player is a built-in application on Mac, which means you do not have to go through the trouble of downloading and installing an extra application. While its primary function is to play various video and audio formats, it also can serve as a screen recorder.
With QuickTime Player, you can record your entire screen or a specific area of your screen. Moreover, it offers you the option to record your voice during the screen capture, making it perfect for creating instructional videos or commentary. However, it’s important to note that if you want to record the system audio, you will need to use a third-party application, like Soundflower.
Tips for Converting MiniDV to Digital
Here are 2 tips to enhance your Mini DV digitization process:
1. Clean the Tape First
Any dust or debris accumulated on the tape will cause image distortion or audio glitches, affecting the digitization process. Thus, it’s recommended to use a soft, lint-free cloth to clean your Mini DV tape before playing it. Remember to clean it gently!
2. Choose a Compatible Digital Format
I recommend using a widely compatible and high-quality format like MP4 or MOV for saving the digitalized file. Those 2 formats provide efficient compression while maintaining good video quality.
How to Convert Mini DV to Digital Using MiniTool Video Converter
How to record Mini DV to computer? I will use the MiniTool Video Converter as an example. Let’s follow the steps below to record it together.
Step 1. Hit the button below to download and install MiniTool Video Converter. Then open it.
MiniTool Video ConverterClick to Download100%Clean & Safe
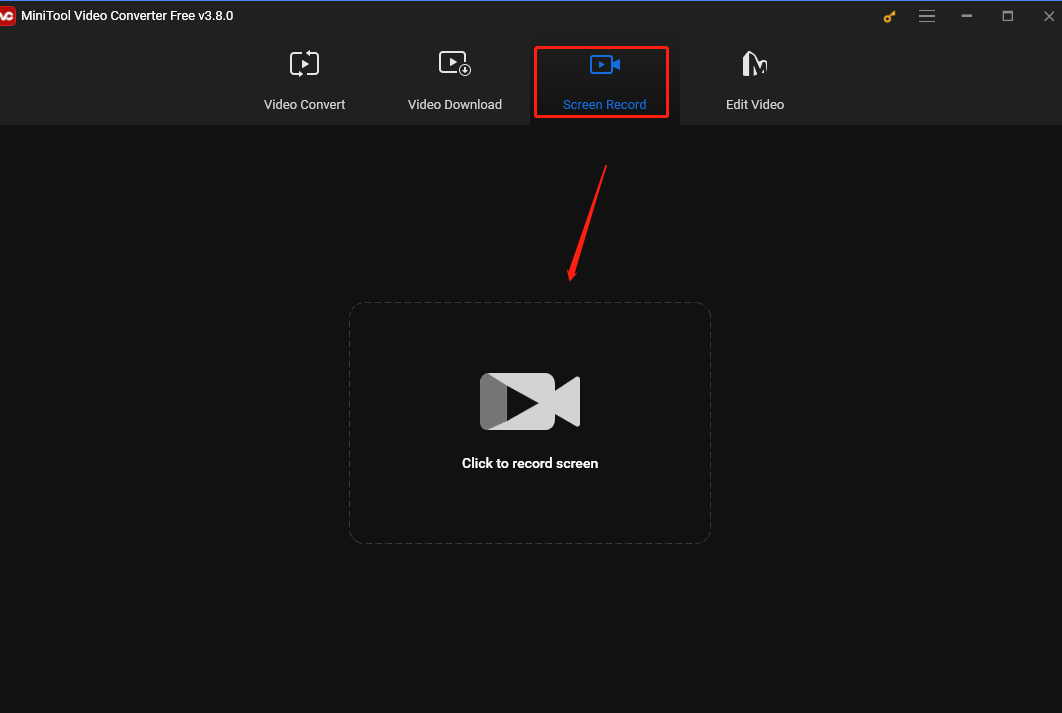
Step 2. Click Screen Record and hit the Click to record screen region to access MiniTool Screen Recorder.
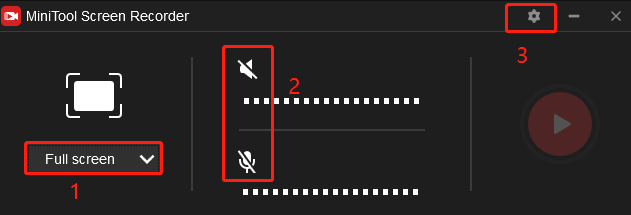
Step 3. Customize the recording settings on the MiniTool Screen Recorder panel.
- Customize the recording area. MiniTool Video Converter records the entire screen by default. You can click Full screen, choose the Select region option from the dropdown, and click and drag the cursor to customize the recording area.
- Customize the audio source. You can click the System Audio and Microphone icons to turn on/off the system audio and microphone.
- For more settings, click the gear icon in the top-right corner of the panel.
Step 4. Use the USB or AV Cable you prepared to connect your Mini DV player or camcorder to your computer.
Step 5. Load the Mini DV cassette into the camcorder and then turn it into VCR mode for playing the video.
Step 6. Play the video on your computer. Press the F6 key on the keyboard or click the Record button on the MiniTool Screen Recorder panel. After a 3-second countdown, the tool will start recording. To pause and resume the process, press F9.
Step 7. To end the recording process, press the F6 key again then the MiniTool Screen Recorder panel will reappear on the screen and the recorded video will be listed here. Right-click the recording to preview, rename, delete, or locate it.
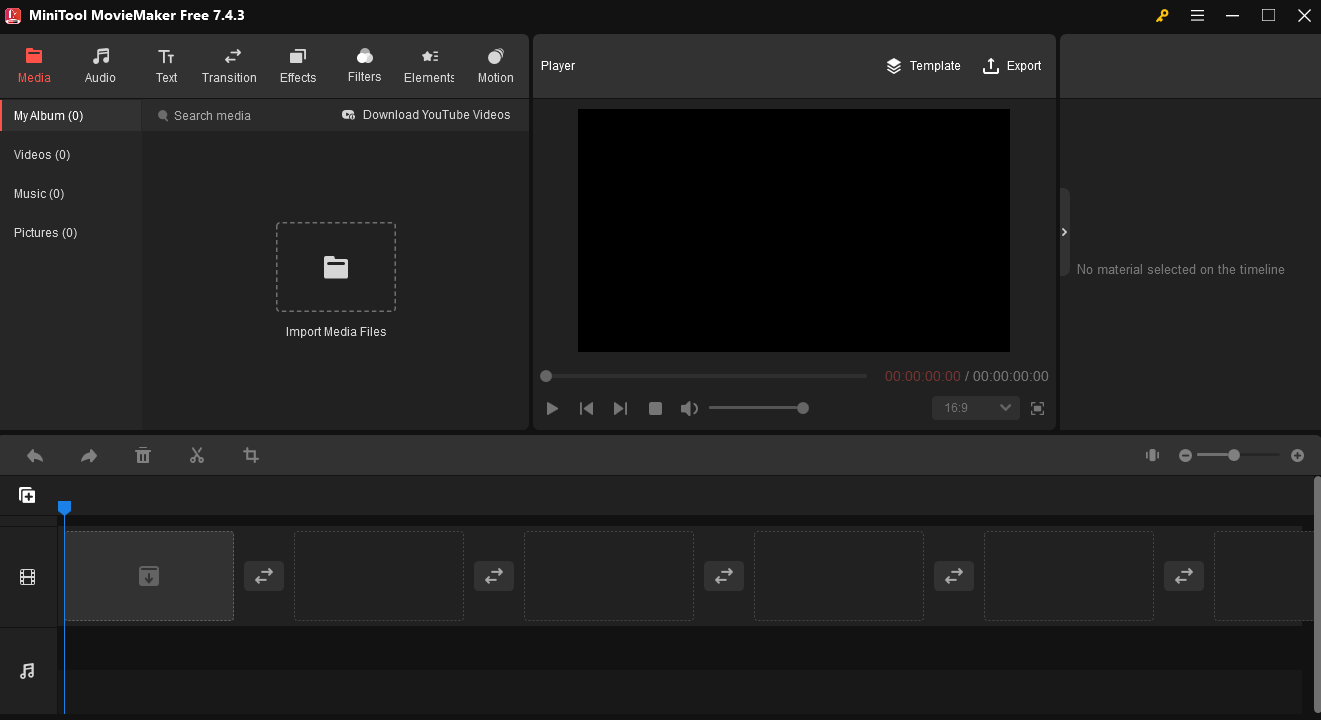
MiniTool MovieMakerClick to Download100%Clean & Safe
Conclusion
Mini DV tapes, while they had their glory time, are becoming outdated due to their physical limitations. Thus, it’s essential to transfer Mini DV to computer for improved preservation, playback, and sharing. This post discusses the major reasons for converting these tapes and offers detailed guidance on how to transfer Mini DV tapes to computer.
Follow the guide to convert Mini DV tapes to digital format and save them on your computer or in the cloud. Don’t let your Mini DV tapes gather dust and risk losing the valuable memories they hold.
Finally, if you encounter any issues while using MiniTool Video Converter or MiniTool MovieMaker, you can contact me directly via Twitter.


![How to Record a Video on Google Drive [PC/Mobile]](https://images.minitool.com/videoconvert.minitool.com/images/uploads/2024/11/how-to-record-a-video-on-google-drive-thumbnail.jpg)
User Comments :