This article explains how to remove grain from video using MiniTool Video Converter with step-by-step guidance. It also shows common causes of digital noise and grain and tips to avoid them, including proper lighting, optimal ISO settings, and camera techniques.
What should be done when a video looks noisy after recording? This is a common issue, especially in low-light conditions. Professional editors often use advanced video editing software to reduce noise and improve video quality. However, those tools can be difficult for beginners to use. For a simpler and faster solution, an AI video denoiser is a better choice.
Next, I will share an AI-powered video enhancer I’ve used, MiniTool Video Converter, which can effectively reduce video noise.
How to Remove Grain from Video
Fast Track:
- Install and open MiniTool Video Converter.
- Import the target video.
- Choose enhancement mode and level.
- Choose the save location.
- Enhance and export.
MiniTool Video Converter is a beginner-friendly AI video enhancer best for improving blurry, noisy, or low-resolution videos on Windows.
MiniTool Video Converter can enhance video quality with AI. It supports noise reduction, sharpening, and resolution upscaling. The software is easy to use, even for users without editing experience. Here is how to fix grainy video free using MiniTool Video Converter:
Step 1: Download and Install MiniTool Video Converter
Download the installation package of MiniTool Video Converter and follow the on-screen instructions to install the software on the computer.
MiniTool Video ConverterClick to Download100%Clean & Safe
Step 2: Import Target Video
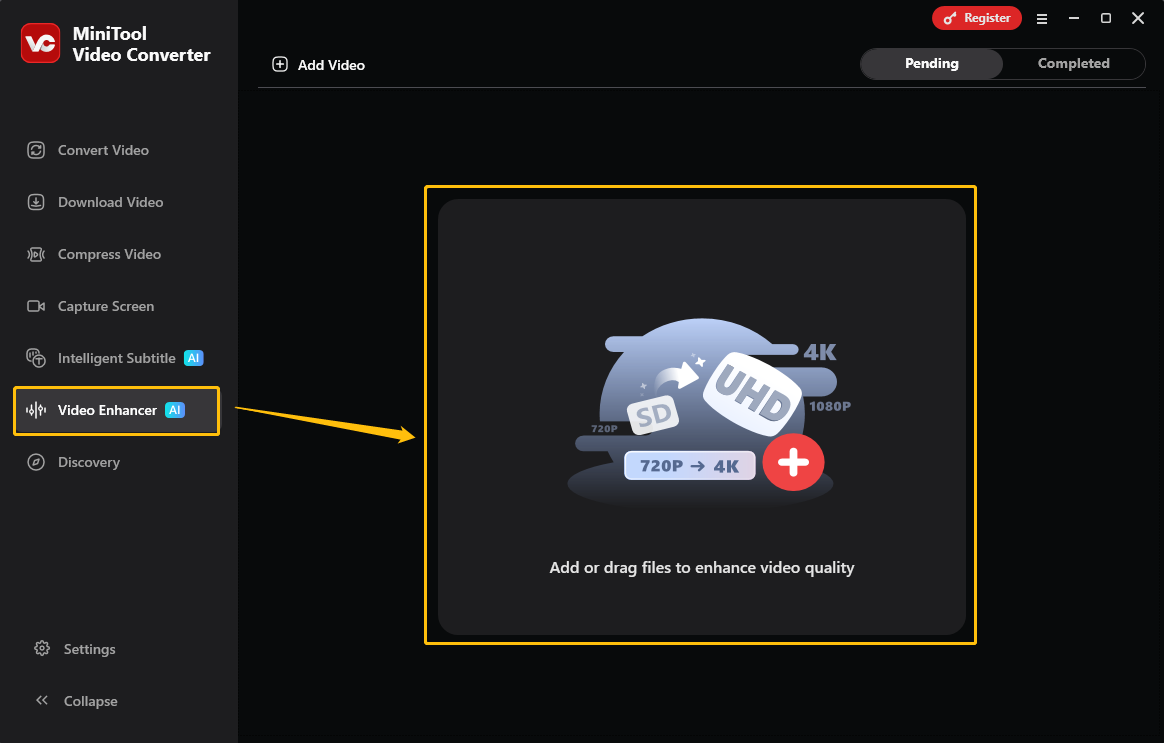
Launch this free video denoising software, switch to the Video Enhancer tab, and click the Add or drag files to enhance video quality area to upload the target video.
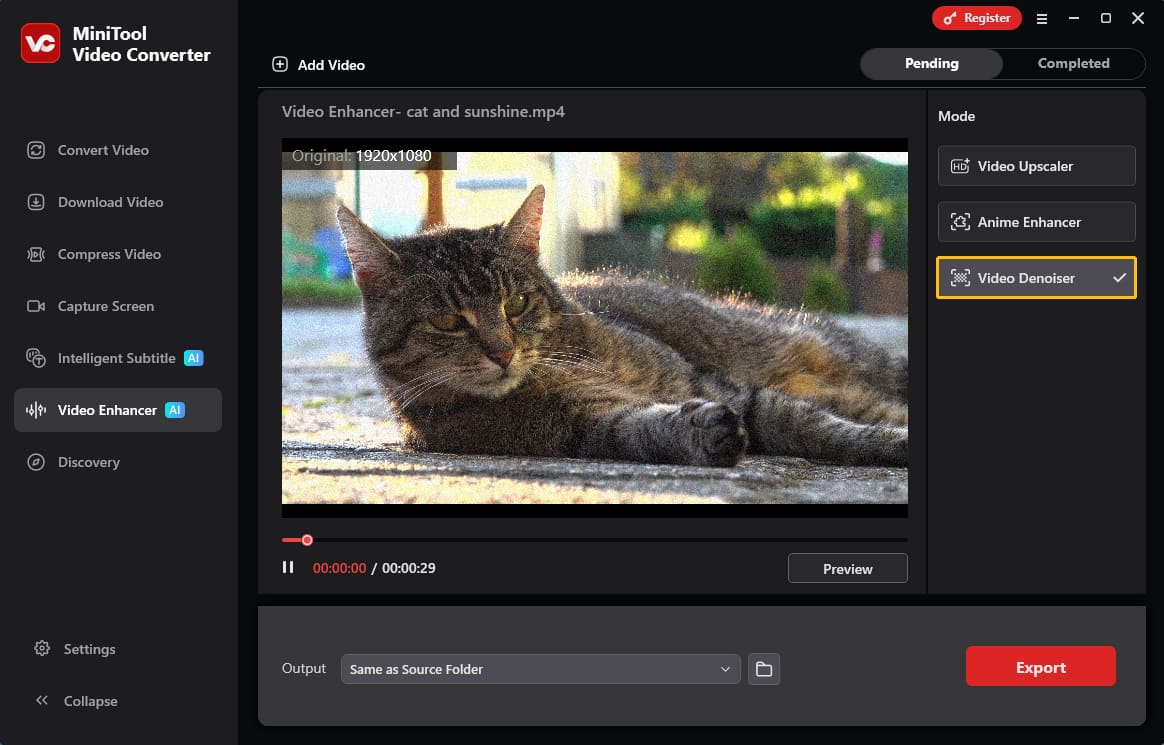
Step 3: Choose the Video Enhance Mode
In the Mode section, select the Video Denoiser option.
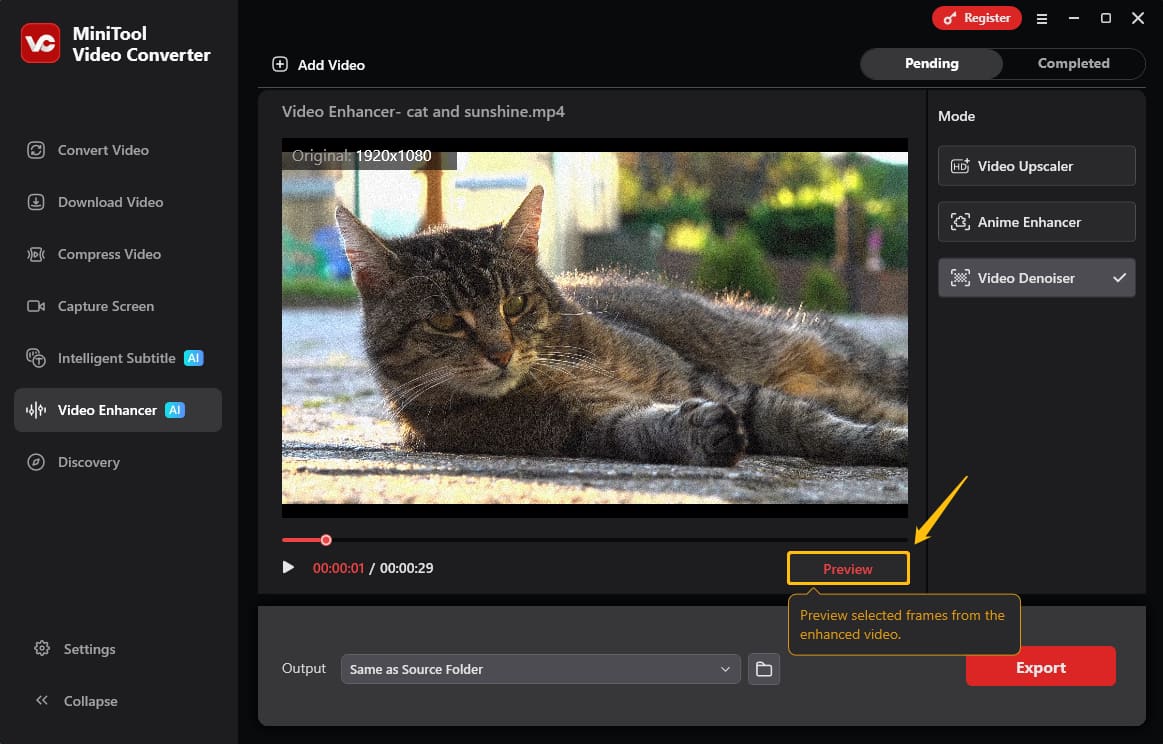
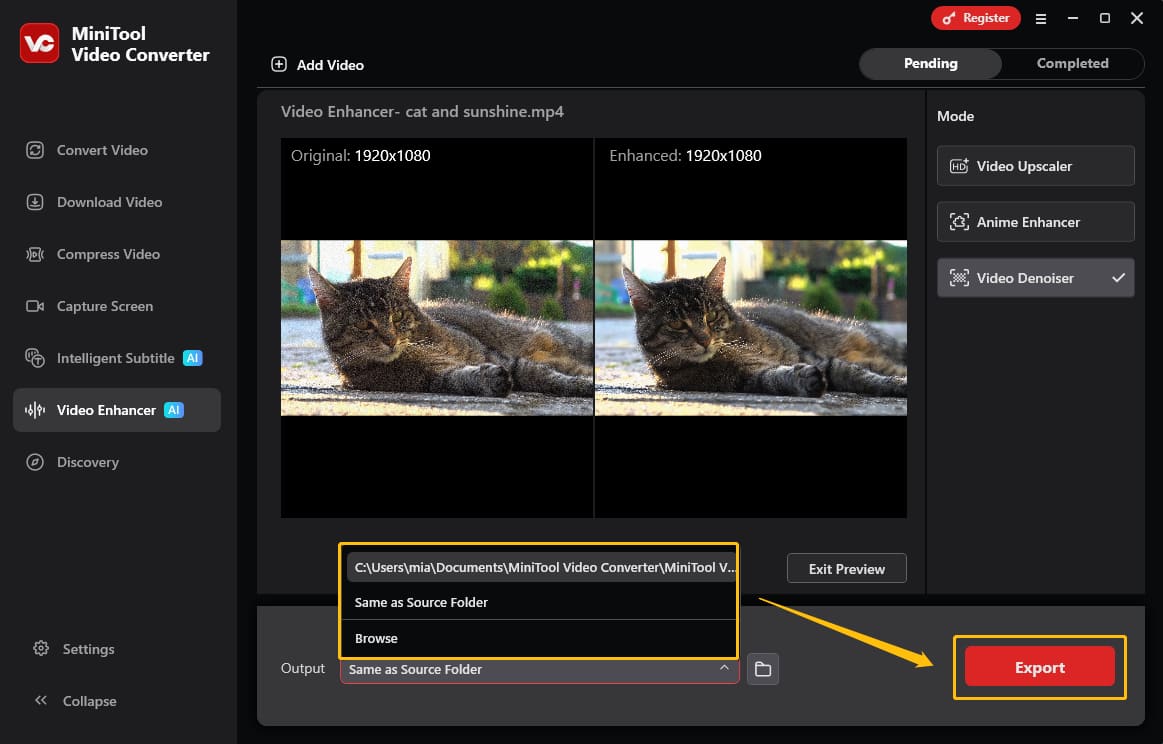
Step 4: Check the Noise Reduction Effect
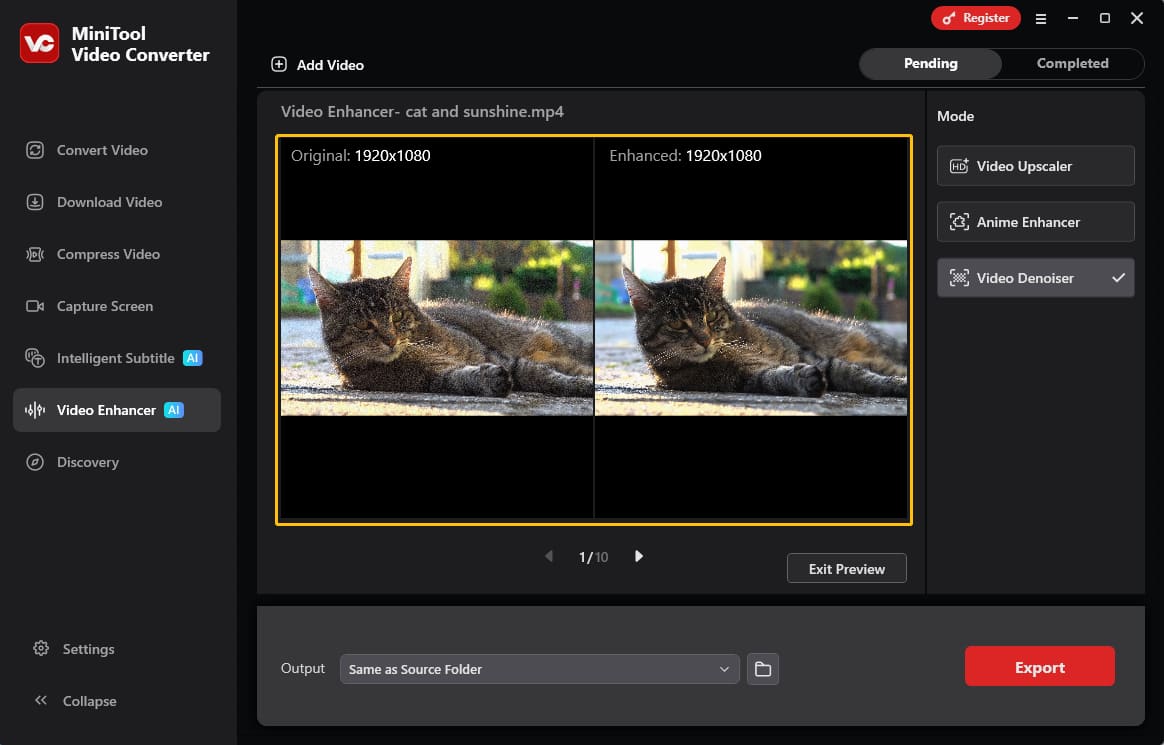
Click the Preview option to view the noise reduction result.
A comparison window will appear, showing both the original video frame and the enhanced result simultaneously.
Step 5: Set Save Location and Start Denoising
Select an output folder under the Output section, and click Export to remove noise from the video.
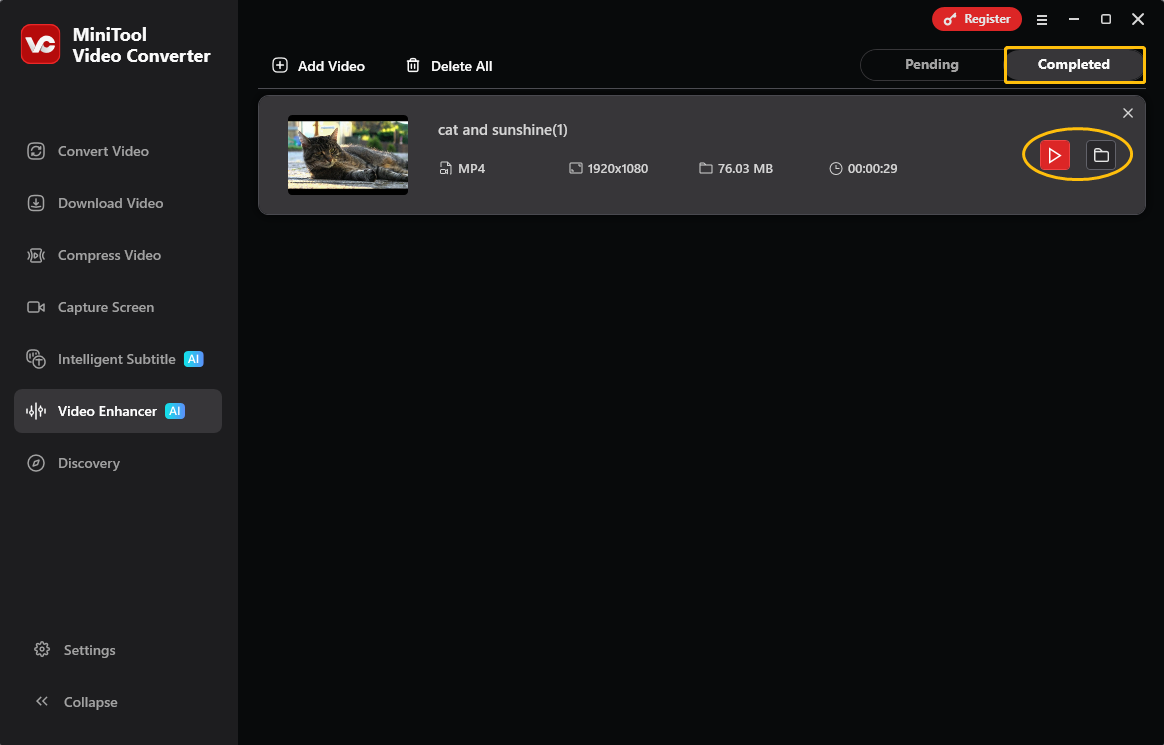
Step 6: Play the Denoised Video
After processing is complete, the software will open the Completed interface. Click the play icon to preview the denoised video, or select the folder icon to locate the exported file.
MiniTool Video Converter intelligently eliminates grains in videos, resulting in clearer, more professional-looking footage. Furthermore, this software supports a wide range of enhanced video formats, including MP4, MKV, WebM, AVI, MOV, WMV, and more. What surprised me most was that MiniTool Video Converter supports importing videos without any length limit.
Beyond enhancing videos, MiniTool Video Converter offers many other features, such as converting file formats, compressing videos, and converting speech to text.
Reasons for Video Grain Removal
Removing video noise improves clarity, reveals important details like facial features, and makes the footage look cleaner and more professional.
Video noise reduction refers to the process of eliminating unwanted visual imperfections from recordings, thereby improving the overall quality of the video.
Removing video noise enhances overall clarity, making the video higher quality and easier to watch. Furthermore, noise can affect the recognition of details, such as facial features, text, and background objects. Noise reduction can make these details clearer. In addition, clear video footage looks more refined and professional, enhancing the viewer's experience. Clear videos are more suitable for marketing and presentations.
Causes of Video Grain and Digital Noise
Video grain, often called digital noise, is mainly caused by the limitations of camera sensors, especially in poor lighting conditions. Common causes include:
- High ISO Settings: ISO controls how sensitive the camera sensor is to light. In dark environments, increasing the ISO can brighten the video, but it also increases electromagnetic interference in the camera’s circuitry, resulting in noise in the video.
- Insufficient Light: When there is not enough light, the camera sensor struggles to capture clear details, causing more noise to appear, especially in shadow areas.
- Small Camera Sensors: Smaller sensors collect less light than larger ones, so they usually produce more grain and perform worse in low-light situations.
These causes show that lighting plays a major role in video grain. To reduce noise and achieve cleaner footage, proper lighting during recording is very important.

Tips: How to Prevent Grain During Shooting
Lowering the ISO sensitivity and increasing ambient light can prevent noise in video. Specific methods include:
- Use a Lower ISO Setting: Keeping the ISO as low as possible reduces electronic amplification, which helps minimize visible grain and noise.
- Increasing the Aperture: A larger aperture, such as f/1.8 or f/2.8, allows more light to enter the lens, improving image brightness naturally.
- Slow Down the Shutter Speed: Using a slower shutter speed gives the sensor more time to gather light, which can help reduce noise in darker scenes.
- Adding an External Light Source: Extra lighting equipment, such as LED lights or softboxes, can brighten the environment and improve overall video quality.

Conclusion
This article demonstrates in detail how to remove grain from video using MiniTool Video Converter. After understanding why noise appears in video, we can reduce the possibility of noise in recorded videos by increasing lighting and adjusting ISO settings.
If you encounter any technical issues, software errors, or have questions while using MiniTool Video Converter, reach out to the dedicated support team at support@minitool.com for prompt assistance.
User Comments :