Are you a user of the Gateway laptop? Have you encountered the problem of taking a screenshot on a Gateway laptop? You’ve come to the right place! This post from the free file converter – MiniTool Video Converter will provide you with a detailed guide on how to screenshot on a Gateway laptop with 5 feasible methods.
Gateway, Inc. is an American computer company founded in 1985 that developed, manufactured, supported, and marketed a wide range of personal computers, computer monitors, servers, and computer accessories. It reached its peak in 2000. But seven years later, Gateway was acquired by Acer. In September 2020, Acer relaunched the Gateway brand on laptops and tablets sold exclusively at Walmart. While Gateway is no longer as popular with consumers as it was at its peak, it can still be a viable option for budget-savvy consumers under Acer's leadership. If you also happen to be looking for how to screenshot on a Gateway laptop, keep reading below.
Method 1: Screenshot on Gateway Laptop Using Shortcuts
The first method is using the Windows shortcuts. You just need to open the page that you intend to screenshot it. Here is how to take a screenshot on a Gateway laptop via shortcuts.
Step 1. Press Windows + Shift + S at the same time.
Step 2. There will appear a small bar on the top of the screen, you can choose the Rectangular mode, Freedom mode, Window mode, or Fullscreen mode.
Step 3. After choosing any of the modes, drag the cursor to choose the capture area.
Step 4. Then the screenshot will be copied to the clipboard and saved.

Method 2: Take a Screenshot on Gateway with the Print Screen Key
If you want to screenshot the whole screen, the most direct way is using the Print Screen key. This method works on your Gateway laptop whether it's running Windows 11, 10, 8, 7, or XP. Here’s how:
Step 1. Just press the Print Screen key (PrtScn) to take a screenshot on your screen.
Step 2. The screenshot will be saved on your clipboard automatically and you can press Ctrl + V to paste the screenshot.
Method 3: How to Screenshot on Gateway Laptop with the Snipping Tool or Snip & Sketch
You can also use the built-in tools of Windows to take a screenshot on a Gateway laptop.
Step 1. You can type in Snipping Tool in the Start search box and click Open to enter it.
Step 2. Click the + New button and select the area you want to capture.
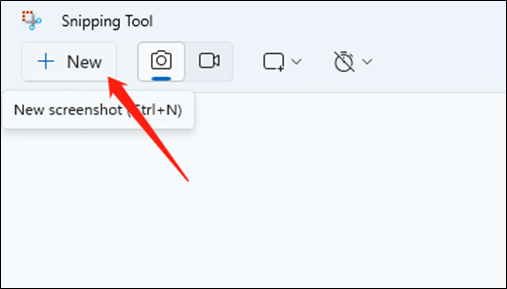
Step 3. Then the screenshot will be pasted on the Snipping Tool window and you can edit the screenshot here.
If your Gateway laptop is running Windows 10, you can also use Snip & Sketch. Its operation is similar to using the Snipping Tool. You can find Snip & Sketch in the search bar and click New to take a screenshot.
Method 4: Capture the Gateway Laptop Screen Using MiniTool Video Converter
How to screen record on Gateway laptop? You can use a powerful and easy-to-use screen recorder. MiniTool Video Converter is a good choice that can help you record part or full of the screen according to your needs. More importantly, it is a free screen recorder without time limits and watermarks. You can also use it to record the Gateway screen with audio from the microphone or system audio. Here’s how:
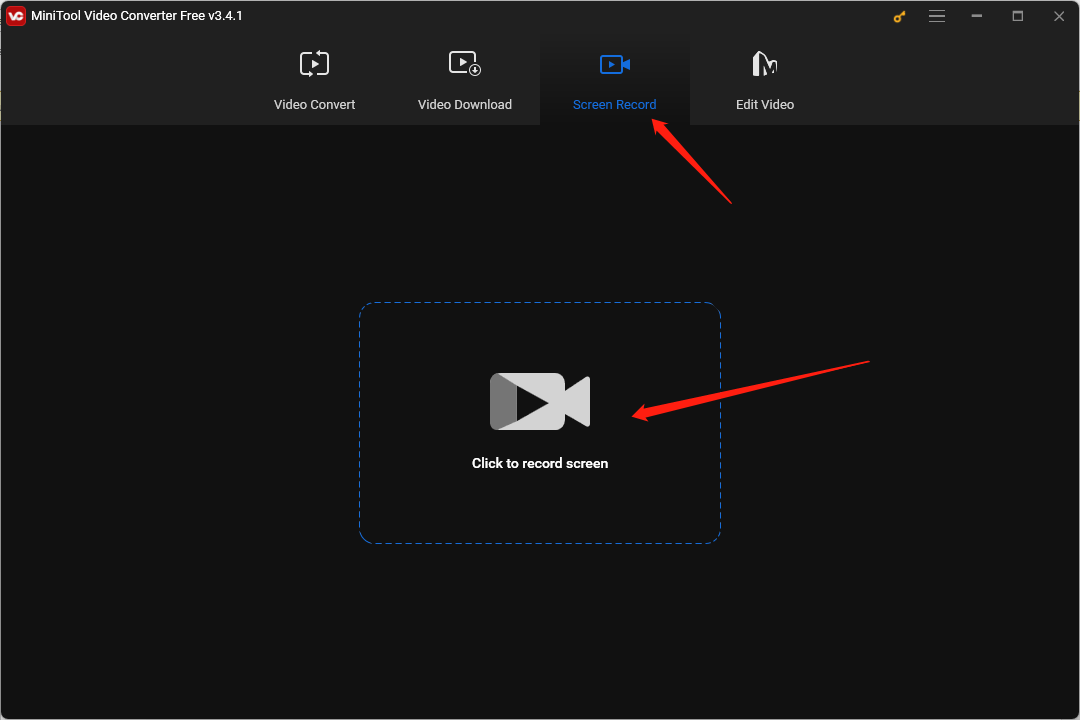
Step 1. Click the below download button to get and install MiniTool Video Converter on your Gateway laptop. And then launch it.
MiniTool Video ConverterClick to Download100%Clean & Safe
Step 2. Click the Screen Record tab and click the Click to record screen area to open the MiniTool Screen Recorder.
Step 3. You can choose your recording area and audio source. Also, you can click the Settings icon to choose the recording formats and saving path, decide whether to record the mouse movement, set the hotkeys, and others. Then click OK to save the changes.
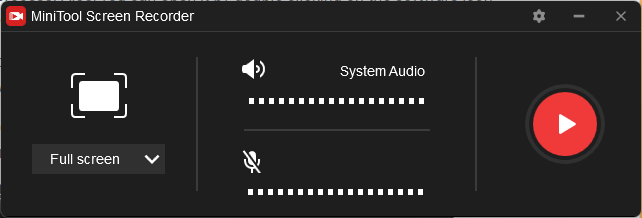
Step 4. Click the red Record button or press F6 to start recording. To end the recording, just press F6 again. If you want to pause and resume the recording process, you can press F9.
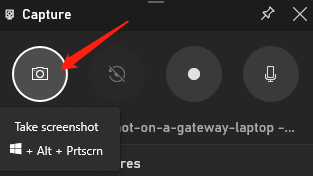
Method 5: Take a Screenshot on Gateway Using Xbox Game Bar
Furthermore, you can use Xbox Game Bar to take a screenshot or record screens on a Gateway laptop. You can press Windows + G to enable it and then click the Capture option. Later click the camera icon to take a screenshot.

Conclusion
How to screenshot on a Gateway laptop? You can try the above five methods. Now, you can have a try!
About The Author

Position: Columnist
Olivia is always full of enthusiasm for life and loves to record. She often records beautiful and memorable moments of life with her camera and then uses some editing tools to put the photos, videos and audio together. She also has a passion for writing and offers suggestions to readers on images, audio, videos and news. To provide more professional articles and solve problems for readers, she is continuing to learn multimedia as well.
User Comments :