Google Maps is a web mapping platform offered by Google. How to take a Google Maps Screenshot? This MiniTool Video Converter will show you several ways to screenshot Google Maps.
You can use Google Maps to get satellite imagery, aerial photography, street maps, real-time traffic conditions, and some transportation route planning. It can help plan your route well and make a travel guide. But you can only use it when you have an Internet connection. It is a good idea to make a Google Maps screenshot for watching it offline. The following content will tell you how to do that on Windows, Mac, and phone. Now, let’s get started!
How to Screenshot Google Maps on Windows
This part guides you on how to take a Google Maps Screenshot on Windows using two easy ways.
#1. Using the Snipping Tool
The Snipping Tool is the default tool for Windows and it can take screenshots in four modes and record screens. You can refer to the below guidance on how to take a screenshot on Google Maps.
Step 1. Enter Snipping Tool in the search box to find it and click Open to run it.
Step 2. Go to the Google Maps website and find the route or place you want to screenshot.
Step 2. Press the Windows logo key, Shift, and S on the keyboard at the same time to start a snip.
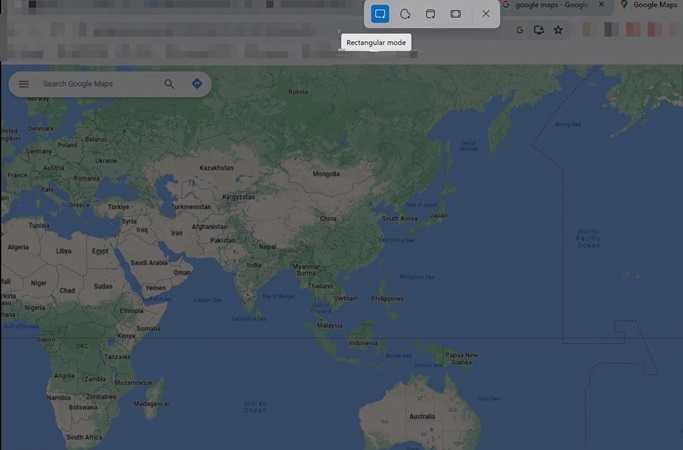
Step 3. There are four modes including the Rectangular Mode, Freedom Mode, Window Mode, and Fullscreen Mode. You can choose one mode you need to screenshot Google Maps.

Step 4. After taking a screenshot, you can double-click on it to edit it like using a highlighter, ballpoint pen, cropping tool, and others to edit the screenshot. Later, click on the Save as icon to save it on your computer. Or after taking a screenshot, you can press Ctrl and V on the keyboard to paste it on your computer.
#2. Using the Hotkeys on Keyboard
It is the quickest way to capture screenshots on Google Maps. You can visit Google Maps to find the page you want to screenshot. Then press the PrintScreen key on the keyboard to choose the area you want to capture. Or press the Alt + PrintScreen key to take a screenshot of a single active window. Later, you can press Ctrl + V to paste the screenshot into a clipboard.
How to Screenshot Google Maps on Mac
This part offers you two methods to take a screenshot on Mac.
#1. Using Preview
Preview is also a pre-install application on Mac. You can use it to screenshot Google Maps. Here’s how:
Step 1. Visit the Google Maps first. Then open Finder, select the Applications on the left side, and double-click on Preview to open it.
Step 2. Click the File tab on the top menu bar, move your mouse over the Take Screenshot option, and choose a screenshot mode from the options From Selection, From Window, or From Entire Screen. After capturing, the screenshot will be saved on your Mac automatically.
#2. Using Hotkeys
Like Windows, you can also take a screenshot using hotkeys on Mac. You can press Command + Shift + 3 on the keyboard simultaneously to take a Google Maps screenshot in full screen. If you want to take a screenshot for a specific area, you can press Command + Shift + 4 on the keyboard. If you want to screenshot a window, you can press Command + Shift + 4 and the spacebar at the same time. Then you can find the screenshot on your desktop or in the Finder.
Bonus Tips
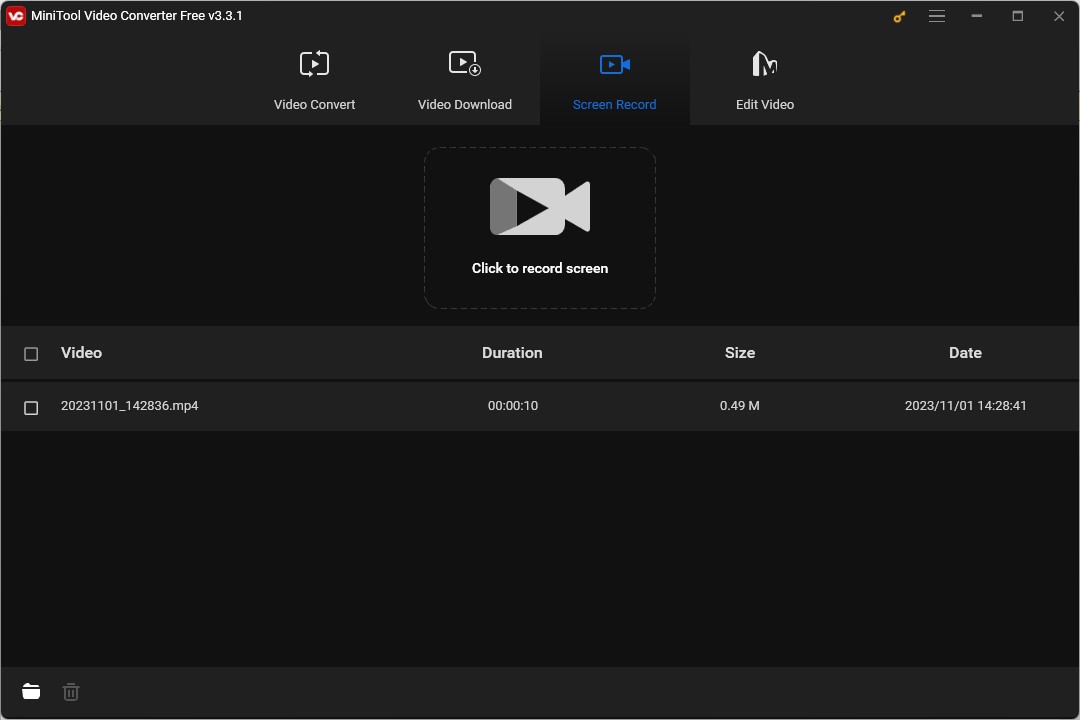
In addition to taking a Google Maps screenshot for watching offline, you can also try to screen record the Google Maps. MiniTool Video Converter, a free video converter without watermarks, is worth a try. It supports recording the full screen or selected region according to your need and it supports starting and ending recording with the hotkeys.

You may also like:
3 Wonderful Methods to Record Google Earth That Are Worth Trying
Solved: How to Record Viber Calls Easily [PC/Phone]
Wrapping Up
The above has shown you how to take a Google Maps screenshot on Windows and Mac. You can also try MiniTool Video Converter to screen record it. Hope this post is helpful to you!


![How to Screen Record Apple Music in 3 Ways [Windows/Mac/iPhone]](https://images.minitool.com/videoconvert.minitool.com/images/uploads/2023/09/how-to-screen-record-apple-music-thumbnail.jpg)

User Comments :