When it comes to screen recording software, there’re many choices in the market. In this post, we’ll introduce 3 open-source screen recorders. You can use, study, change them, and even distribute them and their source codes.
3 Best Open-Source Screen Recorders
Here’re 3 open-source screen recorders you can try, OBS Studio, ShareX, and CamStudio.
# OBS Studio
OBS Studio is a free and open-source software for video recording and live streaming for Windows, macOS, and Linux.
As a screen recorder, OBS lets you record computer screens, gameplay, webcam, and more. The recorded video can be saved in FLV, MP4, MOV, MKV, TS, and M3U8 formats. The default output format is MKV.
OBS Studio is a professional screen recorder, but it may be a little difficult for beginners to use. If needed, you can check this post - How to Use OBS Screen Recorder & OBS Alternative.
Here’s how to record screen with OBS.
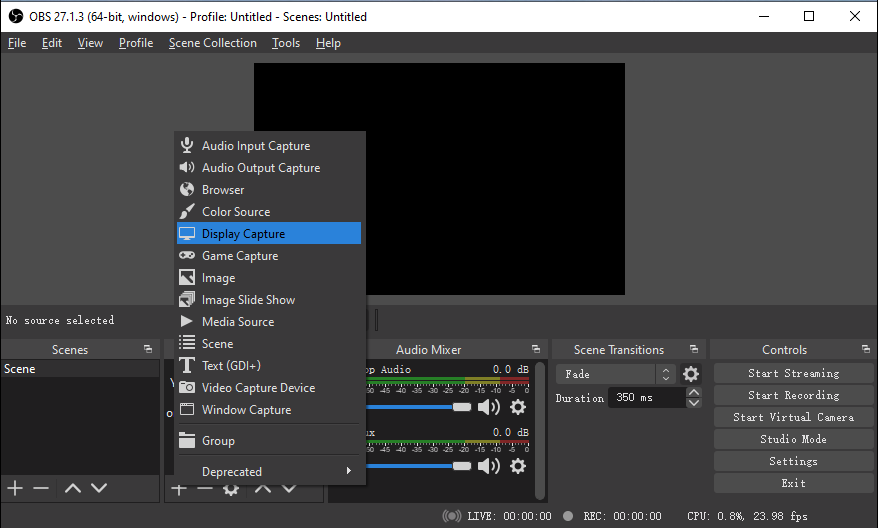
- Open OBS and click + in the Source box to choose a source like Display Capture to record.
- Click Start Recording in the Controls section to get started.
- To stop recording, return to OBS and click on Stop Recording.
You may also like: How to Fix the OBS Recording Choppy Issue (Step by Step Guide)
#ShareX

ShareX is a free and open-source screenshot and screencast program for Windows. With it, you can record any activities on the screen with a custom area. ShareX only lets you record screen in MP4 and GIF.
ShareX is simple to use. Once you select the recording area, the recording starts immediately. It also won’t add watermarks to the recorded video.
After recording, you can directly share your video to Dropbox, OneDrive, YouTube, and other social media platforms.
Here’s how to record screen with ShareX.
- Open ShareX, click Capture, and select Screen Recording.
- Move your mouse to choose the recording area.
- Once selected, the recording starts. To stop it, click Stop.
#CamStudio
CamStudio is also a free and open-source screen recording software for Windows. It lets you record a fixed region, a specific window, a full-screen, and a customized area. With CamStudio, you can record screen in AVI, MP4, and SWF.
Here’s how to record screen with CamStudio.
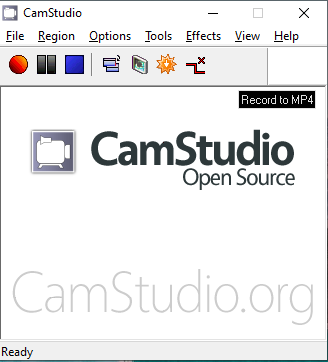
- Launch CamStudio and click the Region to choose a fixed region, a window, or an entire desktop to record.
- To record the screen with audio from a speaker or microphone, click the Options and make your choice.
- Click the Record button to start recording and click the blue Stopbutton to end it.
- Choose the location to save the recording.
A Free Screen Recorder for Windows – MiniTool Video Converter
MiniTool Video Converter is a free and simple screen recorder. It lets you record any activities on your desktop in the full-screen or selected areas. It lets you record video in AVI, MP4, WMV, MKV, MOV, FLV, and TS formats. Also, it lets you record screens with system audio or audio from your microphone.
MiniTool Video ConverterClick to Download100%Clean & Safe
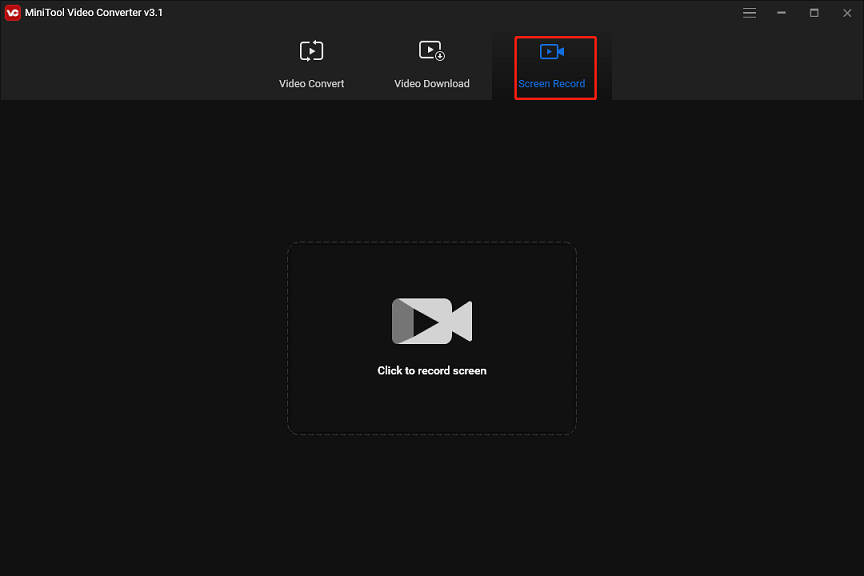
Before recording, MiniTool Video Converter allows you to do many settings. You can choose to show the mouse cursor, record mouse clicks, select video format/frame rate/quality, change hotkeys, and more.
More importantly, MiniTool Video Converter won’t watermark your recorded videos.
What’s more, MiniTool Video Converter can convert video/audio files and download videos from YouTube.
Conclusion
That’s all about the 3 open-source screen recorders. What’s your favorite screen recording software? You can share it with us in the below comments area.
About The Author

Position: Columnist
Cora is a tech writer specializing in digital media workflows, with over six years of hands-on experience in video post-production, media transcoding, and screen capture. Her writing is always clear and practical. Cora also produces in-depth software reviews for users across skill levels to help them find the right tool and enjoy video editing.
User Comments :