Ubuntu is an operating system. Do you know how to record on Ubuntu? In this post from the free file converter, I will present you with 3 Ubuntu screen recorders with detailed instructions.
What Is Ubuntu
Ubuntu is a free and open-source operating system based on the Linux kernel. Since its debut in 2004, Ubuntu has become one of the most popular Linux distributions for general use.
The name “Ubuntu” comes after the Nguni philosophy of ubuntu - “humanity to others”, with a connotation of “I am what I am because of who we all are”. It is officially released in multiple editions:
Desktop: Designed for personal computers, it offers a user-friendly graphical interface.
Ubuntu Server: Used for web servers, cloud computing, and data centers.
Ubuntu Core: A lightweight version for IoT devices.

Ubuntu Screen Recorder: Built-in Tool to Record on Ubuntu
Ubuntu has a built-in screen recorder. It allows you to record the entire screen or a specific area. However, recording audio is not available.
Here’s how:
Step 1. Press the Ctrl + Alt + Shift + R keys on your keyboard to open the built-in tool.
Step 2. Navigate the Video tab at the bottom and choose the recording area.
Step 3. Click the Record button to start recording on Ubuntu.
Step 4. To stop the process, click the Stop button in the system tray at the top-right corner. Once finished, go to Home, choose Videos, and click Screencasts to check the recorded video.
![How to Screen Record on Vivo Phone [ Step-by-Step Guide]](https://images.minitool.com/videoconvert.minitool.com/images/uploads/2025/03/how-to-screen-record-on-vivo-thumbnail.jpg)
Reliable Third-Party Ubuntu Screen Recorders to Record on Ubuntu with Audio
How to record on Ubuntu with Audio? You can use the following tools for this task.
1. Loom Chrome Extension
Loom is an easy-to-use yet powerful screen recorder that can record screen and audio on MacOS, Windows, and Chrome. It offers a clear user interface, making it easy to navigate. As a high-quality recorder, it allows you to record videos in 1080p or even up to 4K. Additionally, it offers full-screen recording and specific recording modes. After recording, you can trim and edit your recordings directly in Loom.
Step 1. Visit the Loom Chrome store and select Add extension.
Step 2. Follow the on-screen instructions to enable your microphone and camera access, then the Loom extension will appear next to your URL bar.
Step 3. Sign up or log into your Loom account to install this service.
Step 4. Click on the Loom Chrome extension and choose a recording mode: Full Screen, Window, Current Tab, or Camera only. Then, select a microphone source.
Step 5. Click Start Recording to start the process. To finish it, click the Stop button.
2. OBS Studio
OBS Studio is also a great Ubuntu screen recorder that is available on Linux, Windows, and Mac. It can capture your screen with audio. Gamers love it because it has a gaming mode and can stream your gameplay.
Step 1. Download and install OBS Studio.
Step 2. Next, go to the Sources section and click the + icon. From the list, select You can select Game Capture if you want to record your gameplay. You can also choose Window Capture to record a specific window.
Choose Audio Input Capture to capture the sound using an external microphone.
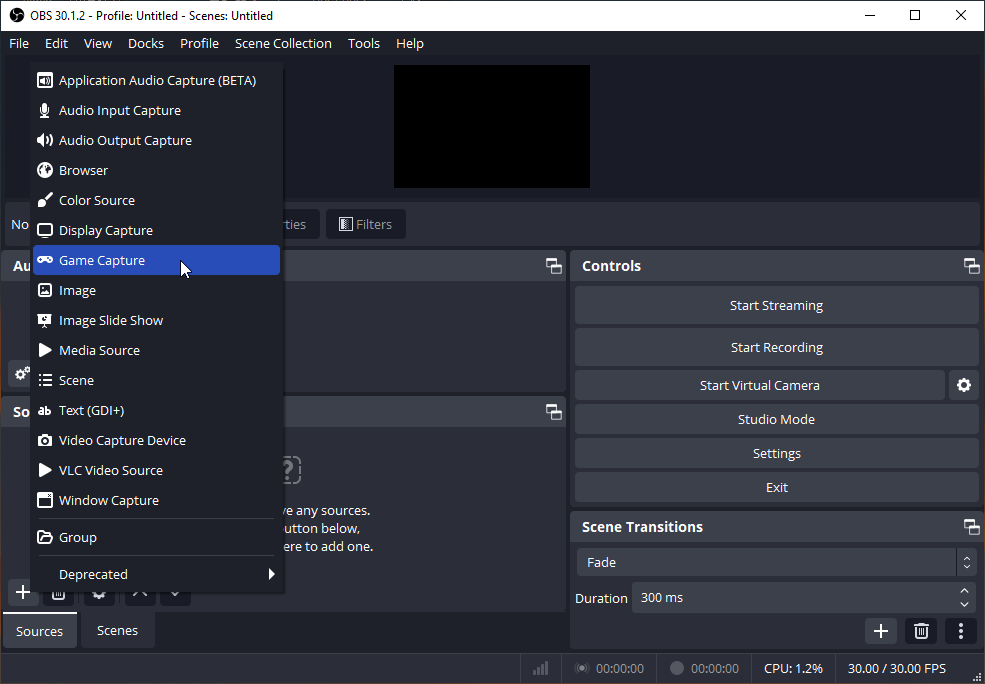
Step 5. Click Start Recording to record on Ubuntu with audio.
Step 6. 6. To stop the recording, click Stop Recording.
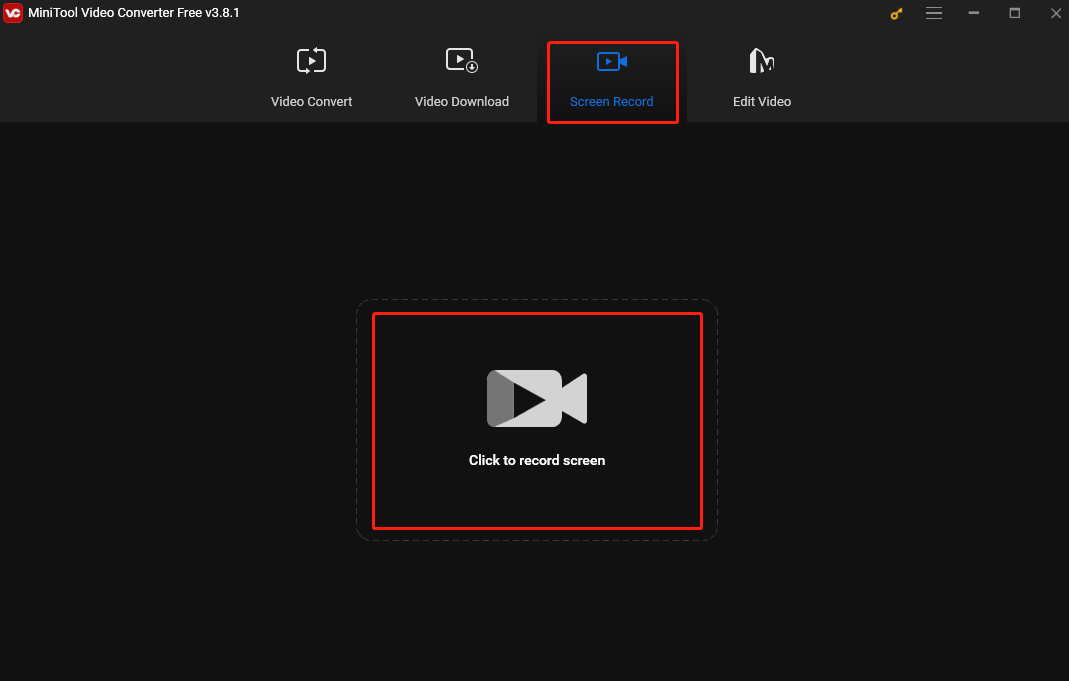
Bonus: Best Free Tool to Record Windows Screen
If you want a free Windows screen recorder, you should never miss MiniTool Video Converter. It’s simple, smooth, flexible, and feature-rich. With it, you can choose to record the system audio, microphone, or both. You can also customize the recording area, frame rate, duration, etc. In addition, MiniTool Video Converter can record your screen at any length and does not add any watermarks on your recorded video.
MiniTool Video ConverterClick to Download100%Clean & Safe
Conclusion
This post shows you how to record on Ubuntu. It also offers 2 handy Ubuntu screen recorders to help you record the screen with audio. Now, pick a method that suits your needs best and start recording. Happy recording!
User Comments :