This guide composed by a video converter free from MiniTool covers everything you need to know about recording WMV files, using WMV screen recorders, and capturing frames from WMV videos. Just read the following content for more details!
WMV, or Windows Media Video, is a popular video file format developed by Microsoft. It’s known for its high compression rate, which makes it ideal for streaming and downloading.

Record WMV Files
Recording WMV files is a straightforward process that can be accomplished using various software tools. Here are the steps to record a WMV file:
Step 1. Choose Your Software
There are several options for recording WMV files, including Windows Media Encoder, Camtasia, and Movavi Screen Recorder. Each has its own set of features and benefits, so choose one that fits your needs.
Step 2. Set Up Your Recording Environment
Ensure that your recording environment is quiet and free from distractions. This will help you capture high-quality video and audio.
Step 3. Configure Recording Settings
Open your chosen software and configure the recording settings. This typically involves selecting the area of the screen you want to record, setting the audio input, and choosing WMV as the output format.
Step 4. Start Recording
Begin your recording session by clicking the start button in your recording software. Perform the actions you want to capture on your screen.
Step 5. Stop and Save
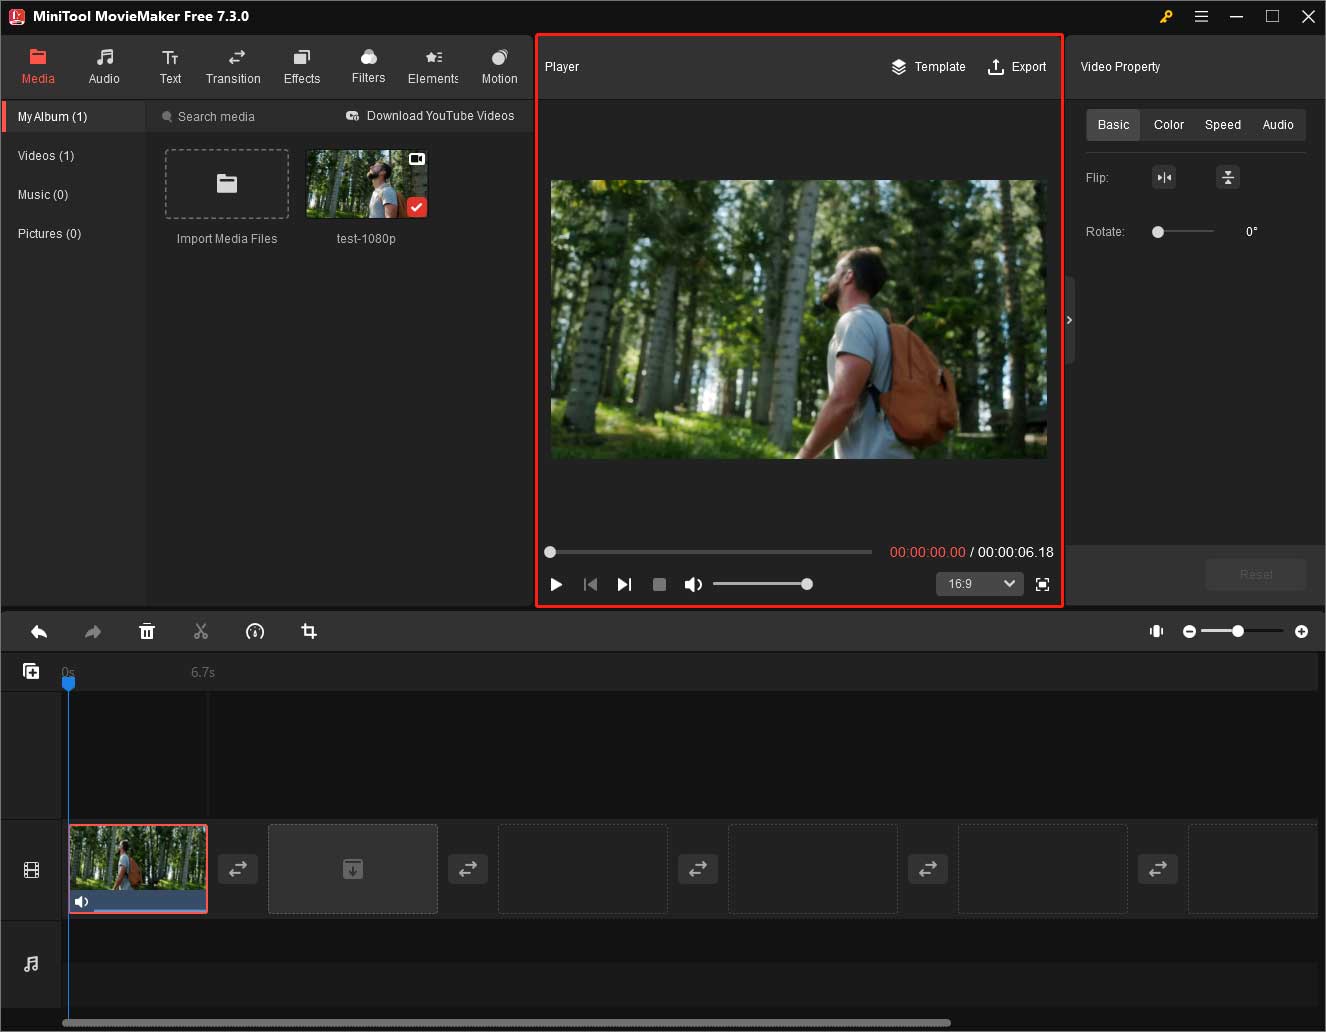
Once you’ve finished recording, stop the recording session. Save the recorded file in WMV format. Most software will allow you to edit and trim video before finalizing it. If your recording application doesn’t have such functions, you can rely on MiniTool MovieMaker to complete the task. MiniTool MovieMaker supports importing and exporting WMV files.
MiniTool MovieMakerClick to Download100%Clean & Safe
MiniTool Video ConverterClick to Download100%Clean & Safe
Top WMV Screen Recorders
Here are the best 3 WMV screen recording software recommended for you.
1. Windows Media Encoder
Windows Media Encoder is a powerful tool for capturing and encoding screen activities into WMV format. Though it’s no longer officially supported by Microsoft, it remains a reliable option for WMV recording.
Features
- High-quality video and audio capture.
- Customizable encoding settings.
- Live and on-demand video streaming support.
2. OBS Studio
Open Broadcaster Software (OBS) Studio is a free and open-source screen recording and live streaming tool that supports WMV format through its flexible output settings.
Features
- Cross-platform compatibility (Windows, macOS, Linux).
- Advanced video and audio capturing options.
- Multiple source recording (screens, webcams, etc.).
3. Camtasia
Camtasia is a professional screen recording and video editing software that supports WMV format among others. It offers a user-friendly interface and extensive editing features.
Features
- High-quality screen recording.
- Built-in video editing tools.
- Customizable recording settings and output formats.
Capture Frame from WMV Files
Capturing individual frames from a WMV file can be useful for creating thumbnails, analyzing video content, or creating still images. Here’s how to capture frames from a WMV file.
#1 Open the WMV File
Use a media player or video editing software that supports WMV files, such as VLC Media Player, Adobe Premiere Pro, or MiniTool MovieMaker, to play the target WMV file.
MiniTool MovieMakerClick to Download100%Clean & Safe
#2 Navigate to the Desired Frame
Play the video and pause at the frame you want to capture.
#3 Capture the Frame
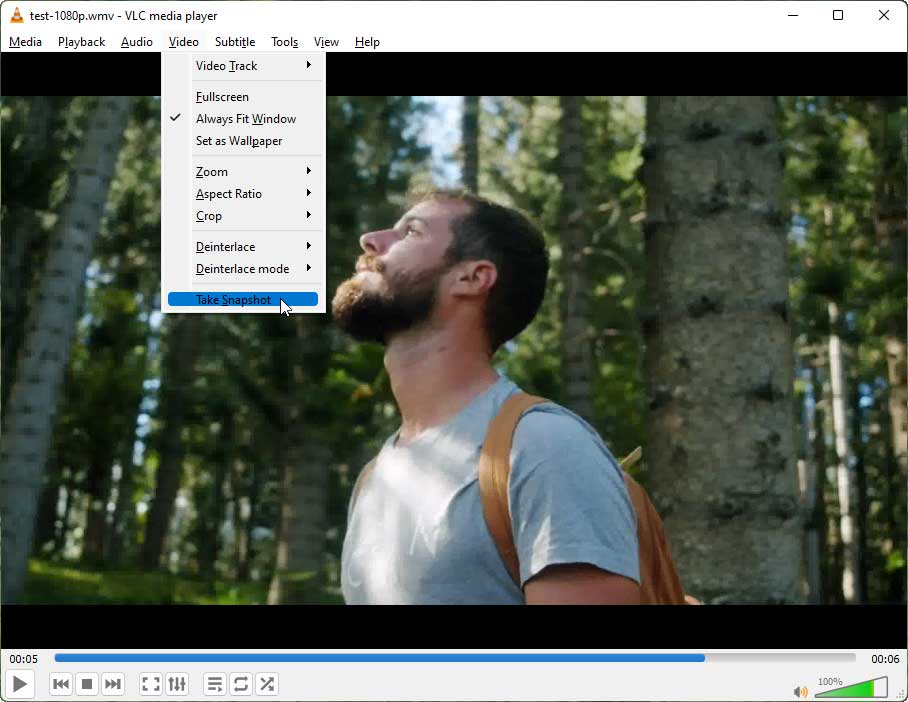
- Using VLC Media Player: Go to Video > Take Snapshot. The frame will be saved as an image file.
- Using Adobe Premiere Pro: Use the Export Frame feature found in the Program Monitor panel. Choose the format and location to save the image.
- Using MiniTool MovieMaker: Just use any screen capture tool to take a snapshot of the current frame.
#4 Save the Frame
Confirm that the frame has been saved correctly. The image file will typically be saved in a default folder like Pictures or a folder specified in the software’s settings.
Conclusion
Recording WMV files, using WMV screen recorders, and capturing frames from WMV videos are tasks that can be easily managed with the right tools and techniques. Whether you’re creating tutorials, saving video content, or capturing specific frames, understanding how to work with WMV files will enhance your digital media projects. Choose the appropriate software for your needs, follow the steps outlined in this guide, and you’ll be able to produce high-quality WMV recordings and captures with ease.
About The Author

Position: Columnist
Helen is a tech writer with over 10 years of experience. She specializes in creating easy-to-follow guides for video editing, media file conversion, and computer performance. Helen doesn't just write—she tests every software herself and listens to feedback from users and experts. Her goal is to make complex programs simple so that everyone can solve their tech problems with confidence.
User Comments :