Do you know how to record Photoshop process? This post from the free video converter will offer 4 handy ways to help you accomplish this task.
Photoshop, or Adobe Photoshop, is a famous and professional editor that can run on Windows and macOS. It’s powerful and feature-rich. Since its invention, this tool has been the most widely used tool for professional digital art, especially in raster graphics editing.
You may want to record the Photoshop process and make a tutorial video and share the recording on social media. But how to record Photoshop process? The following are 4 methods.
Method 1. How to Record Photoshop Process with Photoshop Built-in Tool
The most direct method to record Photoshop process is using its built-in tool.
Here are the steps.
Step 1. Download and install Photoshop on your PC. Then launch it.
Step 2. Click Window on the top of the interface and select Actions from the down-drop list to open the Actions panel. Or press the Alt + F9 keys to open the panel. Create a new action and give it a name.
Step 3. Click the Record button on the New Actions panel to start recording. From now on, this tool will record all your steps.
Step 4. To end recording, click the Stop Playing/Recording button at the bottom of the Actions panel.
![How to Capture Scrolling Screenshot on Windows [Solved]](https://images.minitool.com/videoconvert.minitool.com/images/uploads/2024/08/how-to-capture-scrolling-screenshot-on-windows-thumbnail.jpg)
Method 2. How to Record Photoshop Process with MiniTool Video Converter
MiniTool Video Converter is a free screen recorder that can capture your screen without time limits or watermarks. This recorder allows you to record the system audio and microphone simultaneously and seperately, making it a good tool for creating a tutorial.
The following are the steps.
Step 1. Hit the button below to download and install MiniTool Video Converter.
MiniTool Video ConverterClick to Download100%Clean & Safe
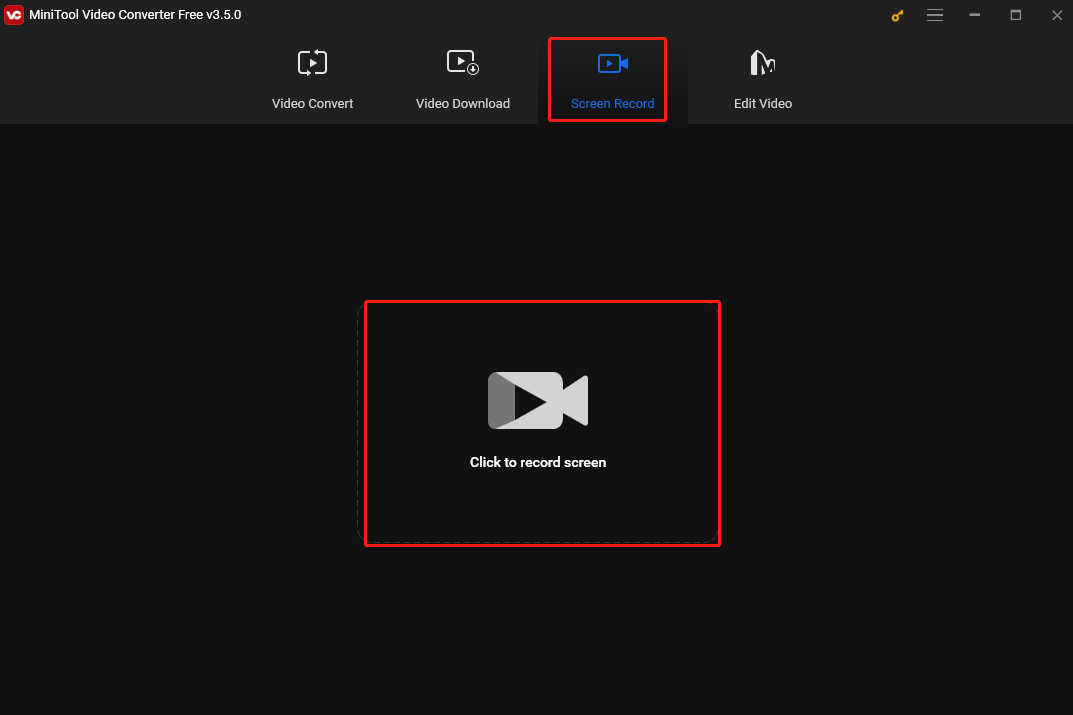
Step 2. Run this software. Click Screen Record and then the Click to record screen area to open MiniTool Screen Recorder.
Step 3. You will record the entire screen by default. To record a specific area, click the Full screen box, choose Select region from the down-drop list, and drag your mouse to select the recording area.
You can also choose to record the system audio or microphone here. You are suggested to record the microphone if you want to make a tutorial. Click the gear icon in the top right corner for more settings.
Step 4. To start the recording, click the Record button or press F6.
Step 5. To stop the process, press F6 again.
After that, you will be redirected to the main interface of MiniTool Screen Recorder. Right-click the recording to preview, rename, delete, or locate it.
Method 3. How to Record Photoshop Process with iTop Screen Recorder
iTop Screen Recorder is an easy-to-use screen recorder for Windows. It simplifies the process of capturing your PC screen and you can record Photoshop process with a few mouse clicks. In addition, this tool allows you to record any part of the screen, capture the Webcam and mic, and draw on the recording.
Below are the steps.
Step 1. Download and install iTop Screen Recorder. Then open this program.
Step 2. Under the Record tab, click Screen and select the screen recording mode. You can record the full screen or a specific area.
Step 3. Click the REC button on the right to begin recording.
Step 4. To end the recording, click the Stop button. Click Files on the left panel and select Video to check your recording.
Method 4. How to Record Photoshop Process with EaseUS RecExperts
EaseUS RecExperts is a feature-rich screen recorder that is good at gameplay recording, video tutorial recording, presentation recording, YouTube recording, and streaming video recording.
Here is a guide on how to record process in Photoshop with EaseUS RecExperts.
Step 1. Download, install, and run EaseUS RecExperts.
Step 2. Click Full Screen to capture the entire screen or choose Region to select a specific recording area manually. You can choose to record the webcam, system sound, or microphone.
Step 3. Click the REC to start recording. You will see a menu bar on your screen. If you want to pause the recording, click the white double vertical icon on the menu bar. Click the red square icon to end the process.
Step 4. Once finished, you will be directed to the list interface and you can view or edit your recordings here.
Conclusion
The post has mentioned 4 methods to help you record Photoshop process. Now pick one you like and start recording.
User Comments :