Dxtory is a video recorder for OpenGL and DirectX applications. It can record the applications with zero quality loss. However, some people may not be familiar with this app. This post from the free file converter offers detailed instructions on using Dxtory and 2 handy Dxtory alternatives.
How to Use Dxtory
Dxtory video recording software can run on Windows 10/8/7/XP and Vista. It offers both a free and a paid version. Here are the steps to record with Dxtory.
Step 1. Download and install Dxtory. Then, open this program.
Step 2. Go to the Overlay Setting tab, check Video FPS, and set other settings here.
Step 3. Navigate to the Folder Setting tab and click the first button under Folder to select a destination to save recordings.
Step 4. Go to Audio Setting, check Record Sound, and pick the audio input source from the Device option.
Step 5. You need to set up the hotkeys before recording since this software does not have a toolbar for recording videos. Go to HotKey Setting and set each hotkey according to your preference.
Step 6. Play the video you want to record and press the recording hotkey to start recording.
Step 7. To end the process, press the stop hotkey.
Best Dxtory Alternative to Record Videos – MiniTool Video Converter
MiniTool Video Converter is a free screen recorder for Windows. It has no time limits or watermarks and saves the recording in MP4 format. The recorder can capture any activities on your screen and offers options to record the system sound and microphone simultaneously or separately. You can also customize the recording area.
Below are the steps to record a video with MiniTool Video Converter.
Step 1. Hit the button below to download and install MiniTool Video Converter on your computer.
MiniTool Video ConverterClick to Download100%Clean & Safe
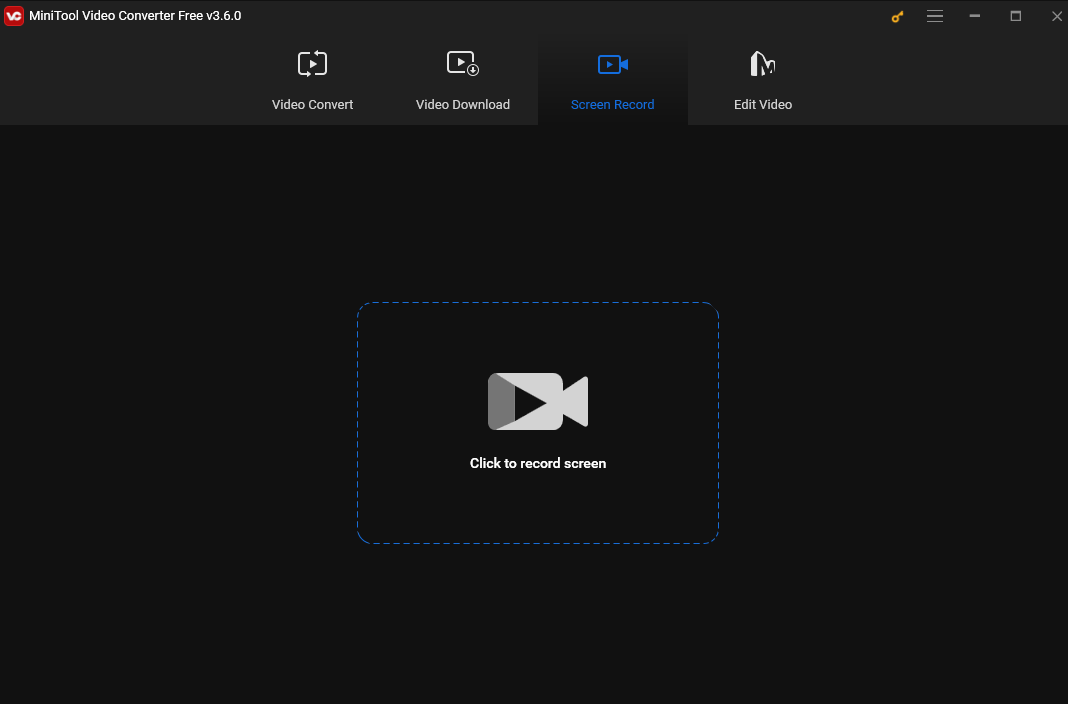
Step 2. Launch the program. Click the Screen Record button and the Click to record screen area to access MiniTool Video Converter.

Step 3. In the MiniTool Screen Recorder window, you can customize the recording area and audio source. By default, this tool records the full screen. If you want to record a specific area, click the Full screen box, choose the Select region option from the drop-down menu, and then move your mouse to select your desired area to record.
To record the system audio, click the speaker icon or turn the system audio on. Or click the microphone icon to record the microphone. You can also turn both on or off.
Step 4. Click the red Record button or press F6 to start recording.
Step 5. To end the recording, press F6. You will be led to the MiniTool Screen Recorder window and you can see your recording here. Right-click it to preview, rename, delete, or locate it.
Another Dxtory Alternative to Record Videos – AnyMP4 Screen Recorder
AnyMP4 Screen Recorder is also a Dxtory Alternative. It can record any Screen activity from a desktop, app, and browser. It can record webinars, online meetings, classes, lectures, and more. It also allows users to record what happens on the whole screen or select any part of the screen they’d like to record.
The following are the steps.
Step 1. Download and install AnyMP4 Screen Recorder on your computer.
Step 2. Launch this tool. Click Video Recorder and you can see the red dotted line on the edge of your screen. This is your recording area. You can Click Custom to select a fixed recording region. You can also click Select region/window to record a special window. If you want to set the size on your own, drag the red point on the side or input the width and length on the bar.
Step 3. Turn on the system sound, microphone, or both based on your needs.
Step 4. Click REC on the right side to begin recording. You will see a little toolbar. Click the camera icon to take a snapshot. To draw or add annotations, click the Toolbox icon.
Step 5. To stop recording, click the red square icon in the top left corner.
Conclusion
This post introduces Dxtory and 2 handy Dxtory alternatives and offers detailed instructions on how to use those 3 screen recorders. Pick one that suits your needs and start recording.


![How to Record Genshin Impact Gameplay [PC & Phone]](https://images.minitool.com/videoconvert.minitool.com/images/uploads/2024/08/how-to-record-genshin-impact-gameplay-thumbnail.jpg)
![What Is the Weverse App & How to Record Weverse [Windows/Phones]](https://images.minitool.com/videoconvert.minitool.com/images/uploads/2024/09/how-to-record-weverse-thumbnail.jpg)

User Comments :