Best Sound Recorder Windows 10
1. Windows Voice Recorder
Windows Voice Recorder is the default audio recording software designed by Microsoft for the Windows operating system, which is totally free.
This software allows you to record audio very easily. After recording audio, it also provides you with very basic tools to edit the recorded audio. You can add markers to the audio to identify important moments. You can trim any irrelevant or unnecessary parts of the audio.
2. Audacity
Audacity is a free Windows 10 sound recorder that provides a fully customizable user-friendly interface. It is compatible with MP3, WAV, FLAC, and AAC audio formats.
The sound recorder provides you with the following two recording modes: you can start a new audio clip every time you press the record button, or you can attach a new audio track to an older audio track. Besides, it offers many audio editing functions, such as noise reduction, equalization, etc.
Related article: How to Convert M4A to MP3 Online
3. Free Sound Recorder
Free Sound Recorder is another free sound recorder Windows 10 that helps you to capture any sound played by your computer and record music from any online music streaming sites.
This free sound recorder can create a schedule to record from the selected source at a predefined time and stop after a desired duration. Besides, it offers a digital audio editor for free that helps you visually edit your recordings.
How to Use Windows 10 Built-in Voice Recorder
The instructions below will show you how to access and use Voice Recorder in Windows 10.
Step 1. Access Voice Recorder
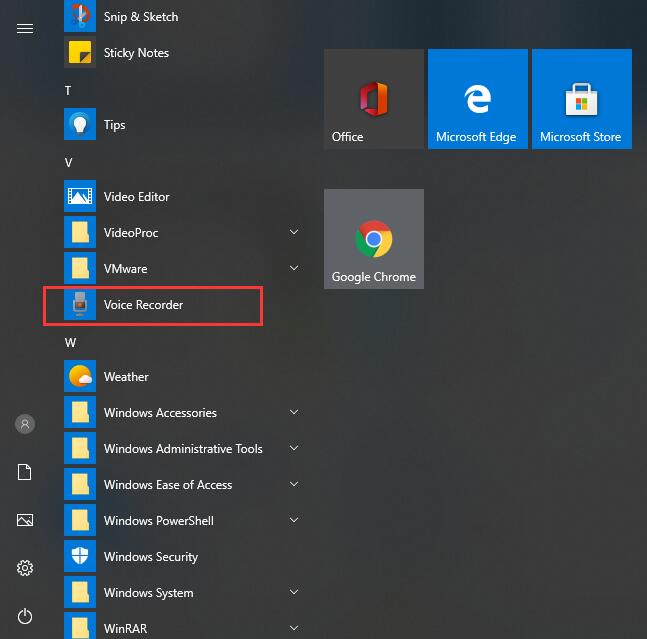
Type Voice Recorder in the Windows 10 search box and then click the relevant result. Or you can find the app in the list of apps from the Start menu.

Step 2. Grant access to the microphone
If this is the first time you access it and there are no previous recordings saved, it will ask for permission to access your microphone. This permission should be given, otherwise, the app does not work.
Step 3. Create a sound recording
- Press the Record button or use the keyboard shortcut Ctrl + R to start your recording.
- Click the Pause button to pause the recording at any time, without ending the current recording session. Tap on the Pause button one more time to resume the recording.
- When you are done, click the blue Stop recording button in the center of the window, or press one of the following keys on your keyboard: Esc, Enter, Spacebar, or Backspace.
- Then your recording will be saved automatically. Once you have at least one recording saved in Voice Recorder, the Record button will be displayed in the lower-left corner of the window, and you can press it at any time to start a new recording.
Note: Keep in mind that the limit for a recording is 2hours 59 minutes and 59 seconds.
Step 4. Play and locate the sound recording
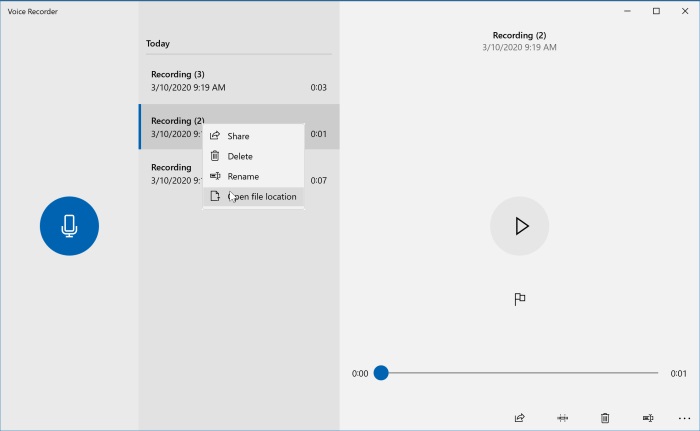
Find out the recording you just created from the left panel. Click the Play button to listen to the recording. To locate the recording file, right-click on it and choose Open file location.

Bottom Line
After reading this post, it would be much easier to record sound on Windows 10, right? If you have any questions or suggestions about it, please let us know via [email protected] or share them in the comments section below.


User Comments :