For Twitch broadcasters, Twitch will only keep their saved broadcasts for 14 days. Want to save these streams for later watching? How to save streams on Twitch? Don’t worry, this post provides you with 2 methods to save Twitch streams (To change Twitch video format, Try MiniTool Video Converter).
Twitch is one of the most popular live streaming services, concentrating on video games and e-sports. On Twitch, you can enjoy live stream online or watch VODs (the content that was previously streamed live) of streamers you have missed. However, all the saved broadcasts of regular broadcasters will be deleted after 14 days, while saved broadcasts of Twitch Partners, Prime, and Twitch Turbo users will be deleted after 60 days.But if the streamers haven’t turned on Store saved podcasts, then you won’t see the past podcasts on their pages. How to save streams on Twitch? The top 2 methods are listed in this post.- Record Live Stream on Twitch
- Download Live Stream from Twitch
Method 1. Record Live Streams on Twitch
To save Twitch streams for offline playback, the safest and simplest method is to record a live stream that you are watching. Before recording a Twitch stream, you need to get permission from a streamer. Then you can use Twitch stream recorders to record Twitch streams.3 Best Free Twitch Stream Recorders to Record Streams on Twitch
- OBS
- Screencast-O-Matic
- VLC
#1. OBS Studio
OBS Studio is the best and widely-used streaming video recorder because it’s free and open-source and works on Windows, macOS, and Linux. It can be used as a screen recorder as well as live streaming software.With this software, you can record any gameplay on Twitch or other platforms, capture sound from a computer or microphone, record your webcam, go live on Twitch, and many more. It offers various output formats such as FLV, MP4, MOV, MKV, TS, and M3U8. You can choose any of them as the output formats.Now, I will walk you through the steps of how to save streams on Twitch.Step 1. Open your web browser, and go to https://obsproject.com/. Once you access its website, click on Download, select the operating system that you are using and click the Download Installer button to download the installer.Step 2. Open the installer and complete the installation. After installing OBS Studio on the computer, launch it to get the main user interface.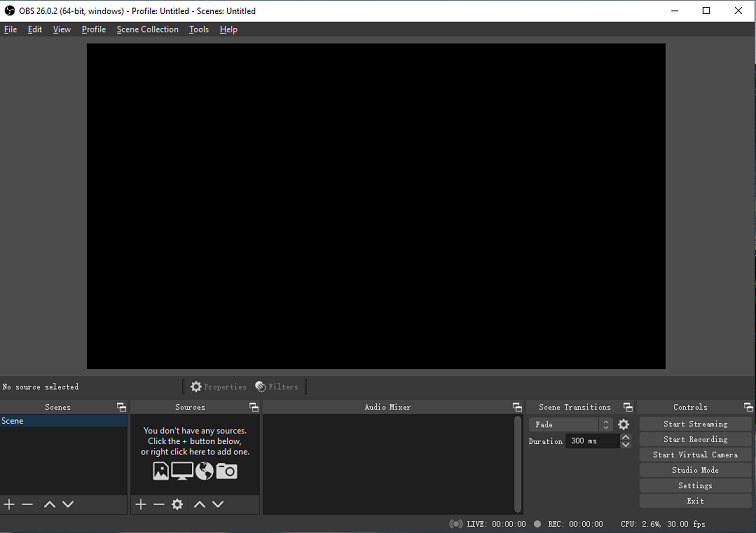 Step 3. Next, you need to set up OBS Studio.Add a source: Go to the Sources tab, click the +, and select Display Capture from the drop-down menu. Give it a name, click on OK and then confirm the operation by clicking the OK button.Adjust the settings: In the Controls tab, click on Settings to open the Settings window. From the Settings window, you can change the General settings (like theme, language), Video settings (like video resolution, FPS), Audio settings (like channels, sample rate), Output settings (like recording format, recording quality, recording path), etc. After that, press on OK to apply the changes.Step 4. Tap on Start Recording under Controls and minimize the OBS window.Step 5. Then visit the Twitch website, log in to your Twitch account and enter the live channel you’d like to record.Step 6. When the live streaming ends, go to OBS and click on Stop Recording.To learn more information about OBS, read this post: How to Use OBS Screen Recorder & OBS Alternative.
#2. Screencast-O-Matic
Another Twitch stream recorder is Screencast-O-Matic. You can use it to make tutorials, how-to videos, video lessons, or other kinds of videos. Meanwhile, it also gives you the ability to record Twitch streams, lectures, and many more. When recording, you can zoom in screen, add captions, and take a screenshot.This tool is a great option for capturing live stream with good quality, but its free version only lets you record videos up to 15 minutes long. If you want to record a video longer than 15 minutes, you can upgrade to Deluxe or Premier version, which comes with a variety of useful tools like video editor, speech to text tool, and script tool.Screen-O-Matic is available on Windows, macOS, iOS, Android and Chrome OS.Follow the steps to learn how to record on Twitch.Step 1. Go to Screen-O-Matic, click on Product > Screen Recorder.Step 2. Click on Record for Free and Launch Free Recorder.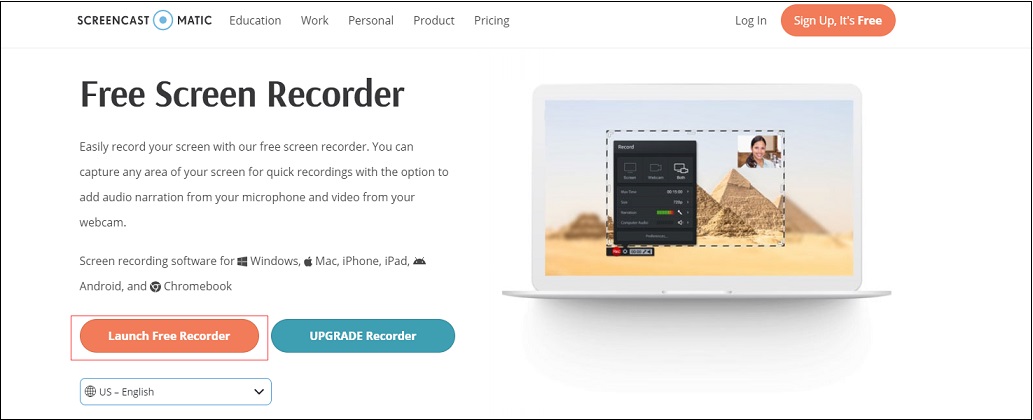 Step 3. Download the Screen-O-Matic launcher and install it on the computer.Step 4. After the installation, you can launch the screen recorder.Step 5. Then you can change the display resolution, enable the computer audio, and start recording your screen.Step 6. Open the Twitch website, access the preferred live channel, and record the Twitch stream.
#3. VLC
VLC, a free screen recorder for Twitch, can record live streams on Twitch easily. Unlike other screen recorders, VLC not only can record videos but also can download videos from other websites.Here’s how to save streams on Twitch with VLC.Step 1. Download and install VLC on the computer.Step 2. Open VLC and click on Media in the top menu bar.Step 3. From the drop-down menu bar, select the Open Network Stream… option.Step 4. Copy the URL of the Twitch live stream and enter the URL in the address bar. Step 5. Play the Twitch stream and tap on Record to record the Twitch stream.Optionally, click the down arrow icon and choose Stream > Next. From the Stream Output window, click on Add and choose a folder to save the file. After completing the conversion, VLC will automatically save the Twitch streams.
How to record your computer screen? How to record your computer screen with audio? This post will give you an answer. Check out this post right now.
Method 2. Download Live Streams from Twitch
Besides using Twitch stream recorder, you can download Twitch VODs to your computer if Twitch streamers enable Store saved broadcasts.Option 1. Download your own Twitch streams
If you want to download your Twitch VODs after finishing the live stream, here’s how to save Twitch streams.Step 1. On Twitch, click your profile picture in the top right corner of the window and choose Video Producer from the drop-down menu.Step 2. Then click the three dots icon on the stream that you want to download.Step 3. From the drop-down menu, click on Download to save the Twitch stream.Option 2. Download someone else’s Twitch streams
If you want to download someone else’s Twitch videos, Twitch Leecher is a good choice. Twitch Leecher is a powerful Twitch clip downloader for downloading Twitch VODs at no cost. With a neat interface, this tool very easy to navigate and use.Step 1. Download Twitch Leecher from GitHub and follow the instructions to install it on the computer.Step 2. Run Twitch Leecher on your computer.Step 3. Click on the Search button in the top menu bar.Step 4. Go to Twitch and get the Twitch channel you like. Switch to the Videos tab and select Past Broadcasts from the Filter by box.Step 5. Right-click on the wanted video and choose Copy Link Address.Step 6. Go to Twitch Leecher and shift to the Urls tab. Then paste the video link in the box and press on Search to load the video.Step 7. When the Twitch video shows up, you can click the Download button and then specify the resolution size, save path, video length, etc.Step 8. After adjusting the settings, hit the Download button to save the Twitch stream.How to Fix Twitch Broadcasts Are Not Saving
Twitch broadcasts are not saving? Here are three solutions to fix this issue.#1. Check the Twitch settings
If Store saved broadcasts is not enable, the Twitch broadcasts will not be automatically saved. Here’s how:- Go to Twitch, choose Settings by clicking your profile picture.
- Switch to Channel and Videos and check if the Store past broadcasts option is enabled. If not, enable it.
#2. Clear cache
The second solution to fix Twitch broadcasts not saving is clearing browsing data. Here’s how:- Open Google Chrome and click the three dots.
- Navigate to More tools > clear browsing data.
- Select a time range and tap on Clear data.
#3. Use a different browser
If the above solutions still can’t solve the issue “Twitch broadcasts are not saving”, you can use another web browser.How to Make Highlights on Twitch & Export VODs to YouTube
In this part, I’ll teach you how to make Twitch highlights and how to export VODs to YouTube.How to make highlights on Twitch
Follow these steps to make highlights on Twitch.Step 1. Click your profile picture, select the Video Producer option.Step 2. Find the past broadcast that you want to highlight and click on Highlight.Step 3. Set the start and end time of the video. Once done, hit the Publish Highlights.Step 4. It will take a few minutes to finish the process. During the process, you can change the category, language, permission, and add tags. After the process is finished, tap on Save Changes.How to export Twitch VODs to YouTube
Want to share Twitch VODs or highlights with other people? You can export Twitch VODs to YouTube.Here’s how:Step 1. Click your profile picture, find the Video Producer option from the drop-down menu, and click on it.Step 2. Find the VOD that you want to export to YouTube and click the three dots icon.Step 3. Select Export to upload the VOD to YouTube.Conclusion
How to save streams on Twitch? In this post, you’ve learned 2 methods to save Twitch streams. If you have any question about this post, you can contact us via support@minitool.com or leave a reply.How to Save Streams on Twitch FAQ
How do I upload videos to Twitch?
- Log in to Twitch and click on your profile picture.
- Choose Video Producer from the drop-down menu.
- Click the Upload button and select the video from the computer you want to upload.
- Then you can edit the video’s information. After that, tap on Save Changes.
- Go to Schedule Premiere > Publish with Premiere.
- Click on Publish to post the video on Twitch.
Do Twitch Broadcasts automatically save?
Twitch can automatically save your broadcasts, but you need to enable Store saved broadcasts under Settings > Channels and Videos before going live on Twitch.
How to watch past broadcasts on Twitch?
- Go to Twitch and find your favorite streamer and access his or her page.
- Switch to the Video tab and click on Filter by.
- From the drop-down list, select the Past Broadcasts Then you can search for past broadcasts that you’d like to watch.
Can I edit videos on Twitch?
To edit Twitch videos, you can use the Clip Trimming that allows you to trim a Twitch video to keep your favorite part of the video.
User Comments :