Knowing how to convert files is useful nowadays. In this article offerd by the free file converter, I will talk about how to convert FLV and WAV with desktop and online converters: all free and easy. As an extra treat, I will walk you through how to edit WAV files after conversion.
You have an FLV file but all you really want is the amazing music inside. What should you do? You can convert FLV to WAV. In this article, we’re going to dive deep into the world of converting FLV to WAV. We’ll explore what these file formats are, why choosing WAV as the output audio format, and 4 easy and free methods you can use to make the conversion happen smoothly. So, let’s get started!
Understand FLV and WAV Files
First of first, let’s talk about what exactly FLV and WAV files are.
What Is an FLV File
FLV stands for Flash Video. Developed by Macromedia (now Adobe), FLV is a container file format and has been around for quite some time. FLV can contain both video and audio data. FLV files are often used for streaming video content, like TV shows, movies, etc. on the internet.
FLV was really popular back in the day because it could keep file sizes relatively small while still giving you pretty good video quality. This was just perfect for those websites that had to get video content to users super fast, no matter what kind of internet connection speed they had.
But as time went on and technology kept evolving, other video formats started to steal the spotlight and become more well-loved. Even so, FLV still holds a special place in the history of online video and is still used in some applications today.
What Is a WAV File
Now, let’s talk about WAV. WAV stands for Waveform Audio File Format. It is an audio file format for storing an audio bitstream on personal computers. Developed by IBM and Microsoft, WAV is the main format used on Microsoft Windows systems for uncompressed audio.
The advantage of WAV audio files is that they offer excellent sound quality because they are uncompressed. They store audio data in a raw format, which means they can accurately represent the original sound. WAV files are often used in professional audio production, such as in recording studios. However, the downside is that WAV files tend to be quite large in size compared to compressed audio formats like MP3.
Why WAV
You might be curious as to why we’ve decided to convert FLV to WAV instead of MP3. After all, MP3 is much broader compatible. It’s supported by most software, hardware, media players, devices, and platforms. Additionally, it is way smaller.
So, what gives? Well, the main reason for choosing to convert FLV to WAV is to significantly enhance the audio quality. As I briefly mentioned above, WAV is an uncompressed format. This means it can deliver audio quality that’s incredibly close to the original sound. Musicians, sound engineers, and fellow audio enthusiasts love WAV files.
On the other hand, MP3, just like FLV, is a compressed format. When audio is compressed into an MP3, some of the original audio data gets lost along the way. As a result, the sound quality is only moderate. That’s why, if you care about the audio quality, converting FLV to WAV is the way to go!
How to Convert FLV to WAV
Here comes the highlight. In this part, I will walk you through 4 free and easy methods to convert FLV to WAV: 1 desktop tool and 3 online services.
- MiniTool Video Converter [Desktop]
- Convertio [Online]
- FreeConvert [Online]
- Zamzar [Online]
Convert FLV to WAV on Desktop
Desktop software gives you more flexibility and often better conversion quality compared to online converters. With so many desktop converters, I highly recommend MiniTool Video Converter for this job.
Get to Know MiniTool Video Converter
MiniTool Video Converter is easy to use and doesn’t have size limits, watermarks, ads, or bundles. With its clean and simple interface, you’ll find it a breeze to navigate and operate even if you use it for the first time. It supports a great number of video and audio formats, such as FLV, MP4, MOV, MKV, WebM, AVI, WAV, MP3, M4A, and AAC. You can also convert your file to YouTube, Instagram, Facebook, iPad, iPhone, Android, and Samsung.
Another useful feature of MiniTool Video Converter is that it allows you to customize the audio channel, sample rate, bitrate, and encoder, as well as the video encoder, resolution, frame rate, and bitrate. To save time and energy, it includes a batch conversion feature, enabling you to convert up to 5 files simultaneously.
Let’s See How to Convert FLV to WAV with MiniTool Video Converter
Step 1. Hit the button below to download and install MiniTool Video Converter on your Windows PC.
MiniTool Video ConverterClick to Download100%Clean & Safe
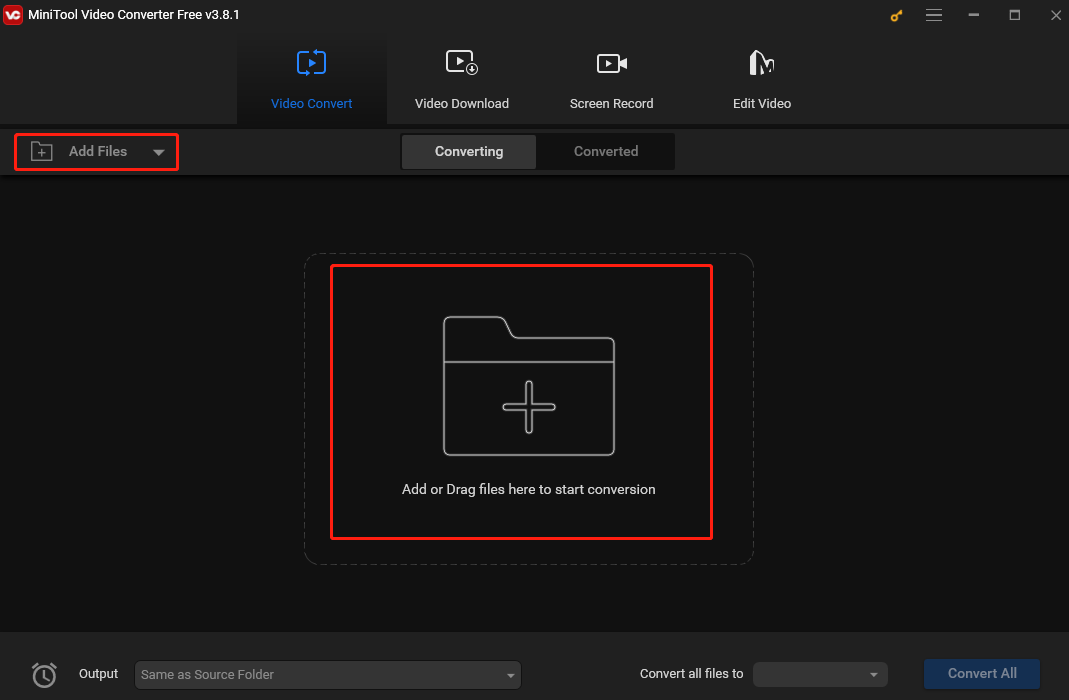
Step 2. After installation, open this program. Click the Add File button or the Add or Drag Files here to start conversion area to load the FLV file. You can also click the inverted triangle icon and choose Add Folder to load a folder.
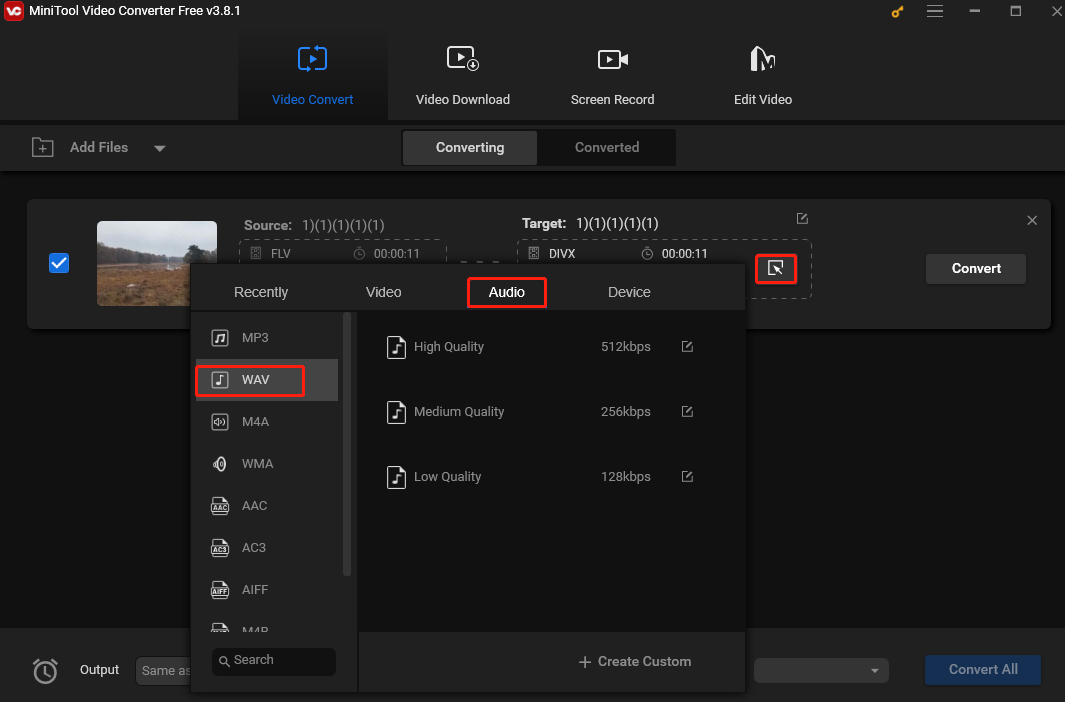
Step 3. Click the Edit icon under Target to open the output format window. Then, go to Audio and choose WAV as the output format from the left sidebar. On the right, you will see 3 pre-made profiles with different qualities. Pick your desired one.
If you have loaded multiple files, click Convert all files at the bottom, go to Audio, and choose WAV.
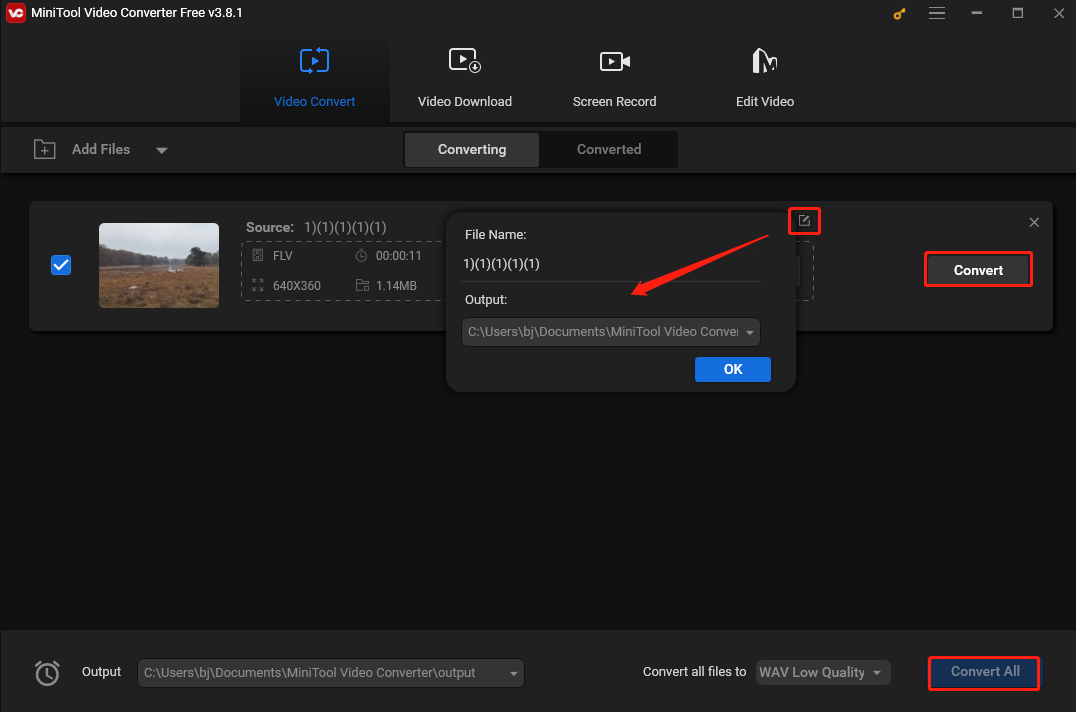
Step 4. Click the pen icon next to Target to customize the name and output folder for the converted file if needed. Then click OK to confirm your changes. After that, click Convert to convert a single FLV file or Convert All at the bottom-right corner to batch convert multiple files simultaneously.
Step 5. When the conversion is finished, you can find the WAV file under the Converted tab and check it by clicking Show in folder.
Handy Extra Features of MiniTool Video Converter
- Record all activities on your screen, such as gameplay, online meetings, video calls, etc.
- Capture your 4K screen with different qualities.
- Customize the recording area, audio source, duration, frame rate, etc.
- Reduce your file size.
- Download YouTube videos, music, subtitles, and playlists.
Convert FLV to WAV Online
Online converters are a great option to convert FLV to WAV. The advantage of online converters is that they are very convenient. They can work on any operating system as long as you have an internet connection. You don’t need to install any software on your computer. However, their free versions typically have limitations on the file size you can convert, and the conversion speed can be affected by your internet connection.
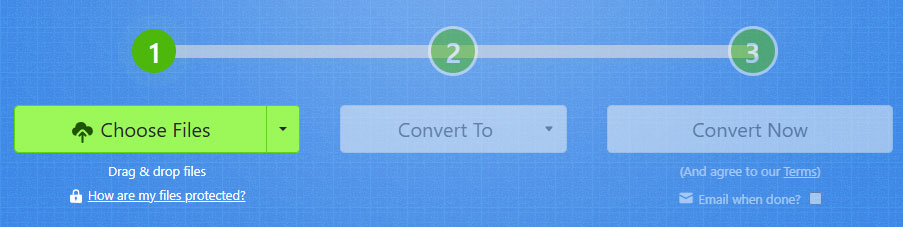
1. Convertio
Convertio is a popular online converter that can convert FLV to WAV online for free. It apports all popular audio and video formats, including FLV, MP4, MOV, AVI, MP3, WAV, AAC, etc. You can load the FLV files from your computer, Dropbox, and Google Drive. However, the free version only allows you to load the file size up to 100 MB.
Here’s how:
Step 1. Visit the Convertio website using your browser.
Step 2. Click Choose Files to load the FLV file.
Step 3. Expand the output format list, go to the Audio tab, and choose WAV as the output format.
Step 4. Click Convert to convert FLV to WAV. Don’t forget to download the converted file after conversion.
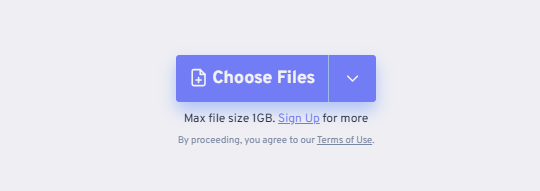
2. CloudConvert
CloudConvert is also an excellent free online FLV to WAV converter. It supports a wide range of file formats. It also gives you options to trim audio and change audio codec, bitrate, channel, sample, and volume.
Here’s how:
Step 1. Use the CloudConvert website.
Step 2. Click Choose Files to load the FLV file you wish to convert.
Step 3. Click the inverted arrow icon near Output. In the following output format window, go to the Audio tab, and select WAV as the output format.
Step 4. Click the Convert button to begin the process. Once finished, download the converted file before it is deleted.
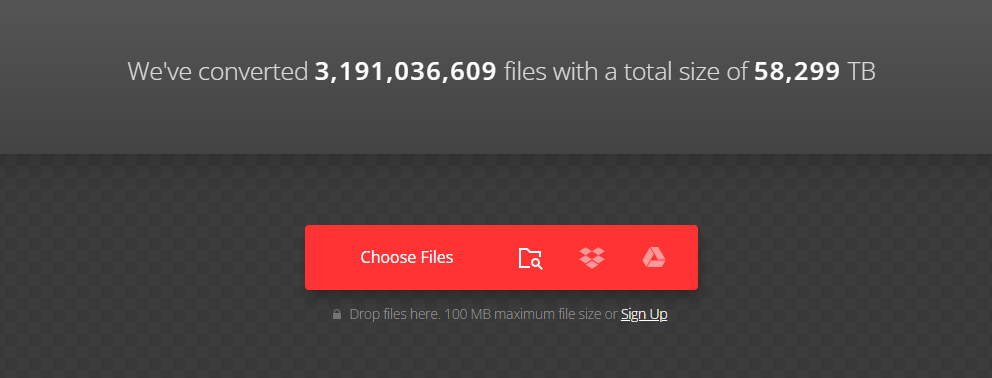
3. Zamzar
Another reliable free online tool that can extract WAV from FLV is Zamzar. This tool is feature-rich and can convert documents, images, videos, and audio. With its intuitive user interface and simplified conversion process, you can convert FLV to WAV with just a few simple mouse clicks.
Step 1. Open your browser and enter the Zamzar website. Click Choose Files to upload the FLV file.
Step 2. Click Convert To to open the output format menu list. Scroll down to the Music formats section, and select WAV as the output format.
Step 3. Finally, click the Convert Now button to start the FLV to WAV conversion.
Bonus: How to Edit WAV Files
There you go! Now, you’ve successfully got that awesome audio track extracted from the FLV file and saved it in the WAV format. But, do you really want to stop right here? Let’s take this audio to the next level and make it even more spectacular. So, what exactly should we do? Well, we’re going to edit it! Which editor should we use? We’ll use MiniTool MovieMaker!
MiniTool MovieMaker is a beginner-friendly and completely free video editor without watermark that helps you make a wonderful movie using your own video, music, and images. This tool is feature-rich. It allows you to apply fade-in and fade-out effects, adjust the volume, change the audio speed, and reverse audio. You can also split your audio track into multiple clips and cut the part you don’t want.
Let’s see how to edit your WAV audio file using MiniTool MoveiMaker.
Step 1. Download, install, and launch MiniTool MovieMaker. Close the New Project window to access its main interface.
Step 2. Click Import Media Files to load the WAV audio.
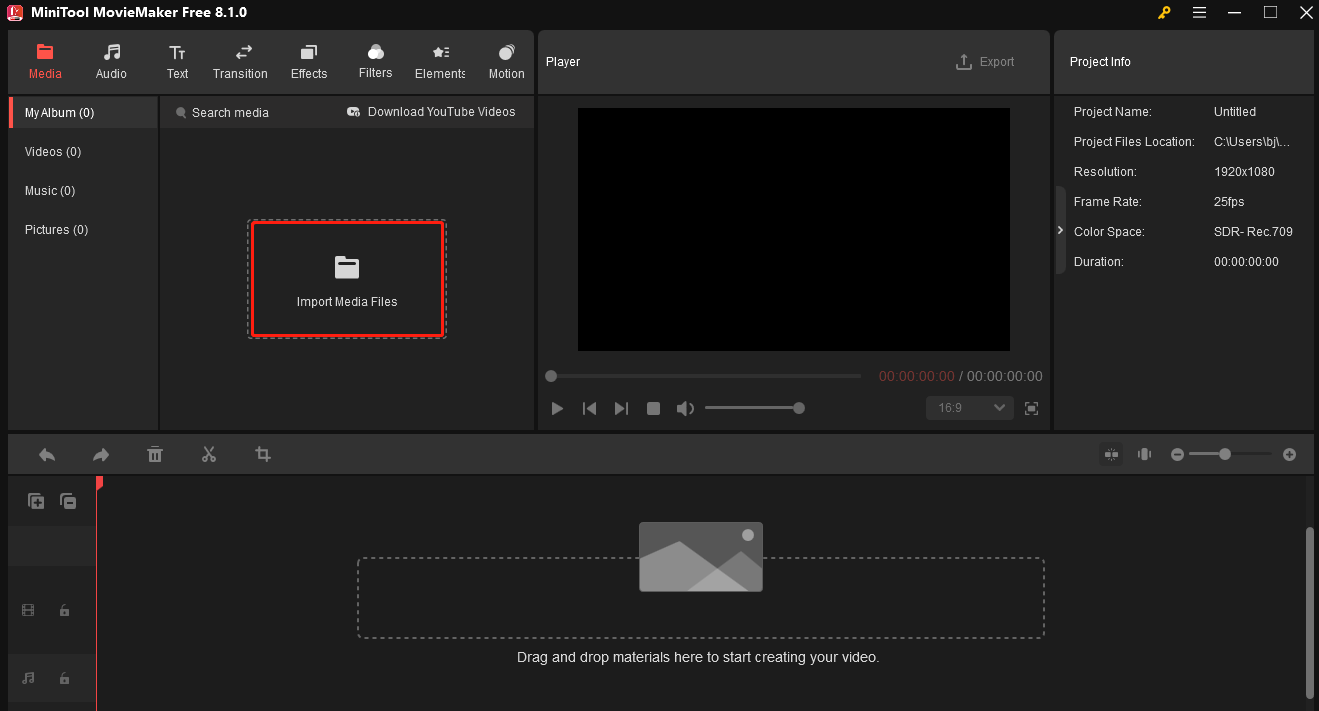
Step 3. Drag and drop the audio to the timeline or click the + on the audio thumbnail to add it.
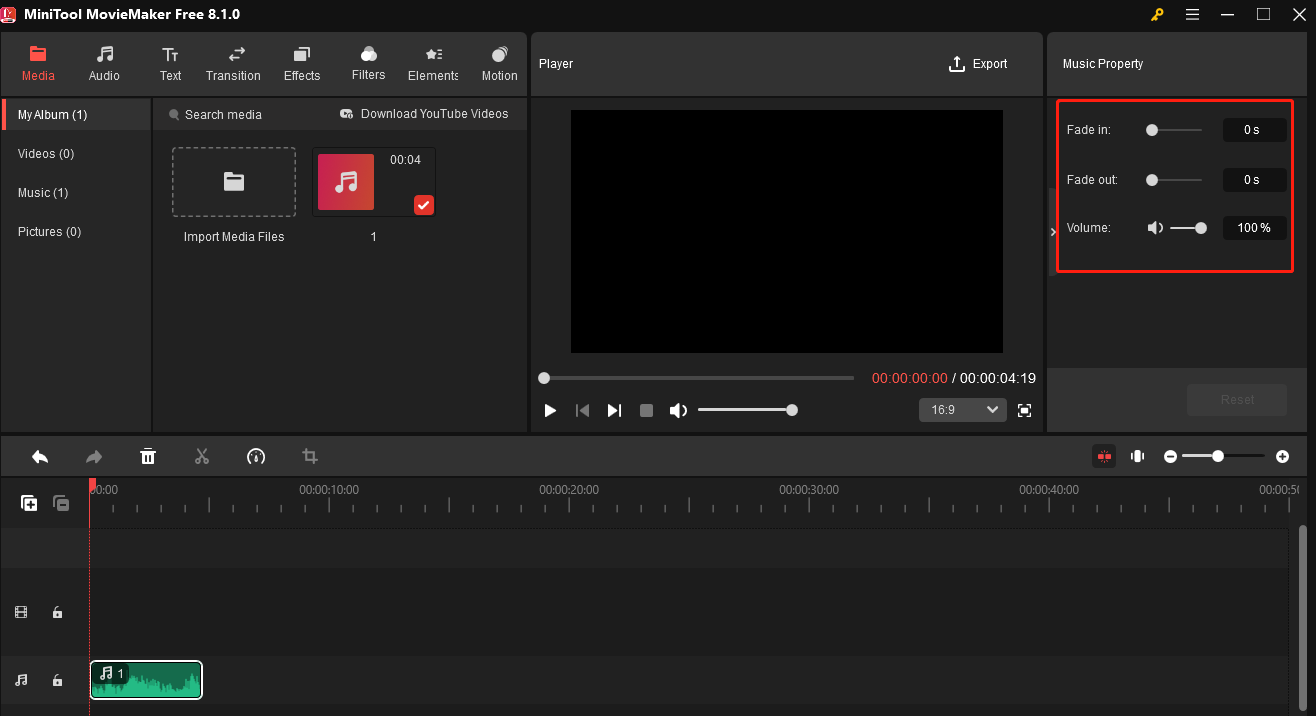
Step 4. Go to Music Property on the right of the interface to edit the audio.
- Fade in & Fade out: Drag the sliders or input the appropriate seconds value to change the duration of the Fade in and Fade out effects.
- Volume: Move the Volume slider leftwards/rightwards to decrease/increase the volume of the video. You can input the required volume percentage in the small black box.
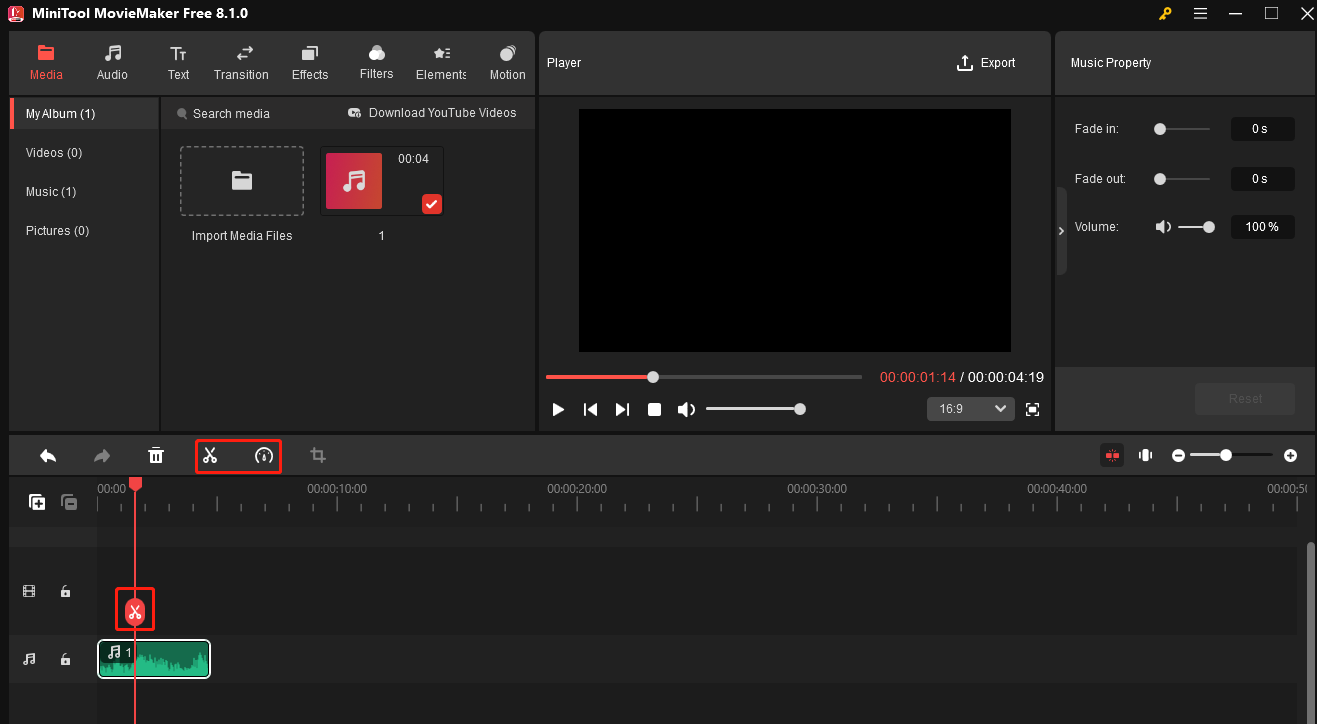
Step 5. In the timeline, you can split the audio and change the audio speed.
- Split audio. Drag the playhead to the place where you want the split to occur. Click the scissors icon on the playhead or click the scissors icon on the timeline toolbar. Then you can right-click on the clip and choose Delete to get rid of it or Edit to edit it.
- Change speed. Right-click on the speed icon and choose Fast, Slow, or Reverse based on your needs.
Step 6. Click Export. In the Export window, you can change the file name, output format, and destination folder. Finally, click the Export button.
Conclusion
It’s a smart move to extract audio from FLV if you only want the music. Since WAV is uncompressed, which means it offers excellent audio quality, we recommend saving the audio in this format. This article offers you 4 free and easy methods to convert FLV to WAV. Whether you prefer a desktop tool or an online converter, this guide has you covered. After conversion, it’s also very important to edit the audio especially when you want to share it with others or on social media platforms.
With the knowledge and tools I’ve shared, you’ll be able to enjoy your audio content exactly how you want. So, what are you waiting for? Go ahead and start converting those FLV files to WAV right away!
Finally, if you come across any issue when using MiniTool Video Converter or MiniTool MovieMaker, feel free to contact me on Twitter. I’m here to help you every step of the way. Have a nice day filled with great music!
User Comments :