XviD is an open-source MPEG-4 video codec compatible with DVD players. It has good performance and high compression speed. Although XviD is free and available to a wide range of platforms, only a few screen recorders can output the recording in the format. How to record screen in XviD? All you need is a reliable XviD recorder. Read this post from the free file converter and find more details.
XviD Recorder for Windows – AnyMP4 Screen Recorder
AnyMP4 Screen Recorder is a powerful tool and can record popular videos, gameplay, Skype calls, or any other on-screen activities without time limits. It can record video with full screen, specific window, or selected area. It allows users to capture video with audio from system sound and microphone audio. It also enables users to record the on-screen activity with their faces. In addition, AnyMP4 Screen Recorder supports adding annotations and other drawing effects to the recording video.
Step 1. Download, install, and open AnyMP4 Screen Recorder on your PC.
Step 2. Choose the Video Recorder option. In the Display section, you can record your screen either in full screen or by selecting a custom region. Later, you can set the input audio source to either System Sound or Microphone.
Step 3. Click the Settings icon. In the following window, you can adjust video resolution, frame rate, hotkeys, mouse effects, and more. Click OK to confirm the changes.
Step 4. Click REC to start recording. You can click Edit to add text, lines, arrows, and other custom shapes to your video recording.
Step 5. Once finished, you will be led to the Preview window. Here you can preview and trim the recording video. Click Save to export the video recording. The default output video format is MP4, so you need to choose XviD as the output format.
XviD Recorder for Mac – Aiseesoft Screen Recorder
Aiseesoft Screen Recorder is an ideal XviD recorder. It allows you to capture any screen video with ease, making it ideal for recording video games, video calls, and more. You can choose to record in full screen or customize the screen size to fit your needs. The software also highlights cursor movements, making it easy to follow during recordings. In addition to XviD, you can save your recordings in various formats, including WMV, MP4, MOV, AVI, GIF, and TS, ensuring easy playback and sharing.
How to record screen in XviD with Aiseesoft Screen Recorder? See as follows.
Step 1. Download and install Aiseesoft Screen Recorder.
Step 2. Run this program. Choose Video Recorder to open the main interface. To set the video format, click the Gear icon to open the Preferences dialog and choose XviD as the output format.
Step 3. Turn on Display and set the recording region, like Full screen or Custom area. Enable System Sound and adjust the volume.
Step 4. Click the REC button to begin the recording.
Step 5. Click the Stop button to enter the preview window. Finally, click the Save button.
Best Recorder for Windows – MiniTool Video Converter
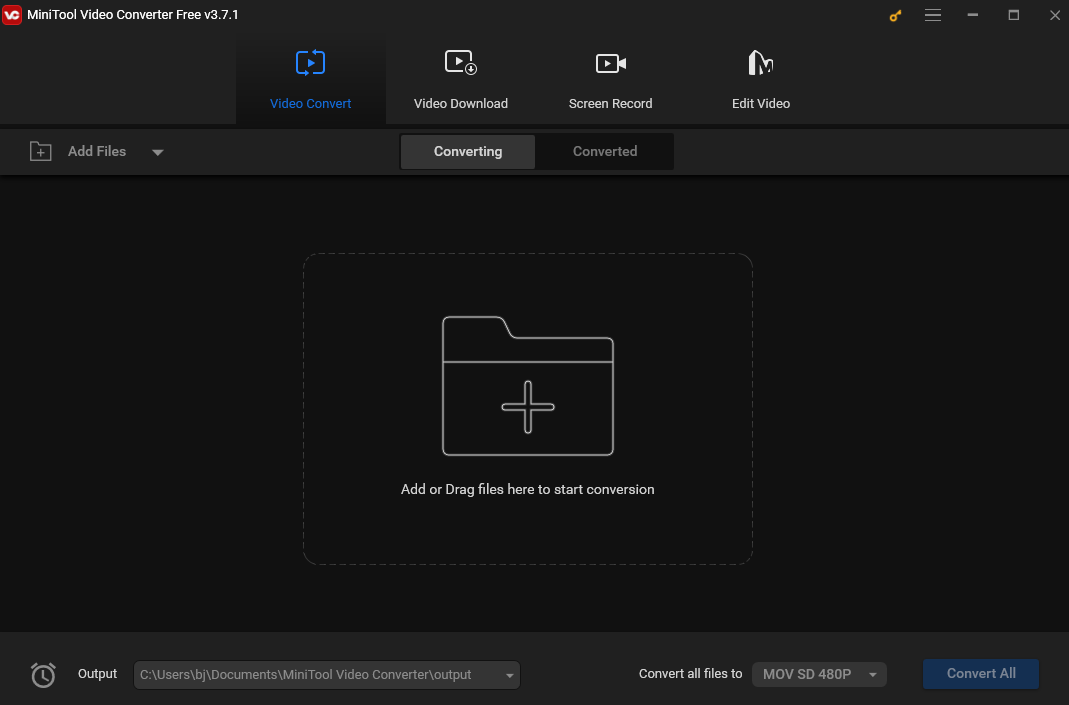
MiniTool Video Converter is a free screen recorder for Windows that can record any on-screen activities. It allows users to capture the entire screen or customize the recording region based on their needs. Additionally, this recorder offers options to record internal audio, microphone input, or both. It also supports 4K screen recording at various quality settings, including standard, high, and original.
MiniTool Video Converter offers a clear and intuitive interface. Whether you want to use it to record online meetings, online streaming videos, video tutorials, presentations, gameplays, or other activities on your screen, this tool can help you get the job done easily.
In addition to the screen recording feature, MiniTool Video Converter can function as a file converter, a video/audio compressor, and a YouTube Downloader.
MiniTool Video ConverterClick to Download100%Clean & Safe

Conclusion
This post offers 2 recorders to help you record screen in XviD. Now pick one and let the fun begin.


![What Is the Weverse App & How to Record Weverse [Windows/Phones]](https://images.minitool.com/videoconvert.minitool.com/images/uploads/2024/09/how-to-record-weverse-thumbnail.jpg)
User Comments :