Wistia is a platform to host your videos. This video hosting site allows you to create professional videos in minutes. You can create videos simply by using your computer’s camera. Sometimes you may want to record the video on Wistia. But, how to record video from Wistia? Read this post offered by the video converter and let’s find out together.
How to Record Video from Wistia Online
Wistia offers an online recorder to help you record your screen and Webcam at the same time. To access the online tool, you need to log in to your Wistia account first. Once you’re logged into your Wistia account, follow the steps below to learn how to record video from Wistia online.
Step 1. Open the Studio tab on the left sidebar and click the Create button in the top-right corner.
Step 2. Select the New Recording option to open the online video recorder.
Step 3. Navigate to the Record my menu, select Camera & Screen from the dropdown, then decide if you want to record the browser tab, the browser window, or the entire screen.
Step 4. By default, Wistia records the screen with the system audio. You can also choose to record the audio from the microphone. Open the webcam if you want to capture your face while recording.
Step 5. Click the Start Recording button in the bottom-right of your screen and the tool will start recording after a 3-second countdown.
How to Record Video from Wistia Offline
You can also use a desktop recorder to record Wistia video offline. I have selected 2 reliable screen recorders for you based on my experience.
#MiniTool Video Converter
MiniTool Video Converter is a free screen video that can capture any activities on your Windows computer screen. It allows you to record your screen as long as possible and does not add watermarks to your video. As a high-quality recorder, it allows you to record the 4K screen with high, standard, and original quality. This tool is flexible. You can record the whole screen or a specific area. You can also record the screen with or without the system audio and microphone. Moreover, MiniTool Video Converter enables you to adjust the recording output folder, frame rate, etc.
Let’s walk through the steps to record Wistia video with MiniTool Video Converter.
Step 1. Download and install MiniTool Video Converter on your computer. Then open it.
MiniTool Video ConverterClick to Download100%Clean & Safe
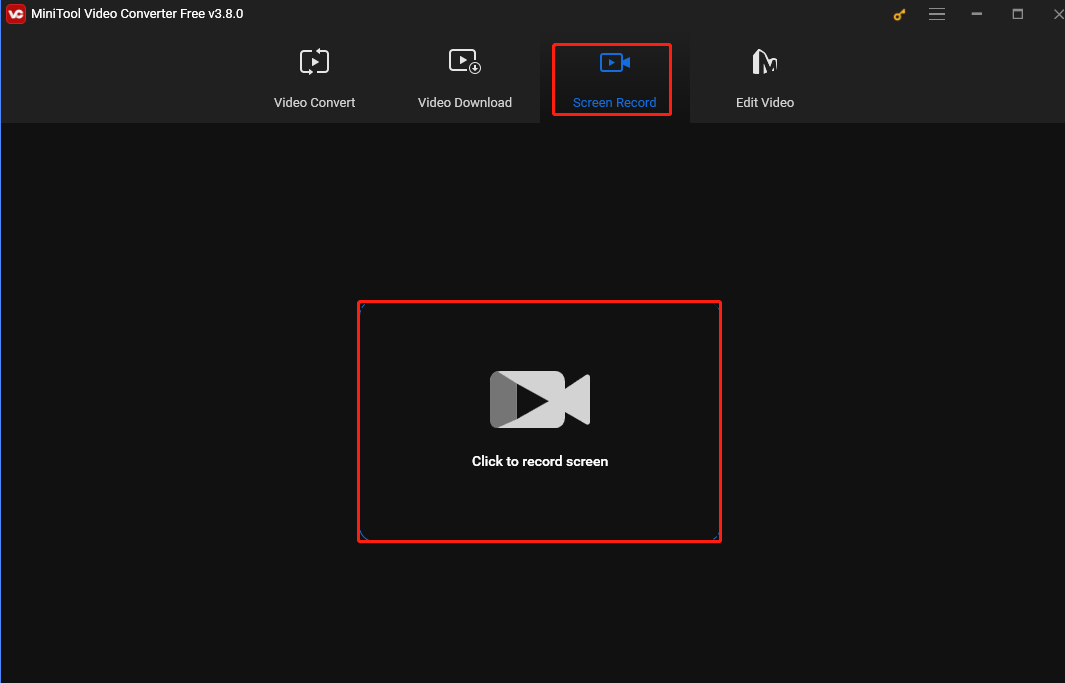
Step 2. Click Screen Record and hit the Click to record screen region to open MiniTool Screen Recorder.

Step 3. By default, MiniTool Screen Recorder records the full screen. To customize the recording area, click Full screen, choose the Select region option from the dropdown, and then click and drag the cursor to choose the recording area you want.
You can also choose to record the internal and external sounds by clicking the System Audio and Microphone icons.
Step 4. Open the video you want to record. Press the F6 key on the keyboard or click the Record button on the MiniTool Screen Recorder panel. After a 3-second countdown, the tool will start recording the video. You can also press F9 to pause and resume the recording process.
Step 5. To end the process, press F6 again. Then MiniTool Screen Recorder panel will appear on your screen. Right-click the recording to preview, rename, delete, or locate it.
#QuickTime Player [Mac]
For Mac users, you can use QuickTime player to record Wistia video. It’s a built-in application on Mac. This tool can play media files, convert files, and, what’s more, record your screen with the microphone. To record the system audio, a third-party application like Soundflower is needed. Follow the steps below to record video from with Wistia with QuickTime Player.
Step 1. Open QuickTime Player.
Step 2. Hit File at the top menu bar and select the New Screen Recording option.
Step 3. Click the inverted arrow next to the Record icon and select your microphone to record audio.
Step 4. Open the video you want to record. Click the Record icon on QuickTime Player and hit anywhere on the screen to record the whole screen. To record a specific area, click and drag the mouse cursor and choose the recording area. Then click the Start Recording button.
Step 5. To end the process, click the Stop icon or press Command + Control + Esc. Finally, click File, select Save, and choose a folder to save the recorded video.
Conclusion
Wistia is a good video hosting service. This post offers 3 methods to help you record video from Wistia with its built-in recorder and 2 third-party tools. Whether you want to record online, on Mac, or on Windows, you can always find a method in this post.


User Comments :