Available on Windows and Linux, Half-Life: Alyx is a popular video game that focuses on first-person shooting. Created by Valve, this game has a huge user base. Meanwhile, a growing number of users want to record Half-Life: Alyx gameplay to share their happiness with their friends. In this background, this article is written here.
How to Record Half-Life: Alyx Gameplay on Windows
It is momentous for you to find a powerful screen recorder to help you record Half-Life: Alyx gameplay on Windows. However, some of you may not know well about screen recording. Given this, I highly recommend MiniTool Video Converter and will offer you an in-depth screen recording guide in the following content.
Overview of MiniTool Video Converter
MiniTool Video Converter, as an offline screen recorder available on Windows, allows you to record a wide range of computer activities, such as gameplay videos, online meetings, video calls, and so on. In addition, this screen recorder never requires any payment.
More importantly, MiniTool Video Converter enables you to record your screen without any watermarks or time limits. Meanwhile, it has an intuitive interface, which makes MiniTool Video Converter easily accessible to users with different skill levels.
How to Record Half-Life: Alyx Gameplay with MiniTool Video Converter
Below are the detailed steps to record Half-Life: Alyx gameplay using MiniTool Video Converter.
MiniTool Video ConverterClick to Download100%Clean & Safe
Step 1. Click on the download button above to download and install MiniTool Video Converter on your Windows computer. Then, launch this application.
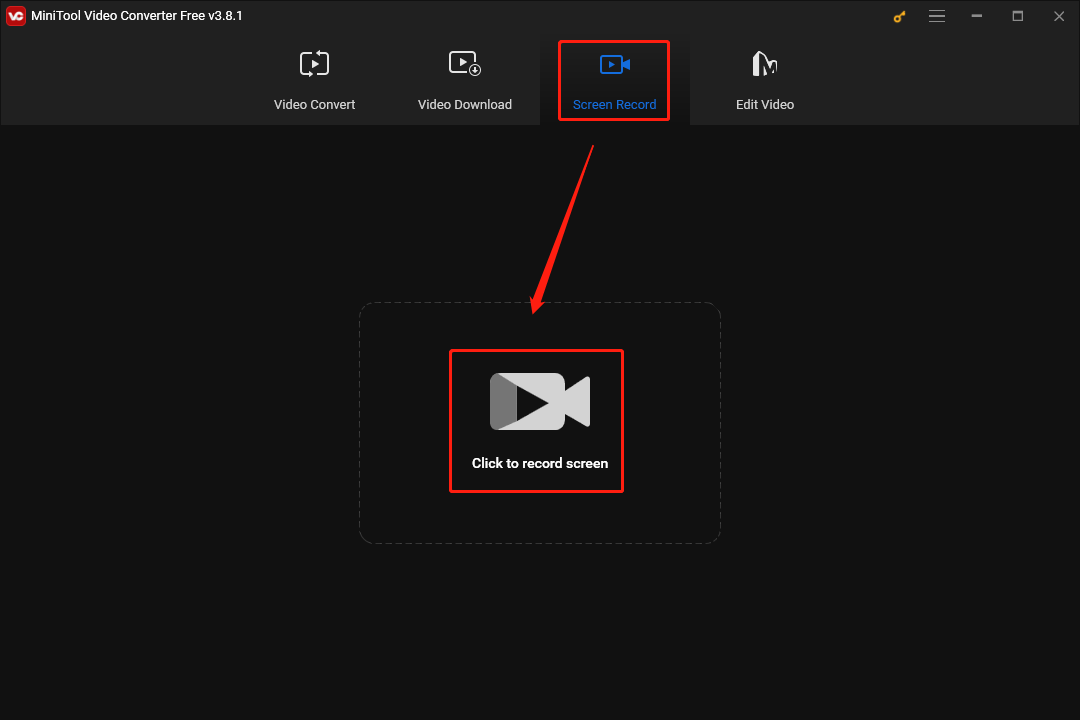
Step 2. Navigate to the Screen Record module and click on the Click to record screen area to access the MiniTool Screen Recorder panel.
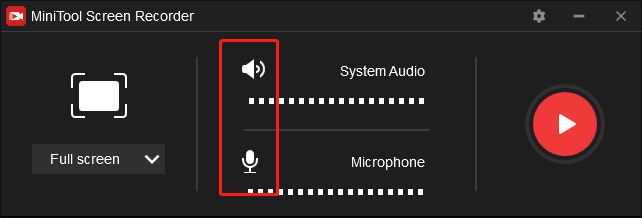
Step 3. By default, MiniTool Video Converter will capture the whole screen. If you want to choose the recording area, just press the Alt + R keys to make a choice.
Step 4. Click on the System Audio icon and the Microphone icon to control the audio recording. Considering that you plan to record Half-Life: Alyx gameplay, it is suggested you turn on the system audio.
Step 5. To configure some settings of screen recording, click on the upper-right gear icon to access the setup interface.
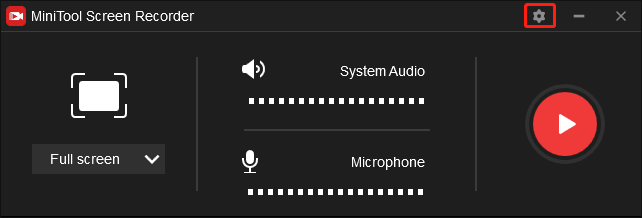
In the pop-up interface, you can set the frame rate as 15fps, 20fps, 25fps, 30fps, or 50fps. Meanwhile, you are free to choose a saving path for your recording file. In addition, you are capable of setting the recording quality as high quality, standard quality, or original quality. Even if you want to adjust the hotkeys, this interface can suit your needs. Finally, click on OK to confirm the changes that you have made.

Step 6. Activate the recording by pressing the F6 key. After a 3-second countdown, move to Half-Life: Alyx and start your game journey.
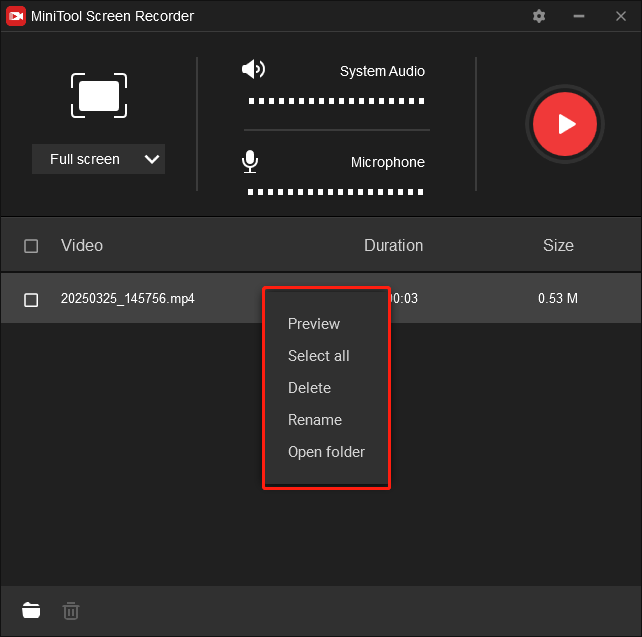
Step 7. Once the recording is done, end it by pressing the F6 key again. Then, you will see your recording file in the file list below the MiniTool Screen Recorder window. Right-click on your recording file and then you can choose corresponding options to manage it.
With the above-detailed instructions, it will never be troublesome for you to record Half-Life: Alyx gameplay on Windows.

How to Record Half-Life: Alyx Gameplay on Linux
If you are a Linux user and want to record Half-Life: Alyx gameplay, this part is for you. In the following paragraphs, I will show you how to record on Linux with a built-in screen recorder.
Step 1. Access the screen recording window by pressing the Ctrl + Alt + Shift + R keys.
Step 2. Switch to the Video tab and choose a recording mode according to your needs.
Step 3. Start your recording by clicking on the red Record button. Then, move to the interface of Half-Life: Alyx and begin your game.
Step 4. Once the recording is over, click on the upper-right red button to terminate it.
Step 5. Go to Home/Videos/Screencasts to check your recording file.
With the guidance above, it will never be difficult for you to record Half-Life: Alyx on Linux.

Wrapping Up
To record Half-Life: Alyx gameplay effortlessly, Windows users should never miss MiniTool Video Converter, while Linux users need to try the built-in screen recorder.
About The Author

Position: Columnist
With over 6 years of experience as a tech writer, Eien specializes in creating clear, simple guides for video conversion, transcription, screen recording, etc. He stays connected with the tech community and its readers to understand the real-world problems users face. By combining their feedback with his own hands-on testing, Eien always provides proven solutions to complex software problems in time.
User Comments :