Working as a professional digital audio workstation, FL Studio features a graphical user interface with a pattern-based music sequencer. You can use it to record and create professional audio work. This program is available on both Windows and macOS operating systems. How to record audio in FL Studio? In the following content, I will show you detailed guidance on how to record in FL Studio. Start our journey now!
What Audio Data Types Can FL Studio Record
With FL Studio, you can record a variety of audio data types. For instance, it enables you to record vocals, instruments, or other sounds from a microphone or line-in. You can also use it to record automation clips for parameters, such as volume or panning. Moreover, it can record MIDI information from keyboards or controllers. Additionally, you can use it to capture pattern data and real-time audio. How to use FL Studio to record audio? Keep reading.
![Learn the Guide on How to Record in Adobe Audition [Step-by-Step]](https://images.minitool.com/videoconvert.minitool.com/images/uploads/2025/02/how-to-record-in-adobe-audition-thumbnail.jpg)
How to Record in FL Studio
There are 4 different editions of FL Studio for both Windows and Mac. You should know that only the FL Studio Producer Edition and higher editions can enjoy the audio recording feature. After you get and install the right edition of FL Studio. Let’s explore how to record voice in FL Studio.
Stage 1. Set Up Audio Settings
After running FL Studio, press the F10 key on the keyboard to open the options settings, go to the Audio tab, and choose an ASIO driver from the Input/Output Device list. Meanwhile, you can adjust other settings, like the sample rate, buffer length, and volume control. If you are a Mac user, you need to go to System Preferences > Security & Privacy > Microphone to permit FL Studio to access your microphone.
Stage 2. Create an Audio Track and Prepare the Mixer
Click the Playlist button or press F5 to open the Playlist, right-click on the empty track, and choose the Insert Audio Track option. Or you can directly drag and drop an audio file into the Playlist. Then you can go to the Mixer, click on the target track, and then click the small box at the top right to choose the input source you want to record.
Stage 3. Arm the Track for Recording
After making the above preparation, you need to arm the track for recording. Simply click the small disk icon on the selected track to arm it for recording. Then when the icon lights up, it means the track is armed.
Stage 4. Select Recording Mode
Click the record button and then a menu will appear. Here are several recording mode options, like Score and automation, Audio into the playlist, and others. You can choose one from them.
Stage 5. Start Recording in FL Studio
Click the Play icon or press the spacebar key on the keyboard to start recording in FL Studio. Once you want to end the recording, press the spacebar key again.
Stage 6. Edit and Export the Recorded Audio
Then the recorded audio clip will appear in the Playlist. You can use its editing tools to refine the recorded audio. Next, click the File tab from the top menu, navigate to Export, and choose a format you like to save the recorded audio clip.
With the above step-by-step guidance, you can master how to record voice in FL Studio.
![How to Record Now TV Shows with Ease [Ultimate Guidance]](https://images.minitool.com/videoconvert.minitool.com/images/uploads/2025/02/can-you-record-now-tv-thumbnail.jpg)
Recommended Screen Recorder for Tutorial Video Recording
When you master how to record in FL Studio by reading this post, you may want to do something to help others who are looking for tutorials to record in FL Studio. You can share this post with them. Alternatively, you can use a screen recorder to record and create a tutorial video for FL Studio recording.
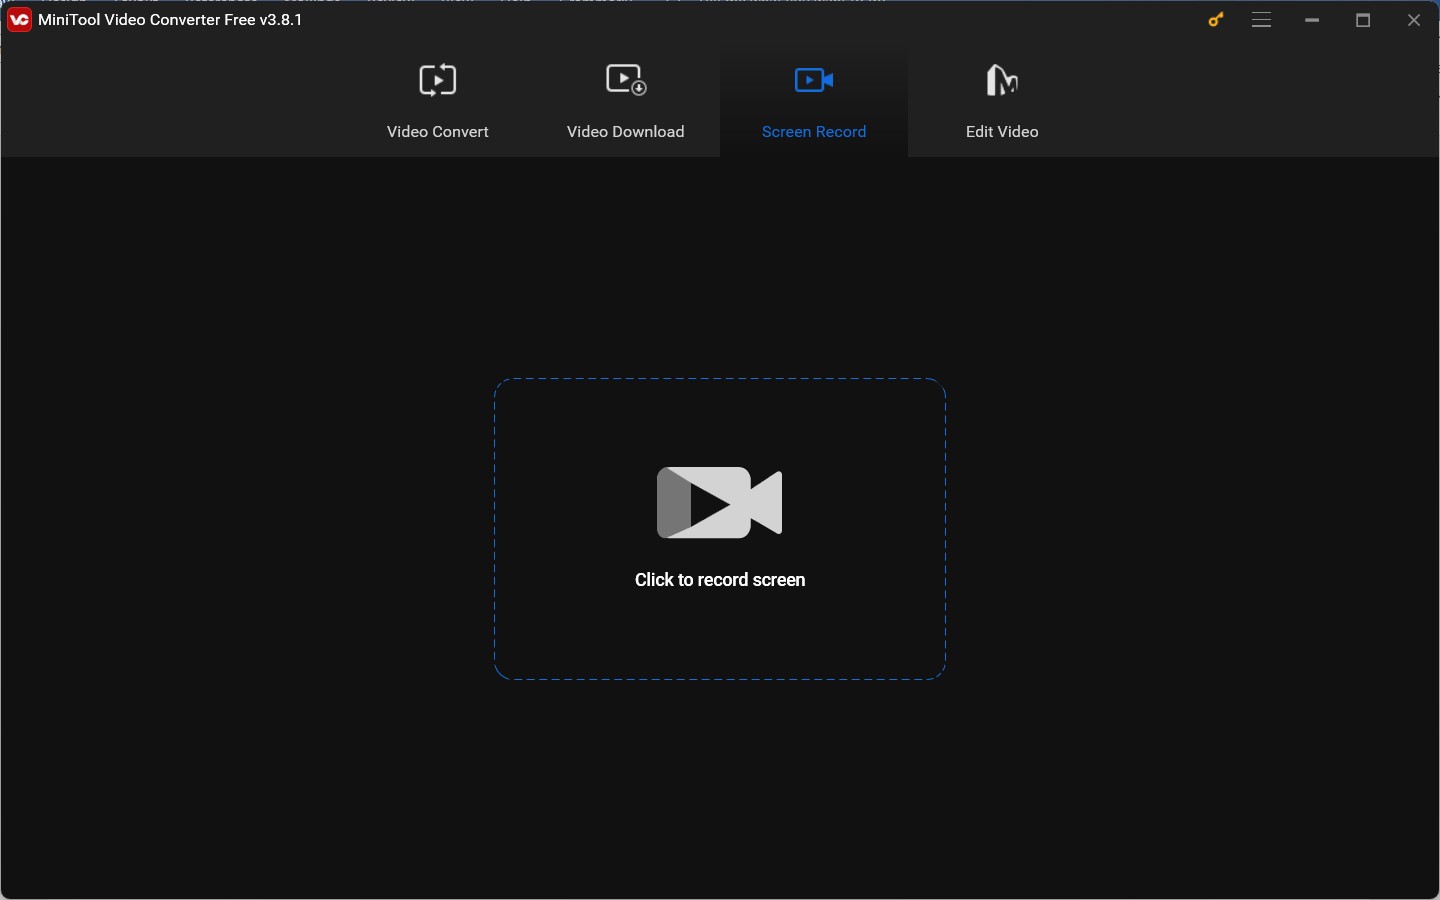
MiniTool Video Converter is a reliable screen recorder for tutorials that enables you to create high-quality recordings. You can use it to record any activities happening on the screen with or without audio from the microphone and system. You can use it to record the screen with no time limit or watermark. Furthermore, it supports converting video and audio files in a wide range of formats.
MiniTool Video ConverterClick to Download100%Clean & Safe
Conclusion
How to record in FL Studio? Just follow the above guidance and have a try. I hope you can enjoy this post.
About The Author

Position: Columnist
Olivia is always full of enthusiasm for life and loves to record. She often records beautiful and memorable moments of life with her camera and then uses some editing tools to put the photos, videos and audio together. She also has a passion for writing and offers suggestions to readers on images, audio, videos and news. To provide more professional articles and solve problems for readers, she is continuing to learn multimedia as well.
User Comments :