When playing Minecraft, you may want to record the gameplay for sharing with your friends or uploading to gaming video streaming platforms. Luckily, this guide will show you the best Minecraft recorder software and how to use them to record Minecraft gameplay on a PC. Let’s get started.
How to Record Minecraft on Windows
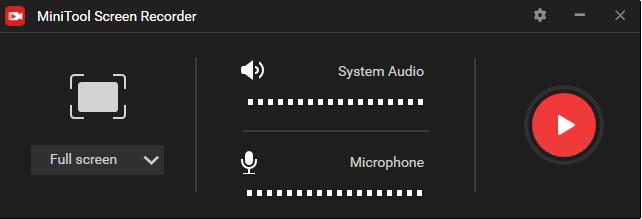
The easiest way to record Minecraft is no doubt recording it with MiniTool Video Converter for Windows. This excellent Minecraft recording software can capture almost everything on your screen, including video, audio, and webcam. Besides that, you can decide to record the full or a part of the computer screen.
MiniTool Video ConverterClick to Download100%Clean & Safe

How to:
- Get MiniTool Video Converter installed on your Windows and then launch it.
- Switch to the Screen Record tab.
- Click anywhere within the Click to record screen box.
- Open the Full screen dropdown list to decide the area to be recorded.
- Turn off System Audio or Microphone, or both.
- Click the Settings icon to adjust the recording parameters if you want.
- Open Minecraft and start the game in full-screen mode.
- Back to MiniTool Video Converter and click the Record button.
- Press F6 to stop recording.
- Right-click on the recorded game video and select Preview.
Features:
- No watermark
- Select recording area
- Customize hotkeys
- Export recordings in multiple formats
- Change video frame rate, codec, and quality
- No limits to the length and number of the recordings
How to Record Minecraft on Mac
If you want to find a simple but full-featured Minecraft recording software on Mac, OBS (Open Broadcaster Software) is a great choice. It is a free and open-source program for video recording and live streaming. With it, you can record everything that happens on your computer and record multiple sources.
How to:
- Download, install and then run OBS on your Mac.
- If you’re new to OBS, follow the on-screen instructions to set up OBS. If you see the main OBS Studio window, go to Tools > Auto-Config Wizard.
- By default, the program is set to capture audio from your system and microphone.
- Click the + icon on the Sources window and select the Game Capture option from the list.
- Open Minecraft and start the game that you want to record.
- Hit the Start Recording button.
- Once finished, click the Stop Recording button.
Features:
- Real-time video/audio capturing and mixing
- Set up an unlimited number of scenes
- Multiple configuration options
- Set hotkeys
Also read: How to Record Skype Calls – Solved
How to Record Minecraft on PC Online
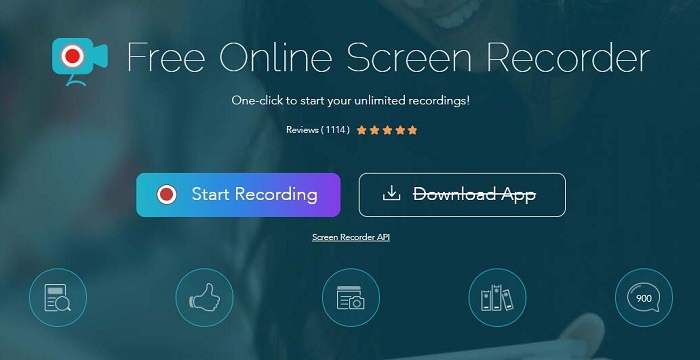
To record Minecraft without any installation, you may need Apowersoft Online Screen Recorder. It is a web-based screen recorder that can record a customized region or record the whole screen. However, it’s mandatory to install a launcher for first-time use.

How to:
- Run Google Chrome on your PC and go to Apowersoft Online Screen Recorder.
- Click Start Recording.
- Tap on Download Launcher and then install it.
- Select the area to be recorded and decide whether to record audio.
- Click More > Settings to adjust the recording parameters.
- Hit the Record button.
- Open Minecraft and start the game you wish to record.
- Use the draw tool if needed.
- Click the Stop icon when the game is over.
- Click Save video > Save as Video File.
- Open Folder to check the recorded video.
Features:
- No installation required
- Multiple output formats
- Flexible recording area
- Insert a webcam while recording
- Record all types of activities
Bottom Line
With the above 3 best Minecraft recorders, you can easily record Minecraft gameplay with high quality. If you have any questions when using MiniTool Video Converter or suggestions about recording Minecraft on PC, please let us know via [email protected] or share them in the comments section below.


User Comments :