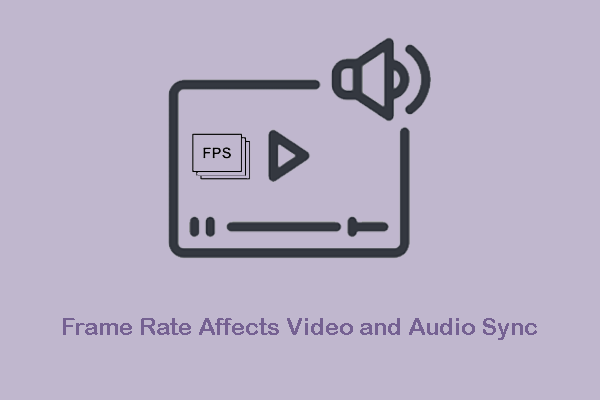
Resolution affects audio and video sync. This article explains why resolution affects audio and video. It also shows how to adjust the resolution to keep audio and video sync with 3 tools: MiniTool Video Converter (Desktop), MiniTool MovieMaker (Desktop), and CloudConvert (Online).
Overview of Resolution
Resolution refers to the total number of pixels in each frame of a video. The higher the resolution, the more pixels there are. Resolution determines the details in a video, particularly its realism and clarity. Usually, resolutions include HD resolution, SD resolution, and more.
Overview of Audio and Video Sync
Audio and video sync refers to the audio and video content in a video that are perfectly aligned without time gaps. If a time gap occurs, it’s called a synchronization error. The synchronization error is divided into positive and negative ones. The positive one indicates that audio precedes the video, while a negative one means that video precedes the audio.
How Resolution Affects Audio and Video Sync
When the resolution exceeds the video’s decoding and storage capabilities, the audio and video can be out of sync. Some players can’t adapt to high or low resolutions, leading to buffering. That can also cause audio and video to become out of sync.
To restore audio-video sync, we can adjust the resolution to an ideal state.
Top 3 Methods to Adjust Resolution
Want to adjust the resolution to synchronize audio and video? I recommend the best 3 tools for you, including MiniTool Video Converter, MiniTool MovieMaker, and CloudConvert.
Option 1. MiniTool Video Converter (Desktop)
MiniTool Video Converter is a completely free video converter without bundles, watermarks, or ads. It supports the customization of resolution, frame rate, encoder, bitrate, and more. Moreover, MiniTool Video Converter has no limit on the size of videos it processes.
Plus, MiniTool Video Converter supports various conversion tasks like F4V to FLV, 3GP to DivX, AC3 to OGG, etc. It also supports output formats compatible with Apple, Huawei, Samsung, and Android devices.
Below is a detailed guide on how to adjust resolution with MiniTool Video Converter.
Step 1. Download and Install MiniTool Video Converter Freely
Click on the download button below to download and install MiniTool Video Converter. Then, launch it.
MiniTool Video ConverterClick to Download100%Clean & Safe
Step 2. Import the Target Video
Click on the Plus icon to import the target video.
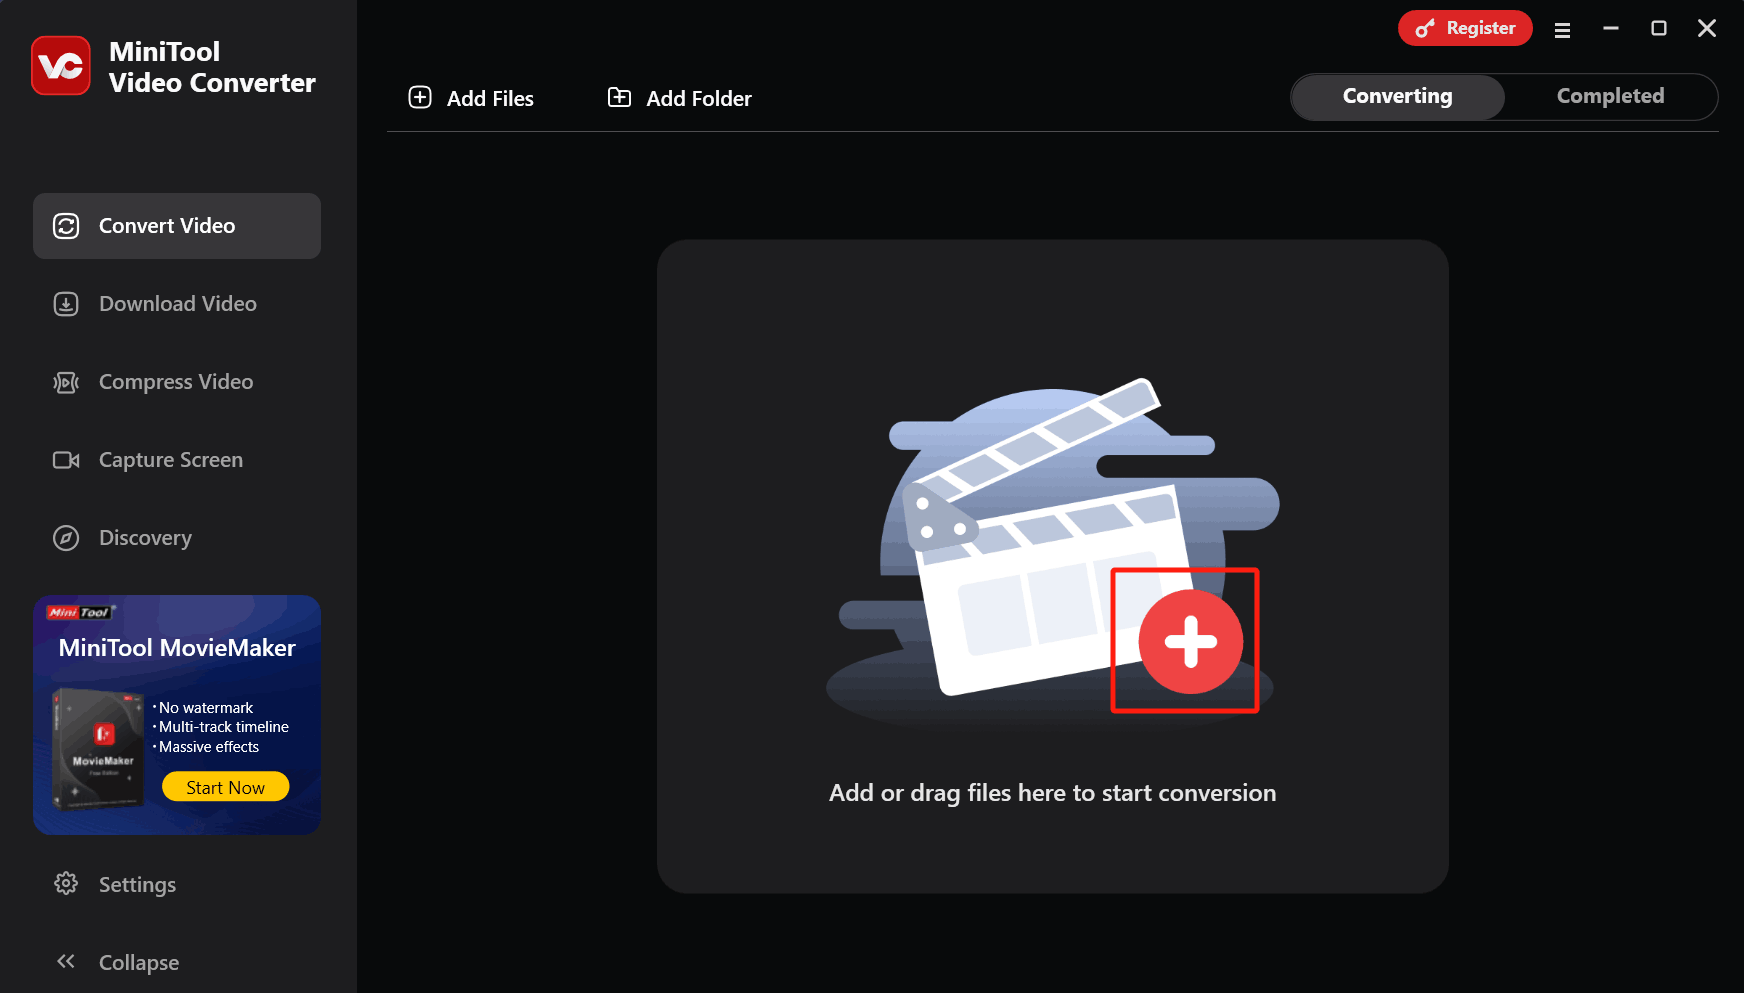
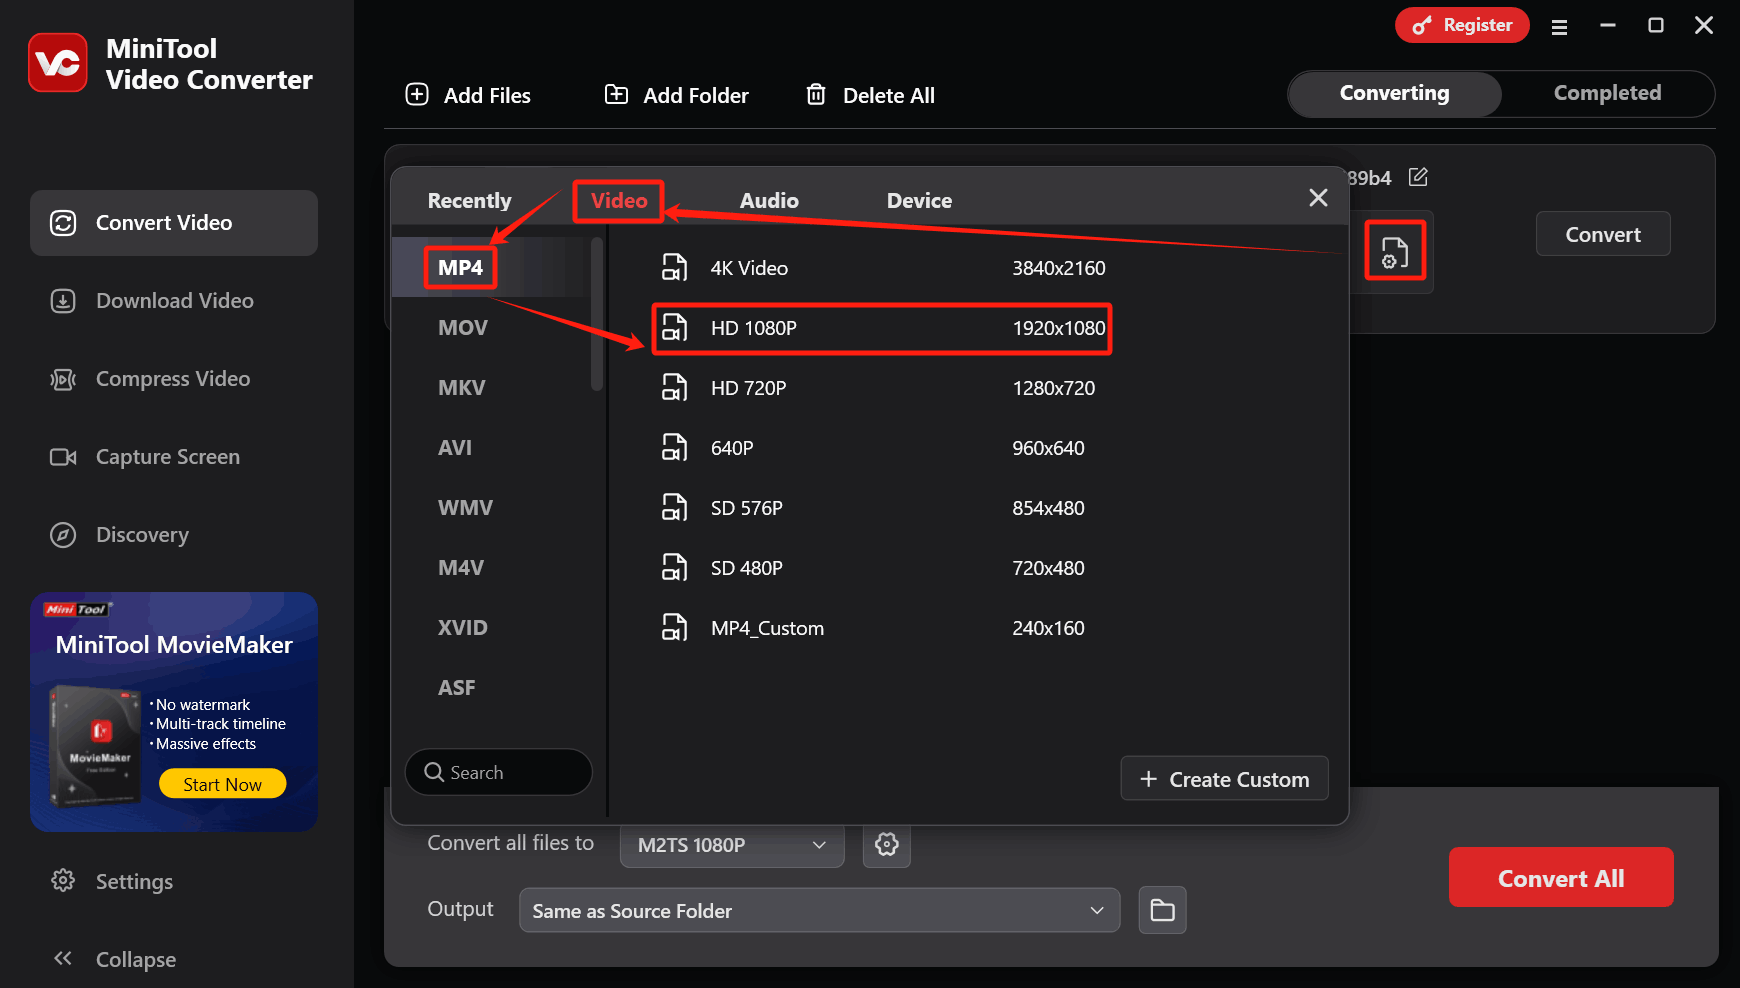
Step 3. Adjust the Resolution of the Converted Video
Click on the Settings icon to open the output format window. There, switch to the Video tab and choose a format and resolution you want. Here, I select MP4 HD 1080P.
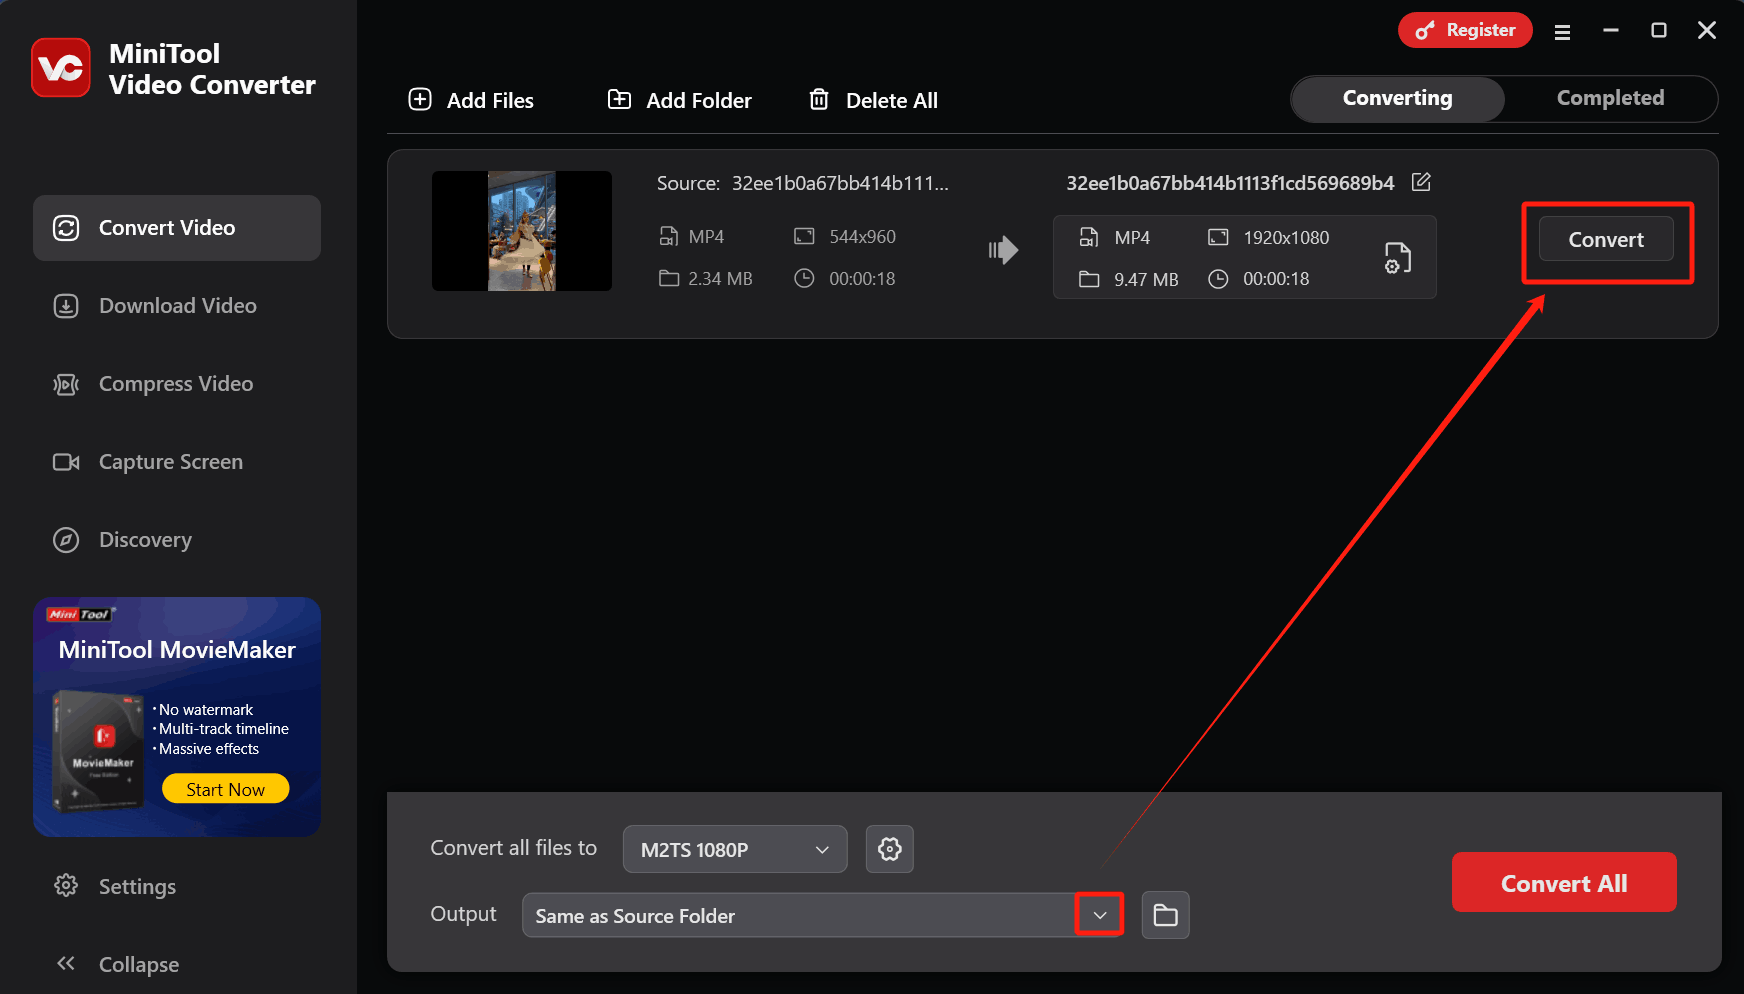
Step 4. Begin the Conversion Process
Expand the bottom Output option to choose a saving path. Then, click on the Convert button to begin the conversion.
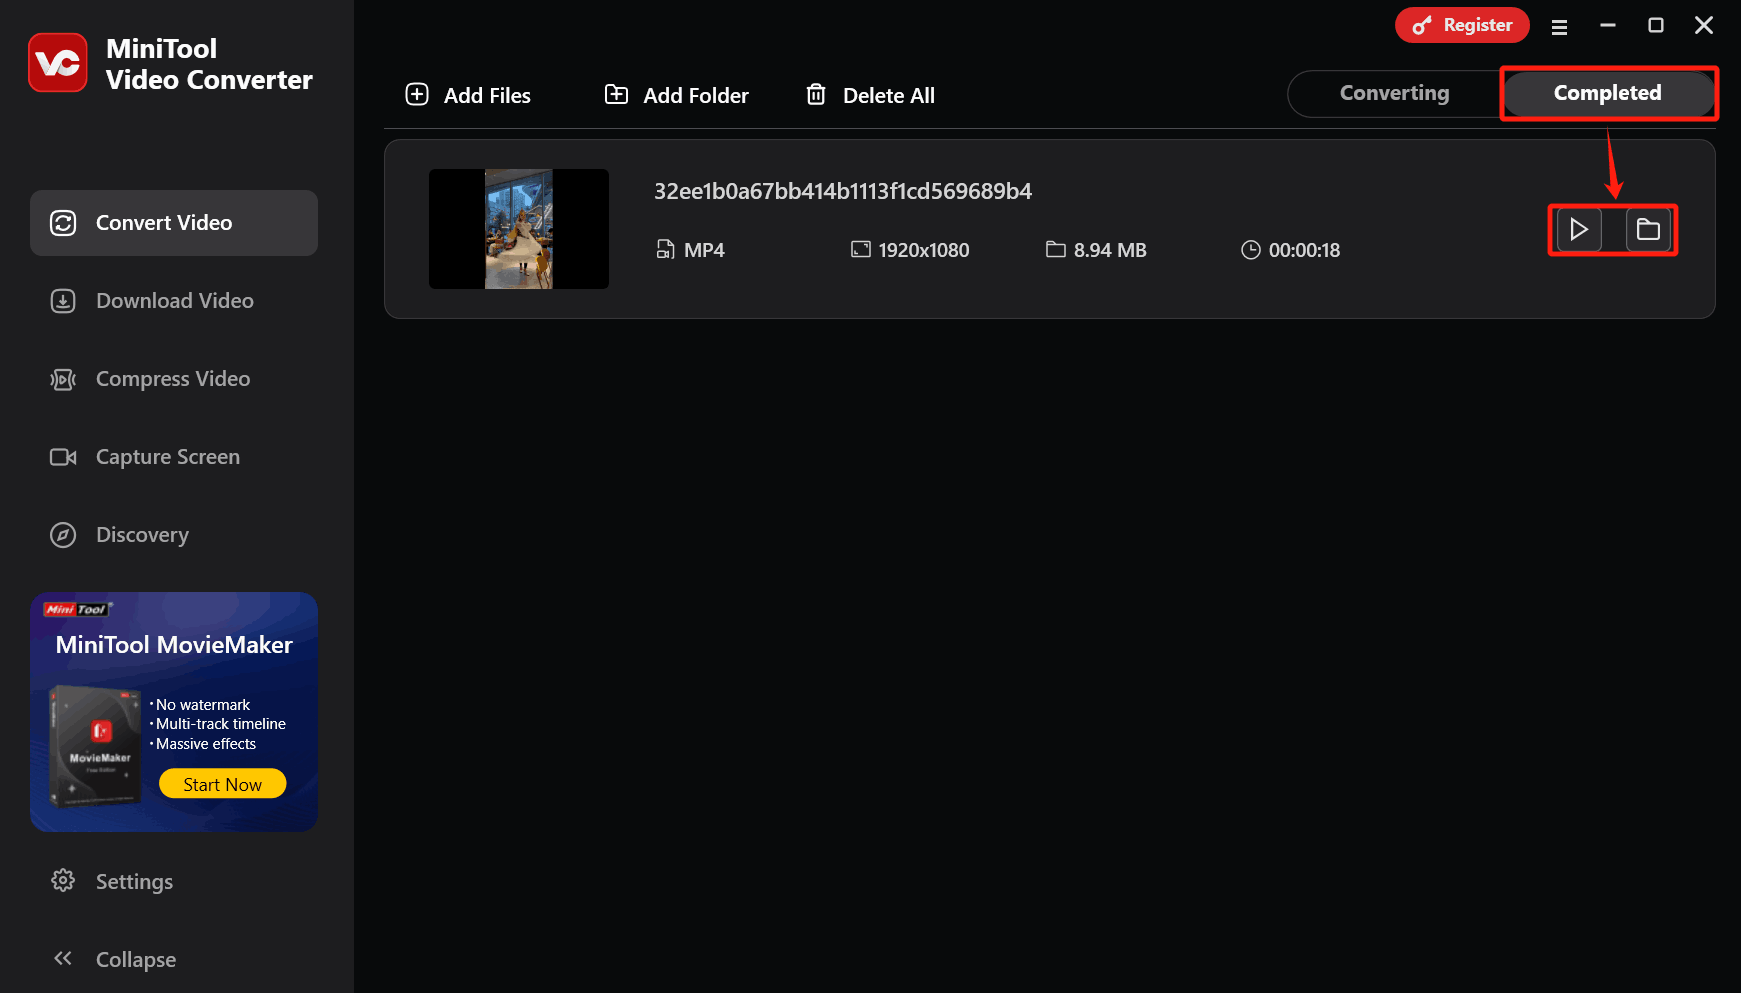
Step 5. Check the Converted Video
When the conversion finishes, this converter will switch to the Completed tab. There, click on the Play icon or Folder icon to check or locate the converted video.
To adjust the resolution to synchronize audio and video, MiniTool Video Converter is the best choice.
Option 2. MiniTool MovieMaker (Desktop)
MiniTool MovieMaker is an excellent media file editor. It supports customizing the resolution for the output videos. Additionally, MiniTool MovieMaker comes with various editing resources to fine-tune the target files, such as transitions, effects, filters, elements, and more. Moreover, MiniTool MovieMaker supports trimming, cropping, splitting, merging, and rotating your files randomly.
Below is a step-by-step tutorial on how to adjust the resolution to synchronize audio and video sync with MiniTool MovieMaker.
Step 1. Download and Install MiniTool MovieMaker
Click on the download button below to download and install MiniTool MovieMaker. Then, run it.
MiniTool MovieMakerClick to Download100%Clean & Safe
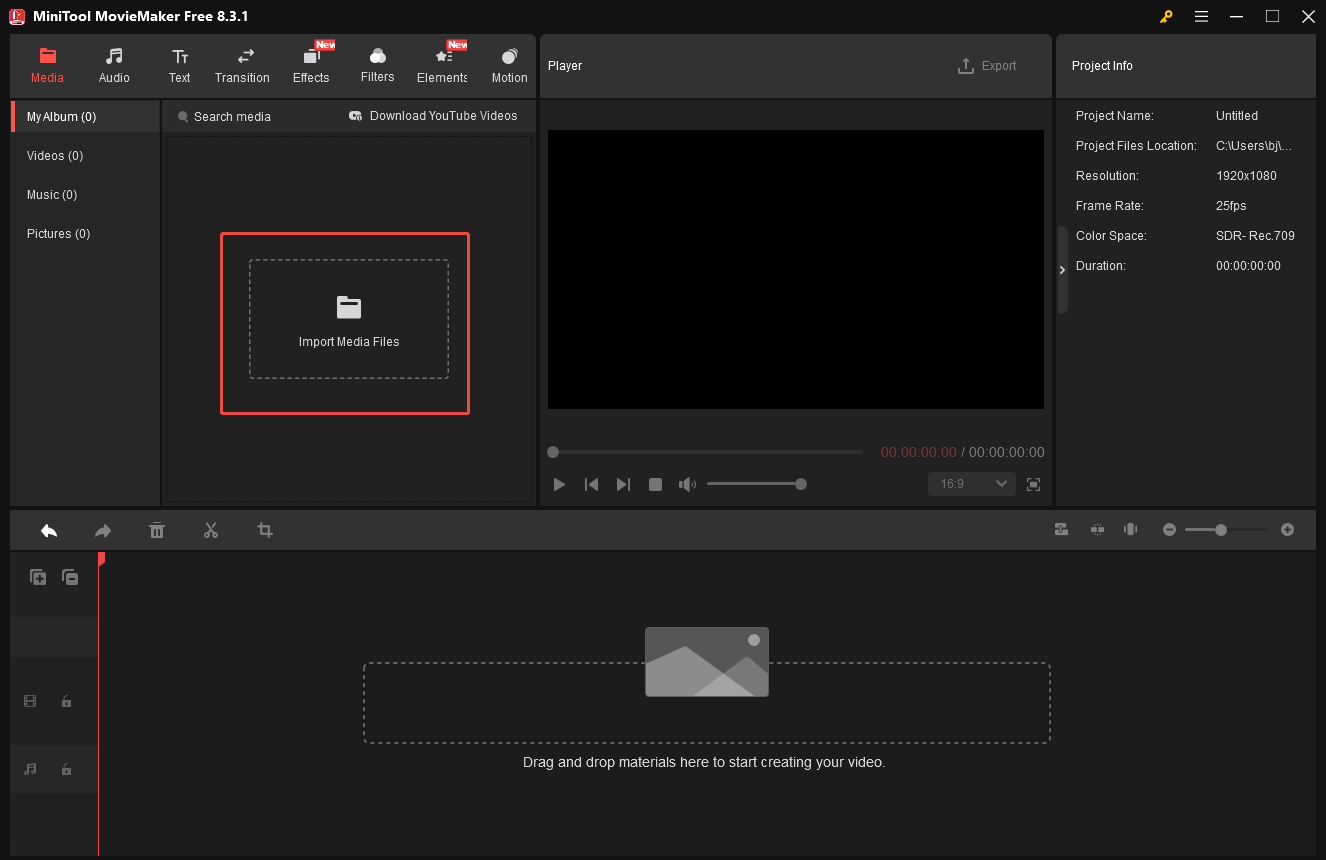
Step 2. Upload the Target Video
After running MiniTool MovieMaker, close the promotion window and enter the main panel. There, click on the Import Media Files region to upload the target video.
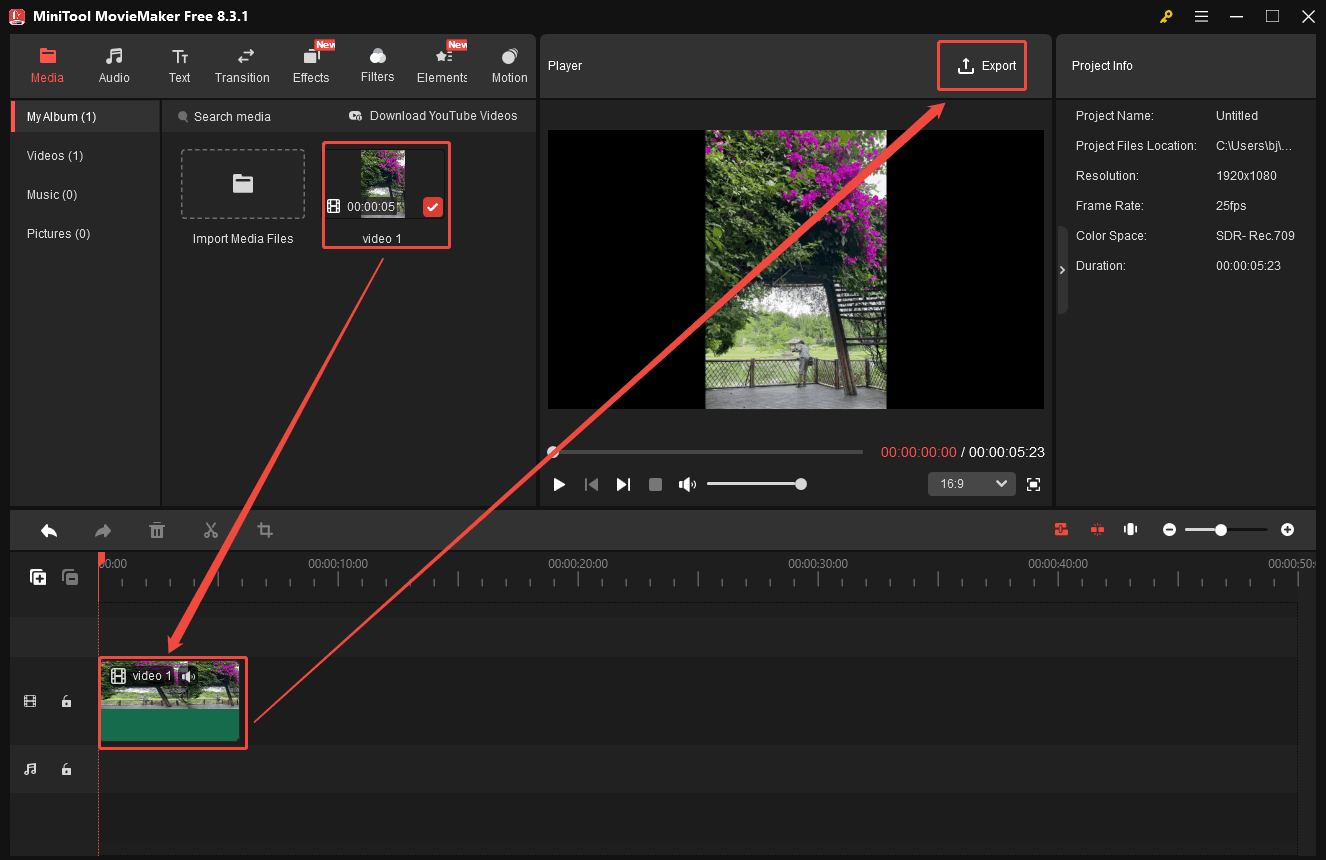
Step 3. Add the Video to the Timeline
Drag the imported video onto the timeline below. Then, click on the Export option to trigger the Export window.
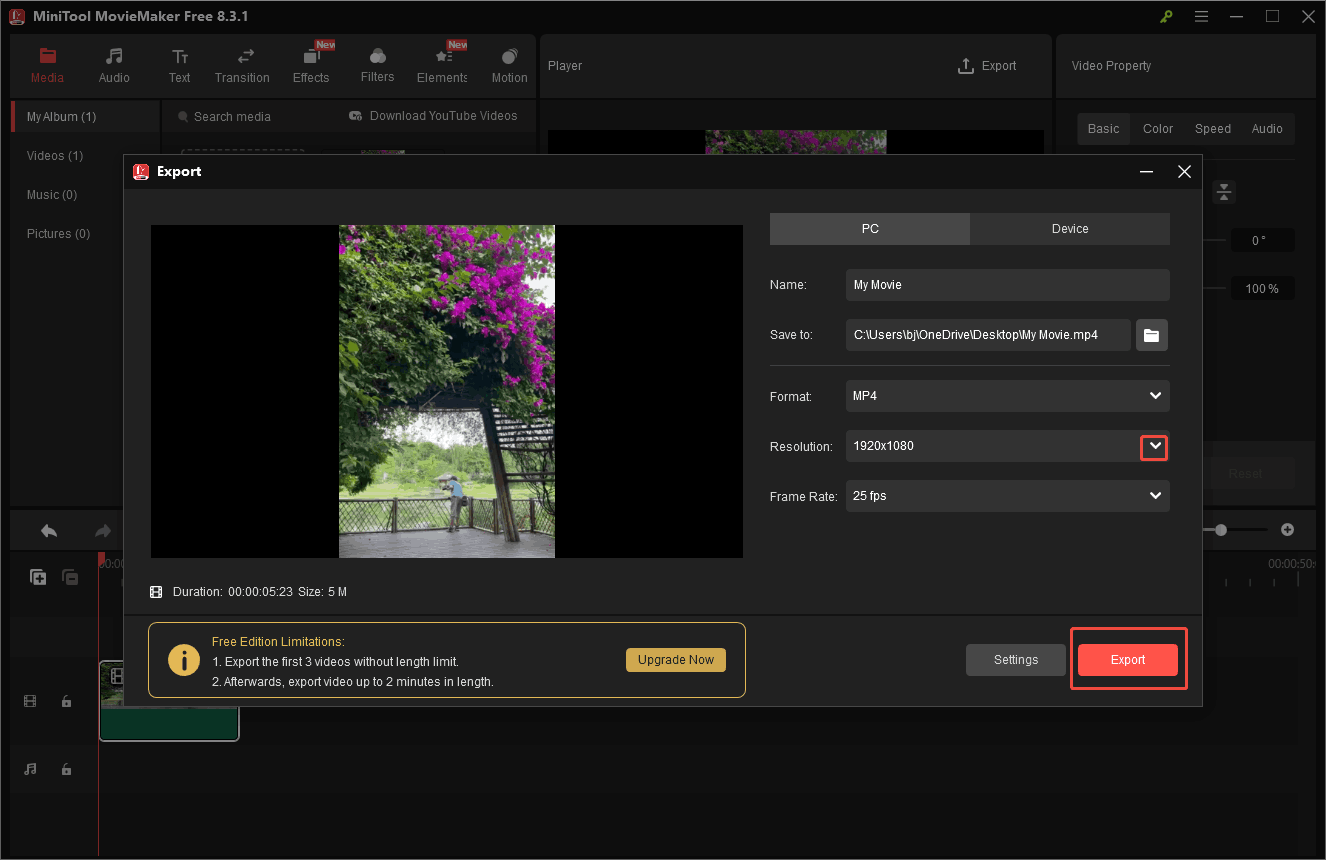
Step 4. Adjust the Resolution and Start the Export Process
Expand that Resolution option to specify a resolution. Then, click on the Export button to start the export process.
Step 5. Check the Output Video
When the export process ends, click on the Find Target button to check the exported video.
MiniTool MovieMaker is a practical tool for adjusting the resolution.
Option 3. CloudConvert (Online)
CloudConvert is an online file converter that supports customizing the resolution with easy steps. It supports converting videos, audio, documents, archives, images, presentations, and more. Plus, CloudConvert can convert over 200 formats for conversion. It is easy to use and makes a safe and quick conversion process.
Now, I would like to show you how to adjust the resolution with the online tool: CloudConvert.
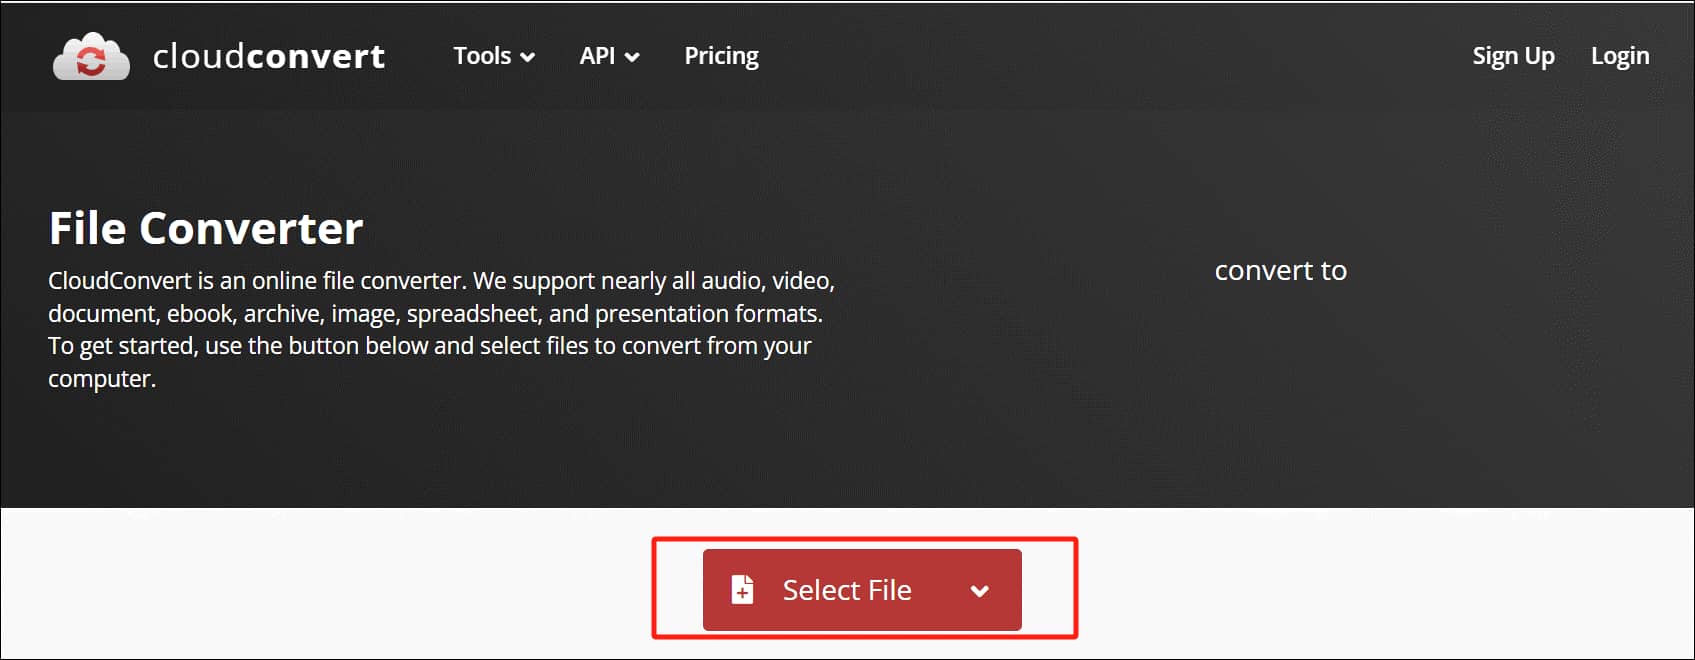
Step 1. Import the Target Video
Go to https://cloudconvert.com/. Then, click on the Select File option to upload the target Video.
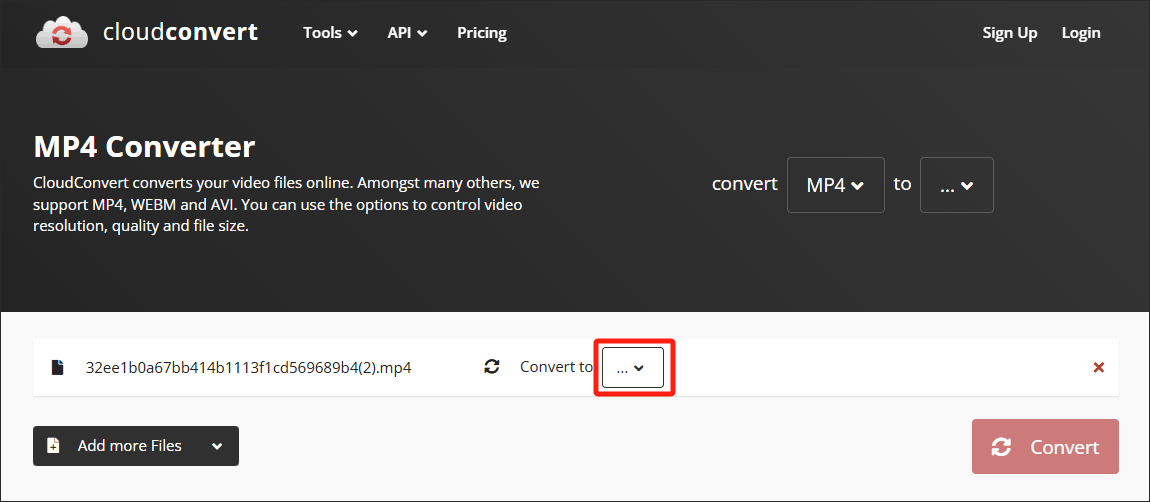
Step 2. Select an Output Format
After importing the target video, expand the Convert to option to select an output format. Here, I select MP4.
Step 3. Specify the Resolution
Click on the wrench icon to enter the Options window. Then, expand the Resolution option in the Video section to specify a resolution. Here, I choose 854 X480.
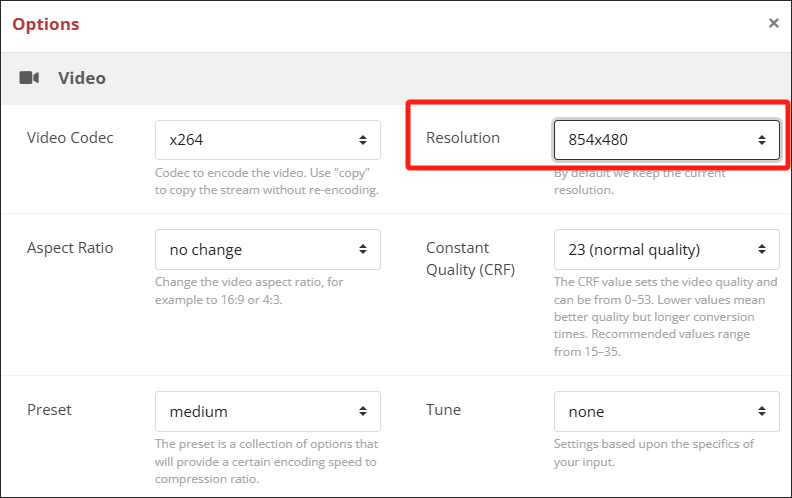
Scroll down and click on the Okay button to save the changes.

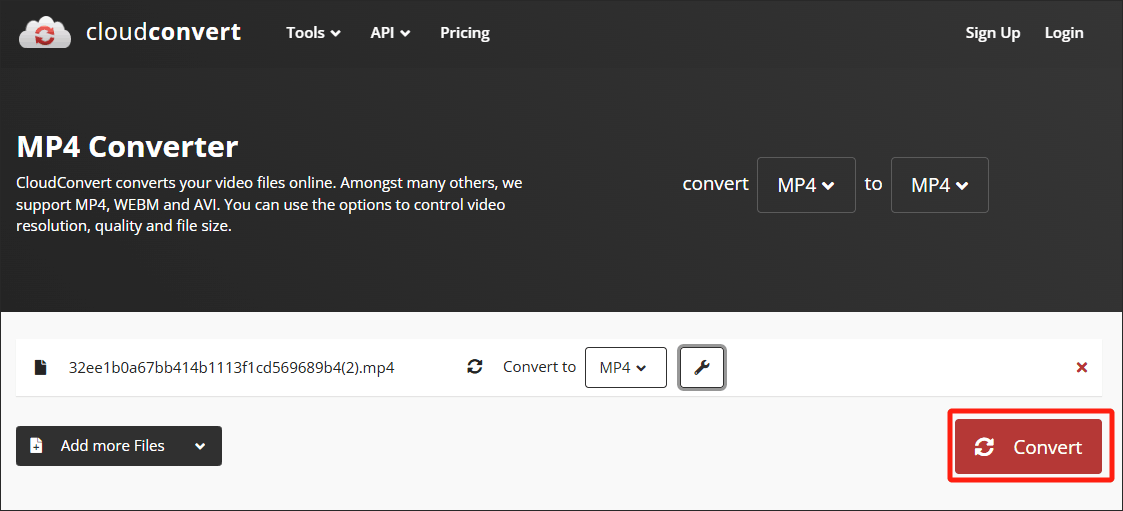
Step 4. Start the Conversion
Click on the Convert button to begin the conversion.
Step 5. Check the Converted Video
When the video conversion process ends, click on the Download button to save and check the converted file.

The steps above are using CloudConvert to adjust the resolution efficiently.
Bottom Line
Resolution affects audio and video sync. This post shows how to adjust resolution to synchronize audio and video via 3 practical tools, including using MiniTool Video Converter (Offline), MiniTool MovieMaker (Offline), or CloudConvert (Online).
User Comments :