What Is Chatki
As an online platform for video chatting, Chatki allows you to make friends with people around the world. More importantly, it offers users with an in-depth guide on how to communicate with others using this platform. However, some of accounts on this site may be fake.
How to Record Chatki Calls on Windows
If you are a Windows user and want to record Chatki calls, a divine screen recorder is never dispensable. Hence, I will recommend a surpassing screen recording program called MiniTool Video Converter and present a step-by-step tutorial on how to screen record on Chatki with this screen recording tool.
Why to Choose MiniTool Video Converter
MiniTool Video Converter has an intuitive interface and is accessible to users with different skill levels. More than that, it enables you to record Chatki calls without watermarks or time limits. In addition, all your screen recording tasks by MiniTool Video Converter don’t require pay.
Plus, MiniTool Video Converter empowers the automation of screen recording by presetting the recording duration, which brings more convenience. Simply put, with it, Windows users can screen record on Chatki effortlessly.
How to Record Chatki Calls with MiniTool Video Converter
Below is a detailed guide on how to record Chatki calls using MiniTool Video Converter.
MiniTool Video ConverterClick to Download100%Clean & Safe
Step 1. Click on the download button above to download and install MiniTool Video Converter on your Windows PC. Then run it to access the main interface.
Step 2. Switch to the Screen Record module and click on Click to record screen to access the MiniTool Screen Recorder panel.
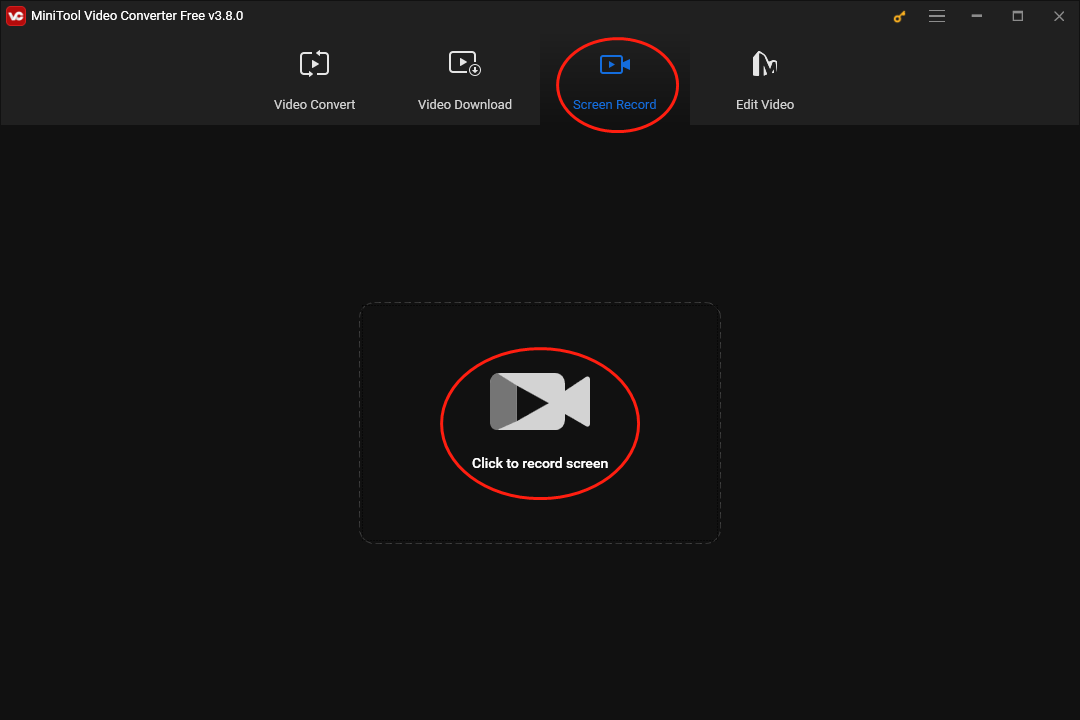
Step 3. The screen recorder will record the whole screen by default. If you want to choose the recording area, press the Alt + R keys.
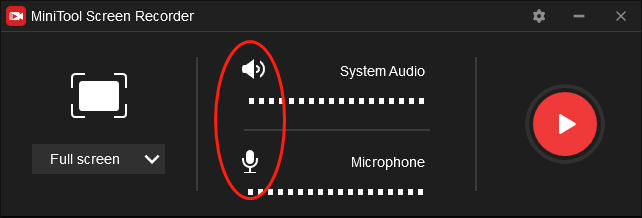
Step 4. Control the audio recording by clicking on the System Audio icon and Microphone icon respectively. Because you plan to record Chatiki calls, it is recommended that you turn on the system and the microphone sound.
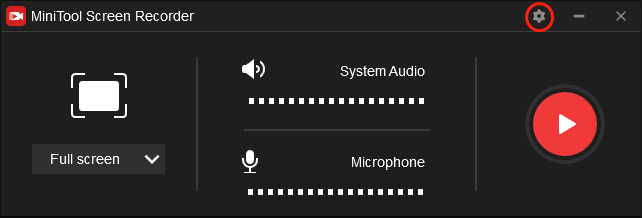
Step 5. Access the settings interface by clicking on the upper-right gear icon.
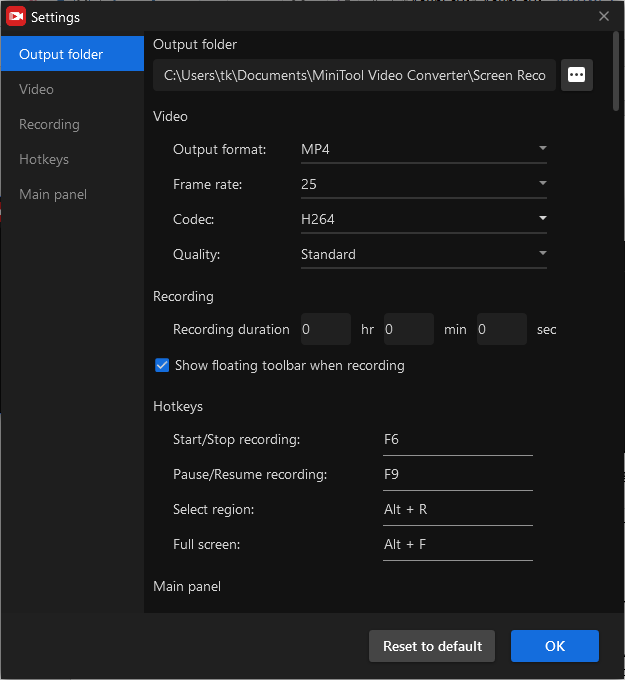
In the pop-up interface, you are capable of setting the output location and customizing the frame rate of your recording files. Meanwhile, you can set the recording quality and alter the default hotkeys based on your needs. Finally, don’t forget to click on OK to confirm your customization.
Step 6. Begin your recording by clicking on the Record button. After a 3-second countdown, run your web browser, visit the Chatki page, and start your video calls.
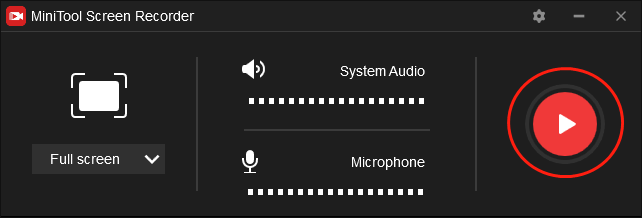
Step 7. Once your recording is done, end it by clicking on the F6 key and you will see your recording file below MiniTool Screen Recorder. Right-click on the recording file to locate and check it.
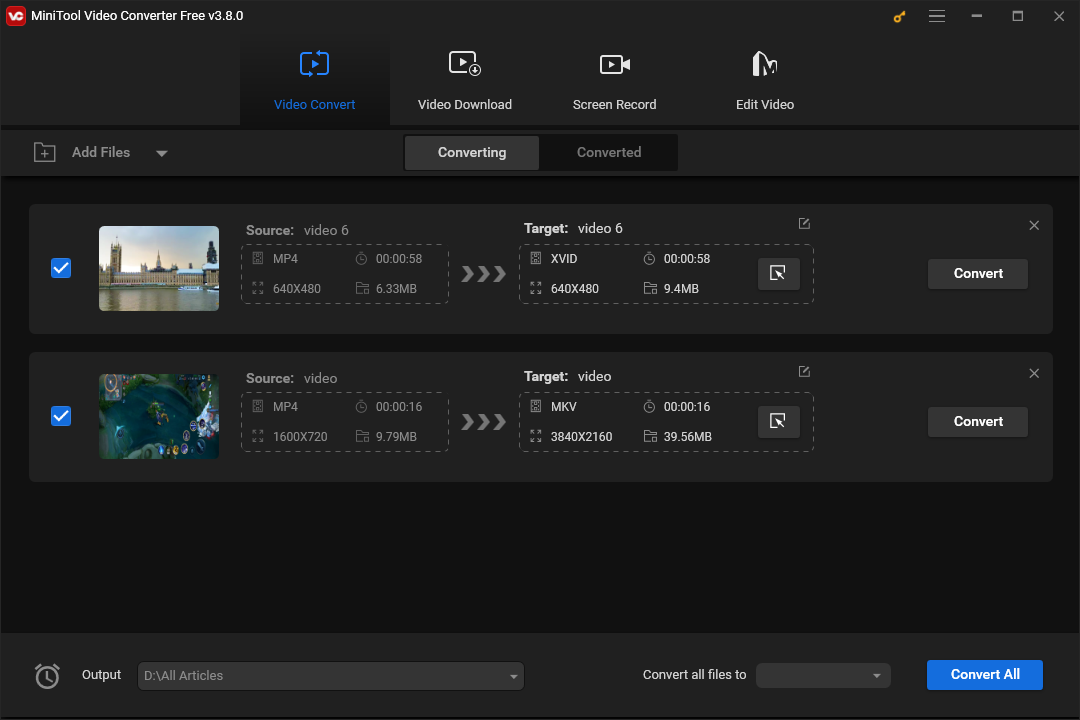
By the way, all your recording files by MiniTool Video Converter will be saved in the MP4 format. If you want to convert your MP4 files to other formats like MP3, WAV, AIFF, AVI, MKV, etc., just go to the Video Convert section of MiniTool Video Converter.
MiniTool Video ConverterClick to Download100%Clean & Safe
How to Record Chatki Calls on Mac
If you are a Mac user and want to record Chatki calls, the following content will give you a detailed instruction.
Step 1. Download and install QuickTime Player on your Mac computer. Then open it.
Step 2. Move to the upper-left option menu and click on File and then New Movie Recording.
Step 3. Start your recording by clicking on the red record button. Then run your web browser and begin the video calls in Chatki.
Step 4. Once the recording is over, end it by clicking on the Stop button. Next, go to check your recording file.
Now, it is believed that you have grasped how to record Chatki calls on Mac.
As a popular chatting platform, Chatki has had a huge user base in recent years. For those who want to record Chatki calls on their Windows and Mac PC, this article has provided them with an expert guide.


User Comments :