This post will show you how to upload a video to Google Business. Also, it will give you 2 ways to bypass Google Business video size limit, including using MiniTool Video Converter to compress your video and using MiniTool MovieMaker to trim it.
What Is Google Business?
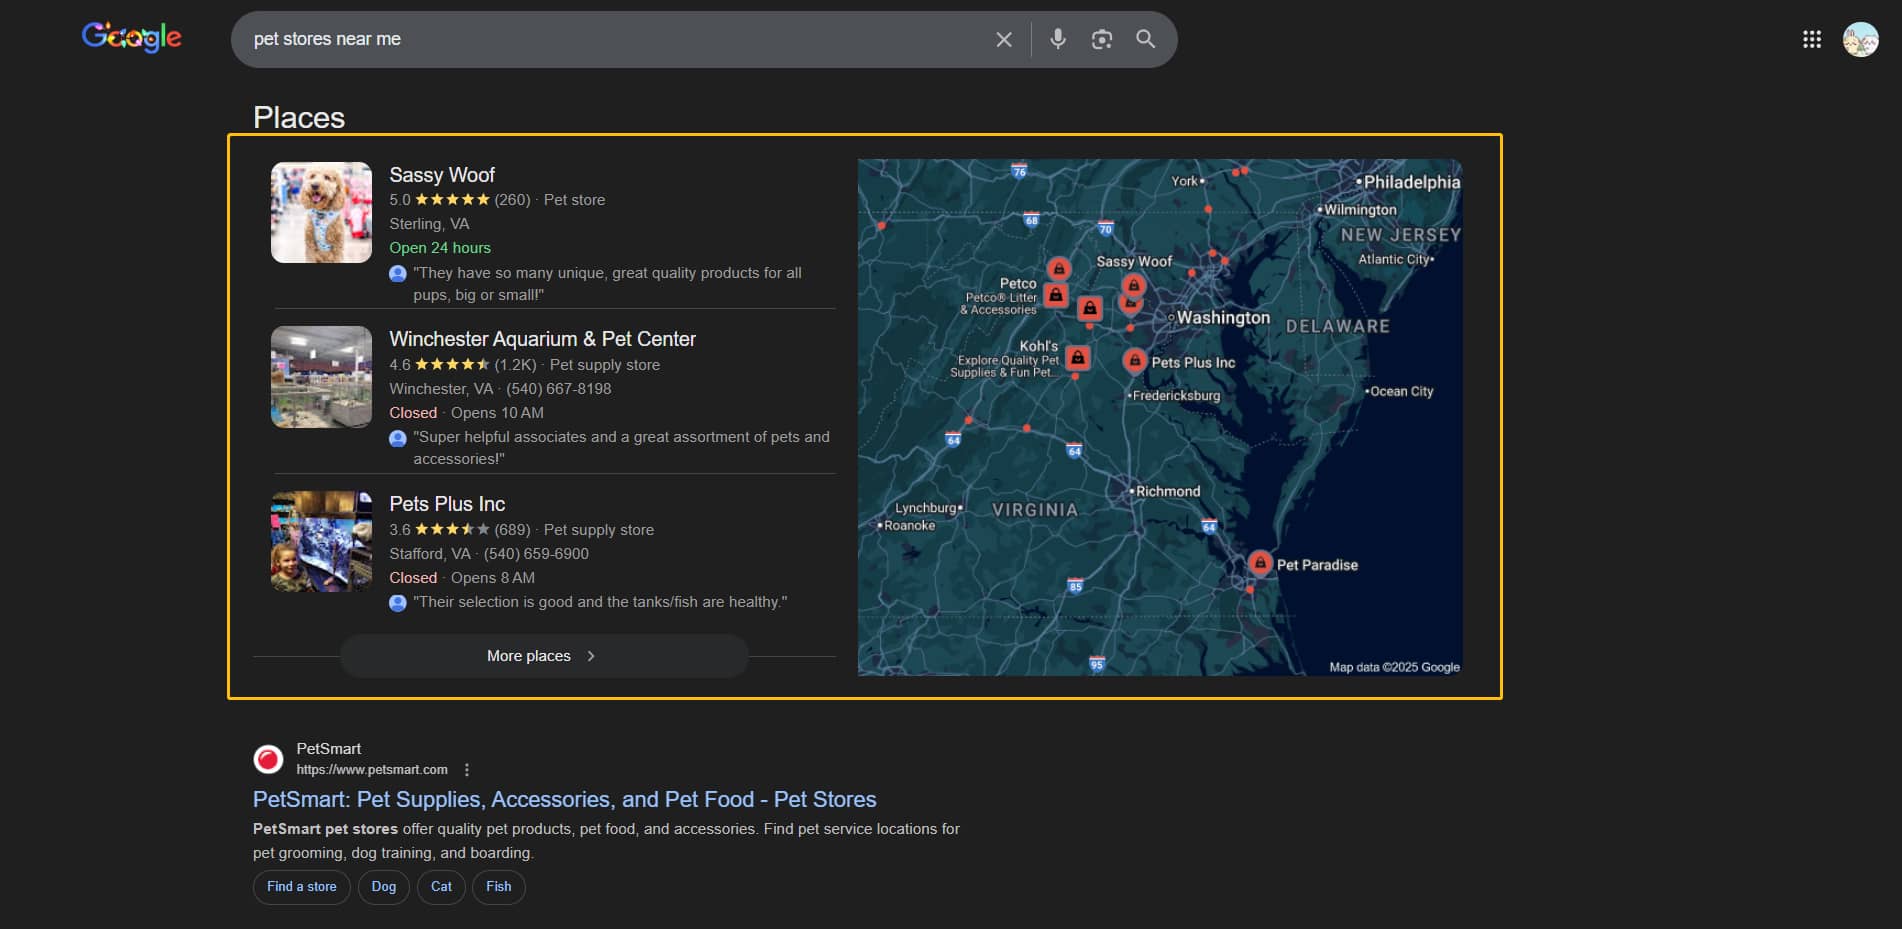
Google Business Profile, formerly known as Google My Business, is a tool that helps businesses showcase their information on Google Search and Google Maps. When users search for specific content on Google, such as pet stores, Google will list nearby pet stores at the top of the search results.
Google Business Profile boosts your website traffic, generates more revenue, and puts you at the top of the search results. Most importantly, this tool is completely free!
What Is Google Business Video Size Limit?
Google Business Profile supports uploading photos and videos. You can upload your photos and videos to the business profile. However, you can only upload videos up to 30 seconds. Also, the video file size cannot exceed 75MB.
How to Upload Videos to Google Business Profile?
Both businesses and customers can upload videos to Google Business Profile. If you have a business information account, follow these steps to upload a video:
Step 1: Log in to Your Account
Go to https://business.google.com/ and sign in to the Google account associated with your business profile.
Step 2: Find the Business Location
Click on the business location where you want to add videos, then click the Add Videos option.
Step 3: Upload Your Video
Click the Select photos and videos from your computer option to add your videos. Or you can also drag and drop the video file you want to upload into the dotted box.
Step 4: Wait for the Upload
The video may take up to 24 hours to appear after it is uploaded.
How to Bypass Google Business Video Size Limit?
As mentioned above, Google Business Profile only supports uploading videos up to 75 MB. What if your video exceeds this size? Here are two methods to reduce the video file size.
1. Use Video Compressor
MiniTool Video Converter includes a video compression function, and this feature is completely free. It supports importing various video formats, including MP4, MOV, MKV, AVI, WMV, M4V, XviD, and more.
You can freely adjust the compression level during the compression process. Furthermore, MiniTool Video Converter supports previewing the compressed video, allowing you to adjust the compression percentage to your desired level. What’s more, MiniTool Video Converter enables you to compress up to 5 videos simultaneously.
Here is a guide on how to compress video with MiniTool Video Converter:
Step 1: Install MiniTool Video Converter
Download and install MiniTool Video Converter on your computer.
MiniTool Video ConverterClick to Download100%Clean & Safe
Step 2: Import Your Video
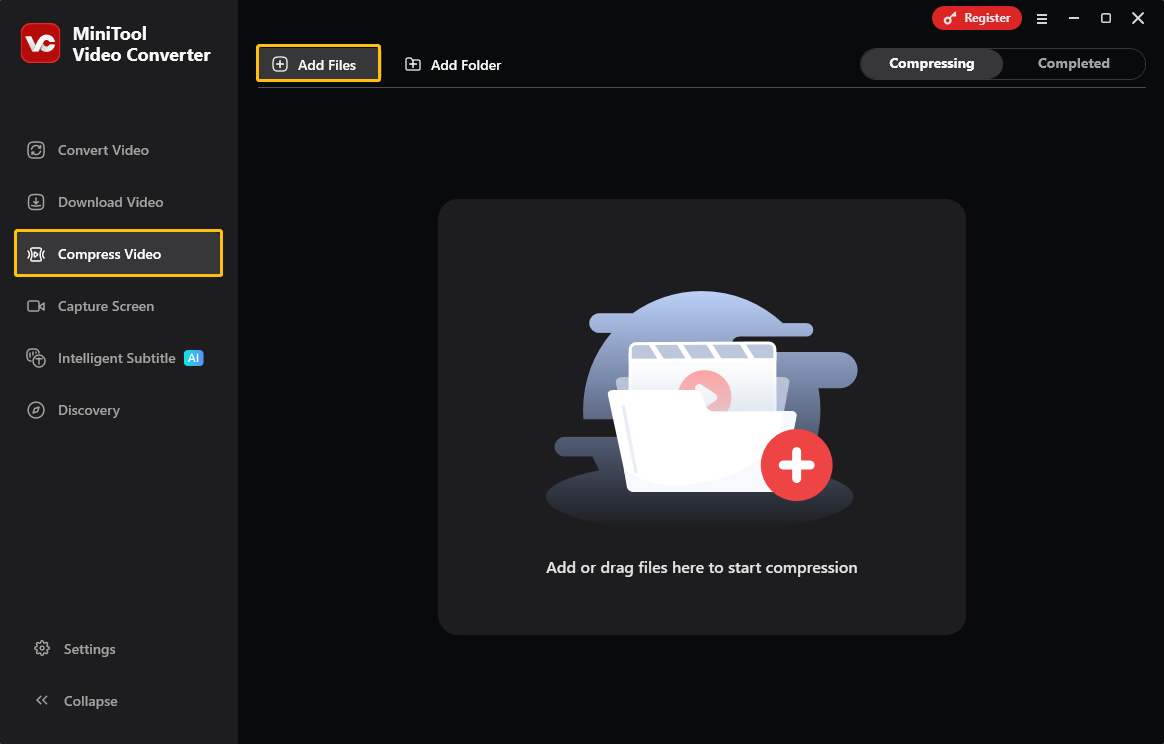
Launch this video compressor and switch to the Compress Video tab. Then, click Add Files to import your video.
Step 3: Set the Compression Level
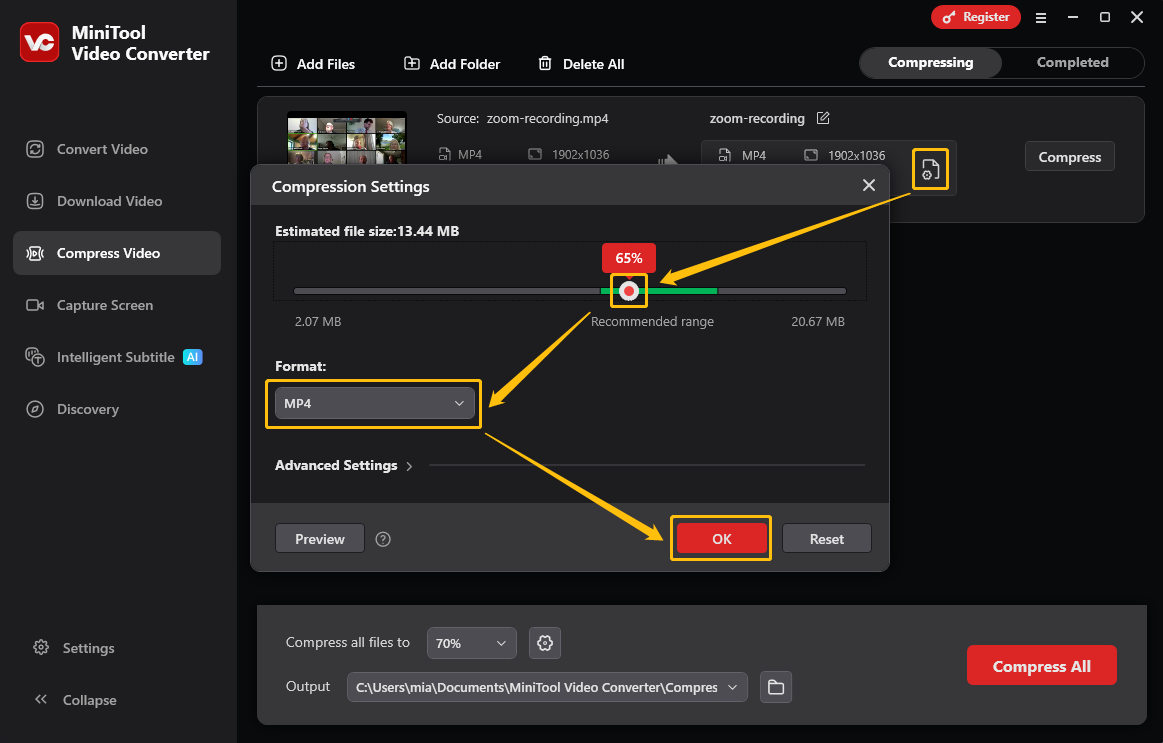
Click the gear icon to open the Compression Settings window. In this window, drag the red dot on the slider to select the desired compression level.
Step 4: Choose the Output Format
Next, expand the Format option and select the output format.
Step 5: Choose a Folder to Save the Compressed Video
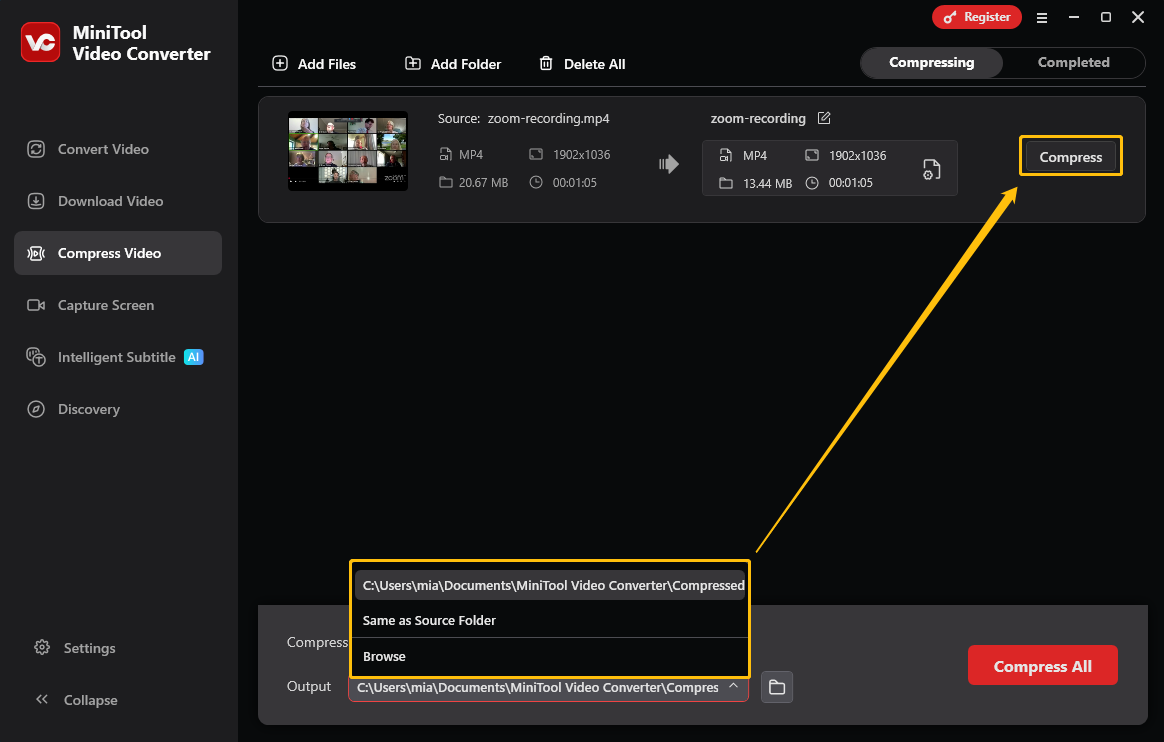
Expand the Output option and choose a folder to save the exported video.
Step 6: Start Compression
Click the Compress button to initiate the compression process.
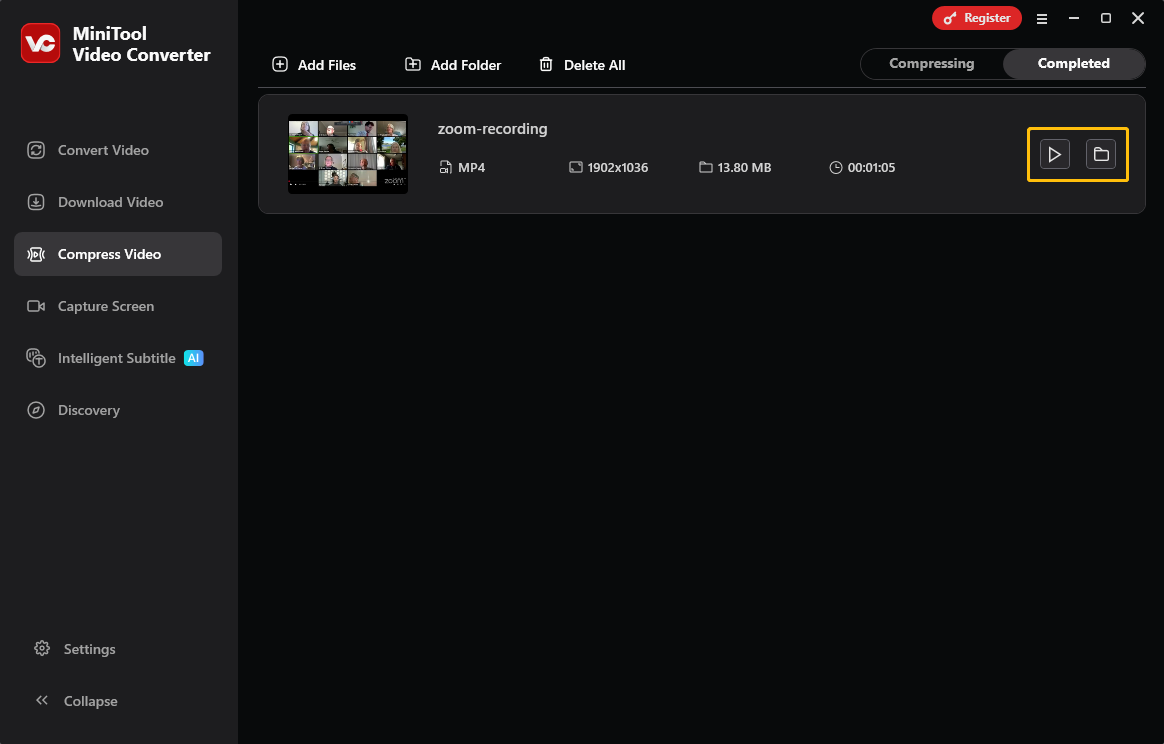
Step 7: Check the Compressed Video
Once the compression process is complete, you will be taken to the Completed tab. You can click on the play icon to watch it or click on the folder icon to locate it.
Besides directly compressing the video, you can also trim your video to shorten its duration and thus reduce the video file size. All you need is a simple video editor, such as MiniTool MovieMaker.
2. Trim Your Video
MiniTool MovieMaker is a user-friendly video editor. It can trim, crop, split, and speed up videos. It can also add text, effects, and filters to videos. If your video has pauses or errors at the beginning or end, you can use the trim feature to remove them. This not only presents the best and most relevant content but also reduces the video size.
Step 1: Download and Install MiniTool MovieMaker
Click the button below to get the latest version of MiniTool MovieMaker.
MiniTool MovieMakerClick to Download100%Clean & Safe
Step 2: Import the Video
Open this application and close the promotion window. Then, click Import Media Files to import your video.
Step 3: Trim the Video
Drag and drop the video to the timeline. Then, move your cursor to the beginning of the video. Once the cursor turns to a right-forward arrow, press and hold, then drag to the right to the beginning of the desired segment. Trim the end of the video using the same method.

Step 4: Export the Video
Click the Export option at the top-right of the Player section. Then, click the Export button in the pop-up window.

By following the steps above, you can easily trim your video to reduce its file size.
Conclusion
This article mainly focuses on how to bypass Google Business video size limit. Google Business allows you to upload a video up to 75MB. The quickest method is to use MiniTool Video Converter to compress your video. You can also trim the video with MiniTool MovieMaker to reduce the video file size.
User Comments :