This guide from MiniTool Video Converter aims to show you how to compress your video files step by step. Even if you want to compress your large files to a specific compression percentage while changing them to another video format, this detailed tutorial can do you a big favor.
How to Compress Videos
In addition to video conversion, video download, and screen recording, MiniTool Video Converter, as a feature-rich application, also enables you to compress up to 8K videos for free.
MiniTool Video ConverterClick to Download100%Clean & Safe
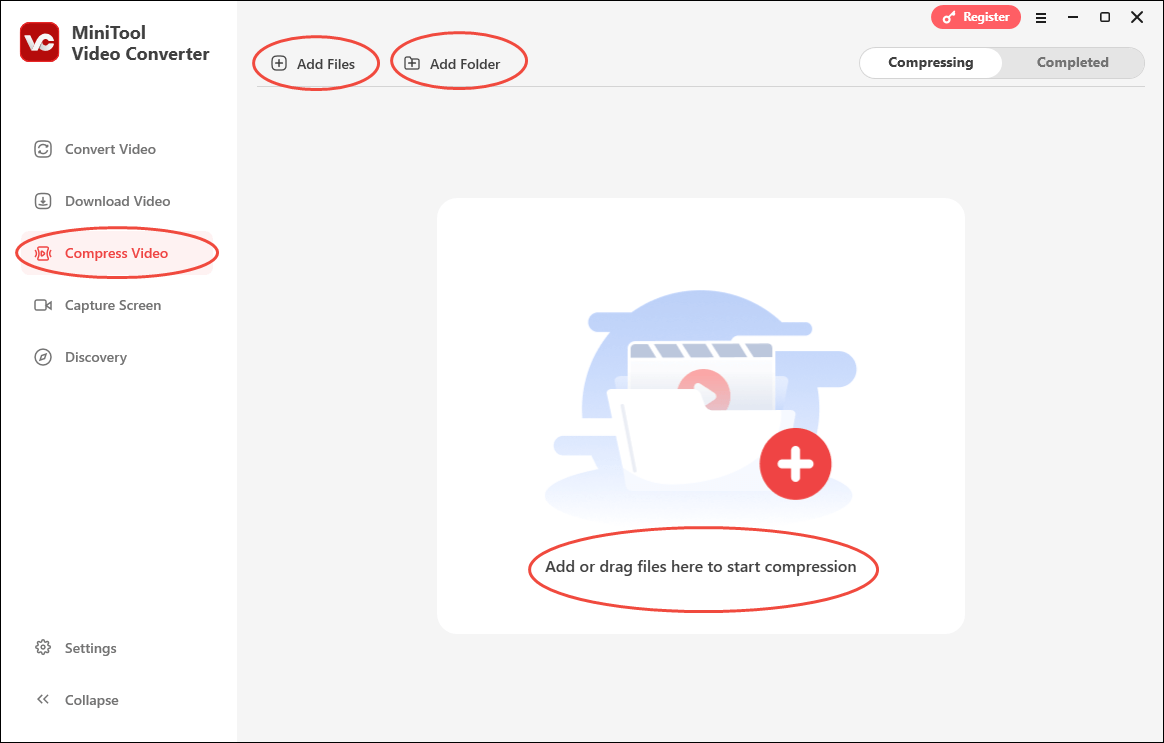
Step 1. After launching MiniTool Video Converter, switch to the Compress Video module. Then, upload the video files by clicking on the Add Files button or the Add or drag files here to start compression region.
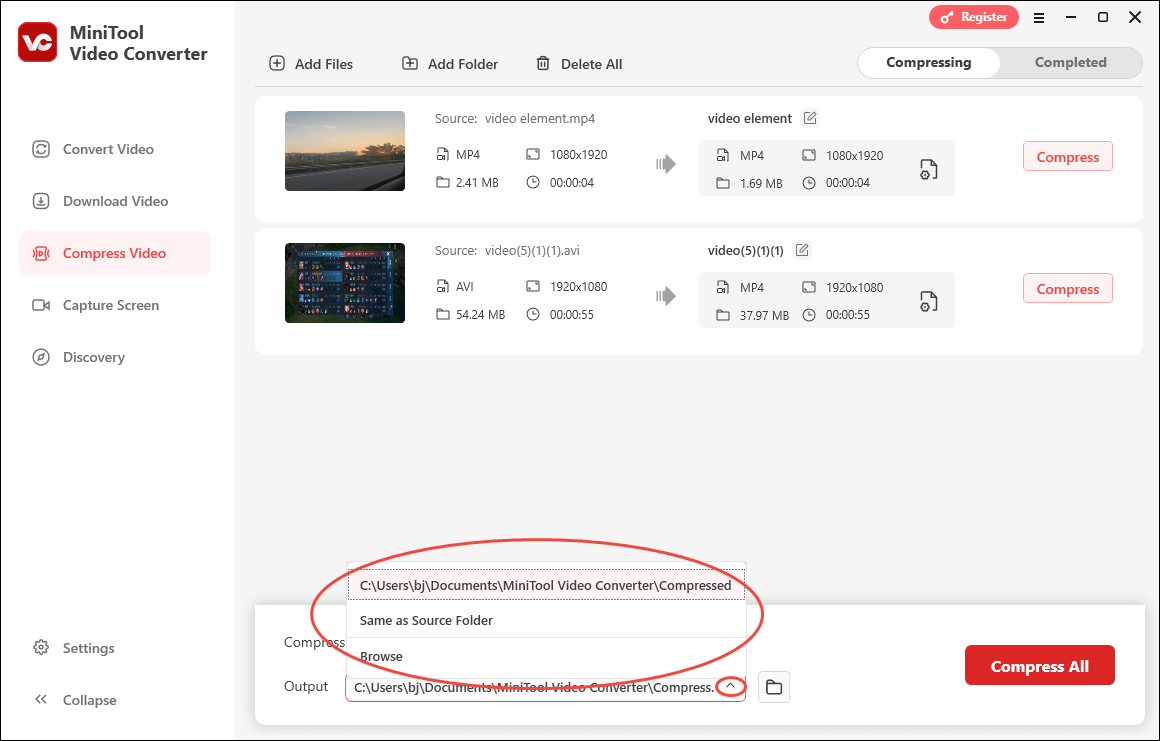
Step 2. Expand the bottom-left Output option and choose a destination folder for your compressed files.
Step 3. Click on the Settings icon to access the Compression Settings window. Then, you will see a progress bar with the minimum file size on the far left and the maximum file size on the far right. By default, there is a recommended compression percentage, balancing the video size and video quality well. Moving the red dot icon on the progress bar allows you to freely adjust the compression percentage between 10% and 100%.
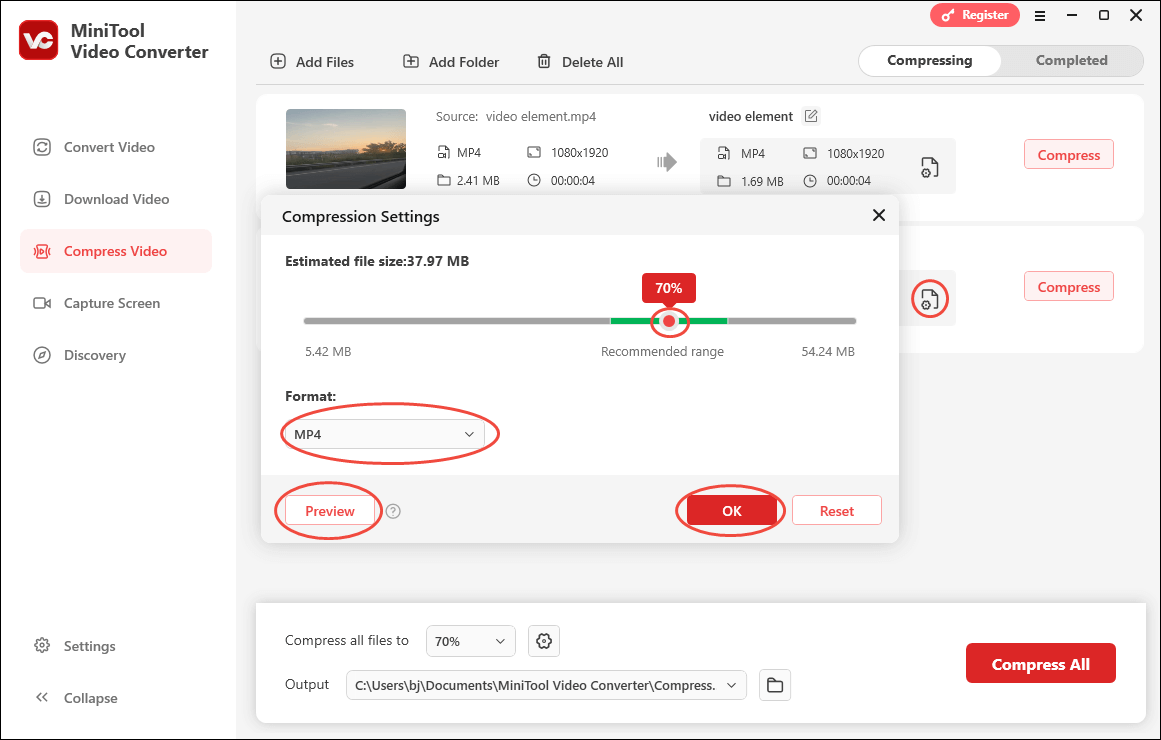
If you want to convert the video to another format, expand the Format option and make a choice among MP4, WEBM, and MKV. To check whether the compression percentage is appropriate, you can click on the Preview button to view the first 10 seconds of the compressed file. Finally, click on OK to save the changes.
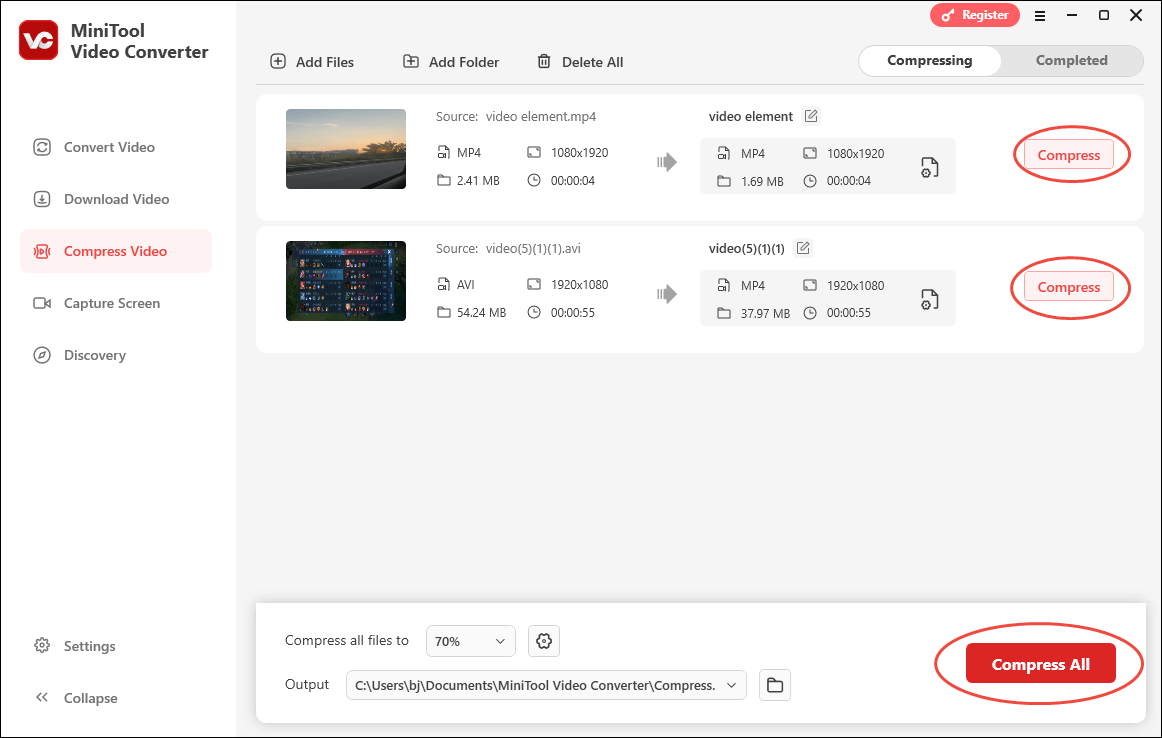
Step 4. Click on the Compress or Compress All button to begin the compression process.
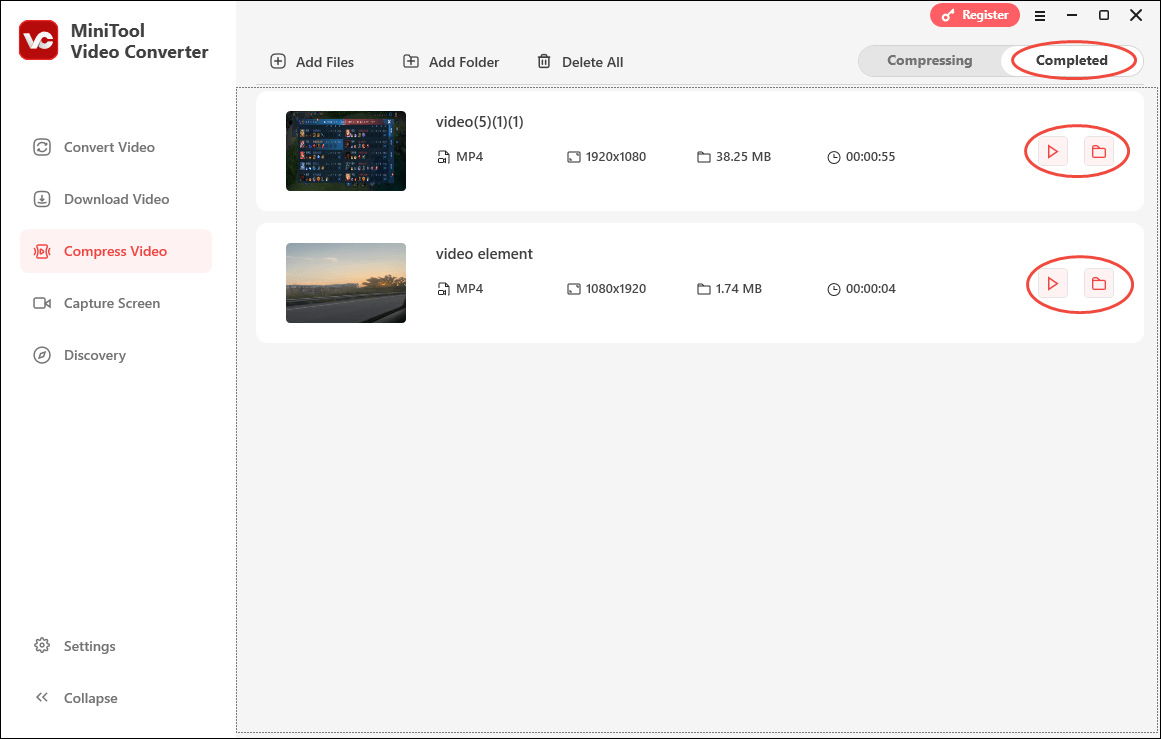
Step 5. When the file compression ends, this file compressor will automatically switch to the Completed section. If you want to directly view the compressed file, click on the Play icon. Also, you can locate the output file by clicking on the Folder icon.
About The Author

Position: Columnist
With over 6 years of experience as a tech writer, Eien specializes in creating clear, simple guides for video conversion, transcription, screen recording, etc. He stays connected with the tech community and its readers to understand the real-world problems users face. By combining their feedback with his own hands-on testing, Eien always provides proven solutions to complex software problems in time.
User Comments :