Overwatch is a team-based, multiplayer, first-person shooter. You recorded Overwatch highlights and want to share them with your friends, but you can’t find the saved highlights. Where are Overwatch highlights saved? This post tells you how to find and record Overwatch highlights.
Where Are Overwatch Highlights Saved and How to Change the Save Folder
Overwatch has a screen recording feature called Highlights (You can also use MiniTool Video Converter to record Overwatch gameplays). It houses the player’s collection of short clips saved from previous matches. You want to share the saved highlights with your friends but have no idea where they are.
Where are Overwatch highlights saved on your computer? You can open the Documents folder, and then you will see the Overwatch folder. All the Overwatch highlights are saved in this folder.
If you want to change the Overwatch highlights save folder, follow the below steps:
Step 1. Make sure that you close the Overwatch game. Type %Documents% in the search bar and hit the Enter key.
Step 2. Go to DocumentsOverwatchSettings, find the Settings-v0.ini file, and open it with Notepad.
Step 3. Find MovieExport and add the text [MovieExport.1] below it. Then add the line: VideoPath= “”(Enter the save path you want to store Overwatch highlights between the quotation mark.)
Step 4. Save the changes and restart the Overwatch game.
This way, you can find and save your Overwatch highlights easily.

How to Record Overwatch Highlights and Gameplays
This part will show you how to record Overwatch highlights and gameplay.
Record Overwatch Highlights
Here’s how to record and download Overwatch highlights with the built-in screen recording tool.
Step 1. Before that, go to Controls > Capture Highlights and set a hotkey for highlights recording.
Step 2. Play the game and start recording Overwatch highlights if you want.
Step 3. After ending the recording, you can head to the Overwatch Highlights menu and find the highlights recordings in the Recently Captured.
Step 4. Right-click the highlights you’d like to save to your computer. Enter the name and click the RECORD button to download the Overwatch highlights.
Record Overwatch Gameplay with MiniTool Video Converter
In the following content, I will recommend another Overwatch gameplay recorder and offer you a detailed recording tutorial.
About MiniTool Video Converter
If you want to record a full Overwatch game on Windows, you can try MiniTool Video Converter. It’s a free video converter that can function as a watermark-free screen recorder. You can use it to record Overwatch gameplays without time limits and watermarks. What’s more, this screen recorder allows you to set the recording duration.
How to Record Overwatch Gameplay with MiniTool Video Converter
Below are the detailed steps to record Overwatch highlights with MiniTool Video Converter.
Step 1. Click on the download button below to download and install MiniTool Video Converter on your PC. Then, run it.
MiniTool Video ConverterClick to Download100%Clean & Safe
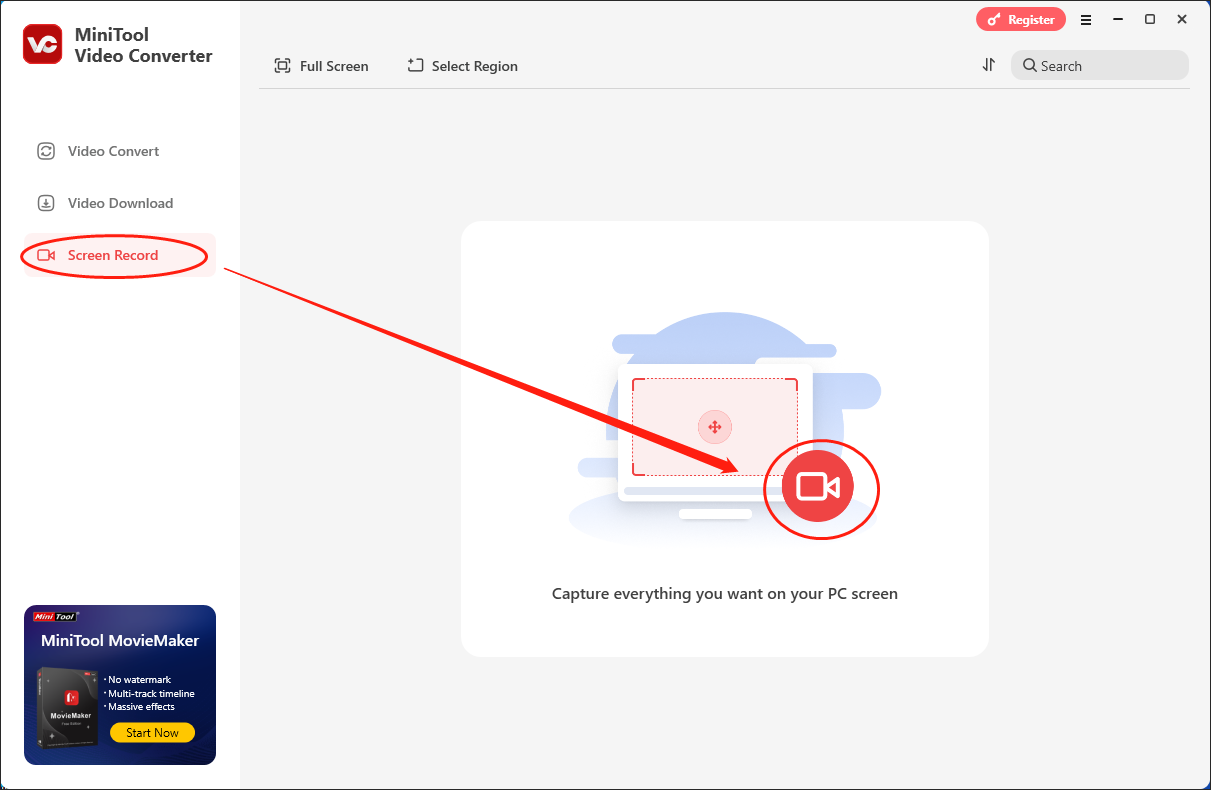
Step 2. Switch to the Screen Record module and click on the recording icon to access the MiniTool Screen Recorder window.
Step 3. The MiniTool Screen Recorder will capture the whole screen by default. If you want to customize the recording area, press the Alt + R keys to make a choice.
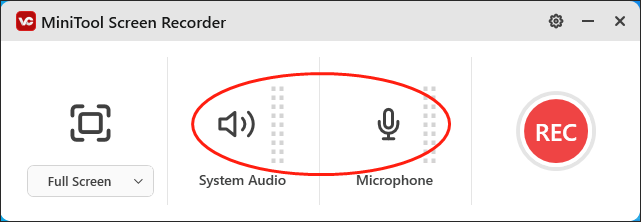
Step 4. Click on the System Audio icon and Microphone icon to control the audio recording.
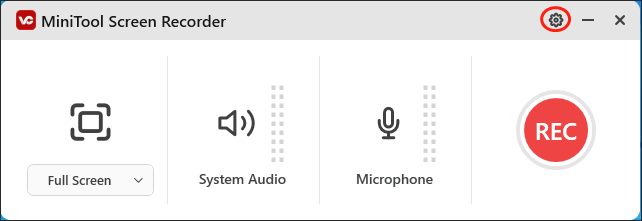
Step 5. Click on the upper-right gear icon to access the Settings window.
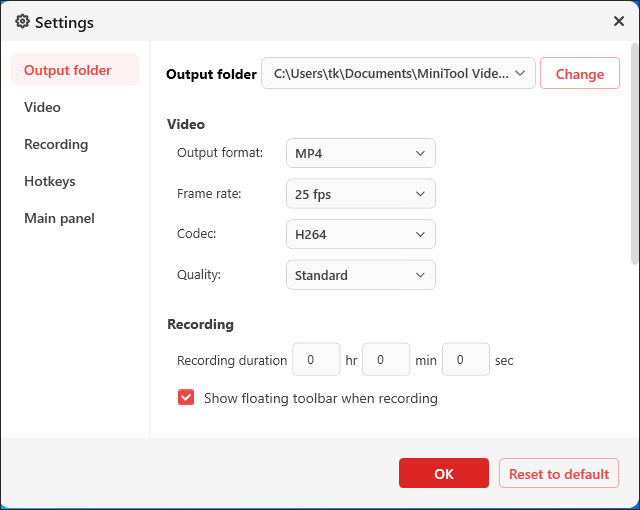
In the pop-up window, you are able to choose a destination folder for your recording file. Meanwhile, you can customize the recording quality and frame rate according to your needs. Finally, click on the OK button to confirm the changes that you have made.
Step 6. Press the F6 key to activate the recording. After a 3-second countdown, begin your game journey.
Step 7. Once the recording is over, press the F6 key to end it. Then, go to the output location to check your recording file.
With the above-detailed steps, it will never be difficult for you to record Overwatch gameplay.
Conclusion
After reading this post, you must know where are Overwatch highlights saved, how to save Overwatch highlights, and how to record Overwatch gameplays. Share your favorite Overwatch gameplays with your friends!
About The Author

Position: Columnist
With over 6 years of experience as a tech writer, Eien specializes in creating clear, simple guides for video conversion, transcription, screen recording, etc. He stays connected with the tech community and its readers to understand the real-world problems users face. By combining their feedback with his own hands-on testing, Eien always provides proven solutions to complex software problems in time.
User Comments :