Have you ever done PowerPoint screen recording? Do you happen to have this problem: when you want to stop PowerPoint screen recording, but you don’t know how? This post from the free video converter will help you disable screen recording.
Screen recording is an intuitive and effective method to create tutorials, presentations, and other visual content. Do you know that PowerPoint has a built-in tool to record your screen? PowerPoint screen recording feature allows users to embed the recording video in the PowerPoint slide, or save it as a separate file. However, knowing how to stop PowerPoint screen recording is also crucial to prevent you from recording irrelevant stuff. Let’s keep reading and find out how to disable screen recording.
How to Stop PowerPoint Screen Recording
In case someone is not familiar with the PowerPoint screen recording feature, I will start from the very beginning.
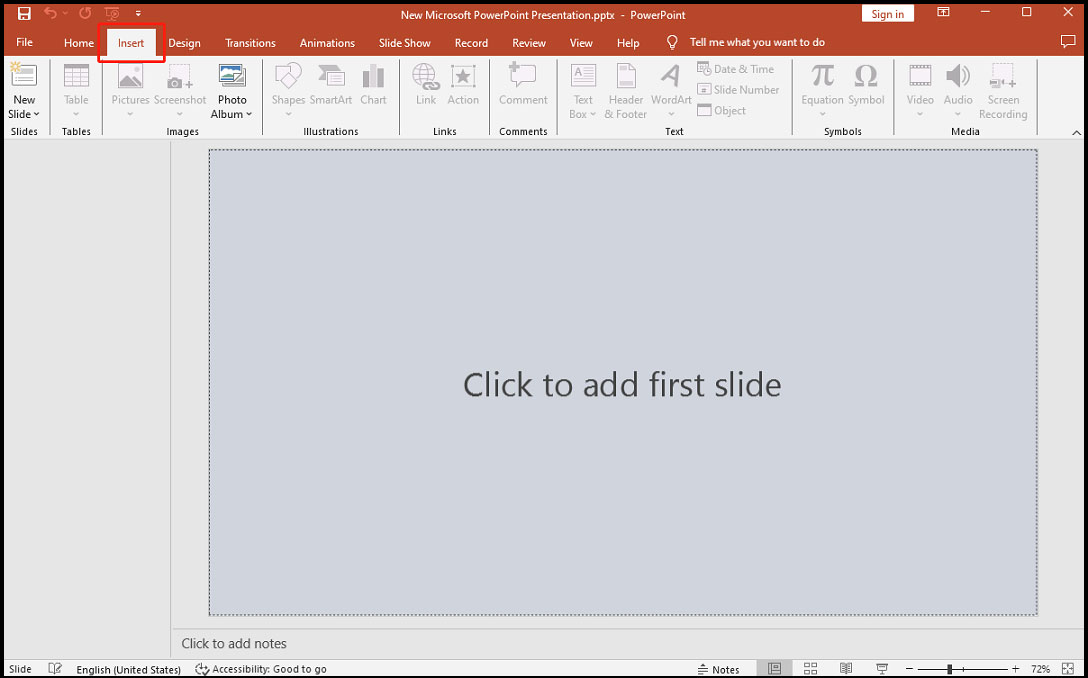
Step 1. Open PowerPoint and click Insert on the main menu.
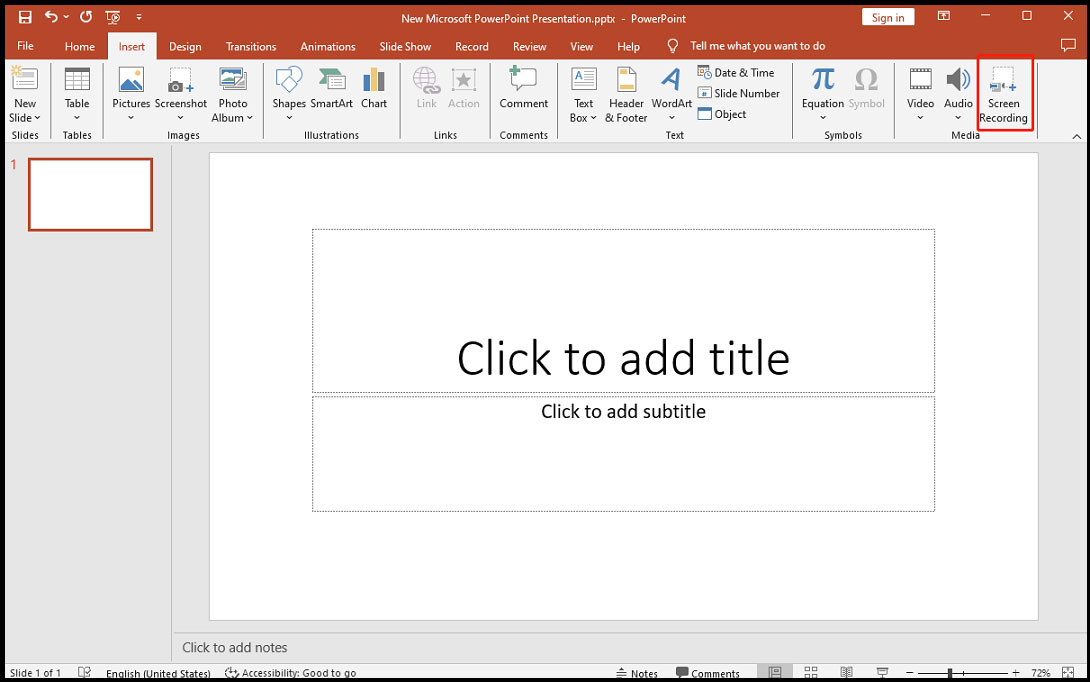
Step 2. Select Screen Recording.
Step 3. On the Control Dock, click Select Area, and you will see the cross-haired cursor. Drag it to choose your desired region for recording. If you want to record the full screen, press the Windows logo key + shift + F.
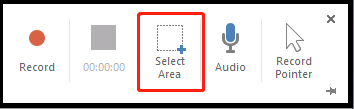
Step 4. Hit the red Record button to start recording, and click Pause if needed.
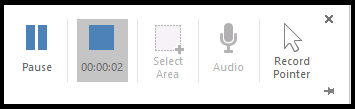
Step 5. To stop the screen recording, hit the blue rectangle.
Step 5. Your video is added to the slide automatically.
Step 6. Edit your video if needed.
1. Right-click the video frame, select Style, and pick the shape you like to change the look of your video.
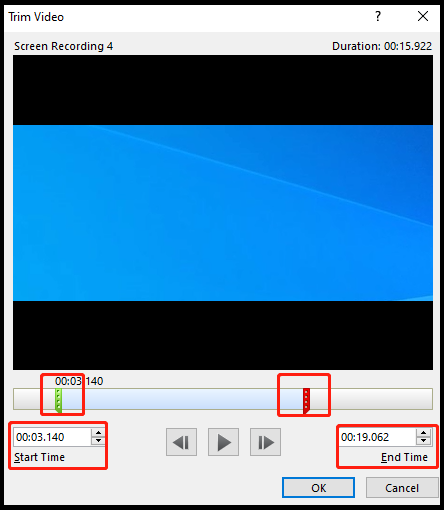
2. You can also trim your video by selecting Trim. You can type the starting time and the ending time on the Start Time box and End Time box respectively. Or you can drag the green marker rightwards to the desired starting position and drag the red marker leftwards to the desired ending position. Click Ok.
Step 7. You can also save the screen recording as a separate file.
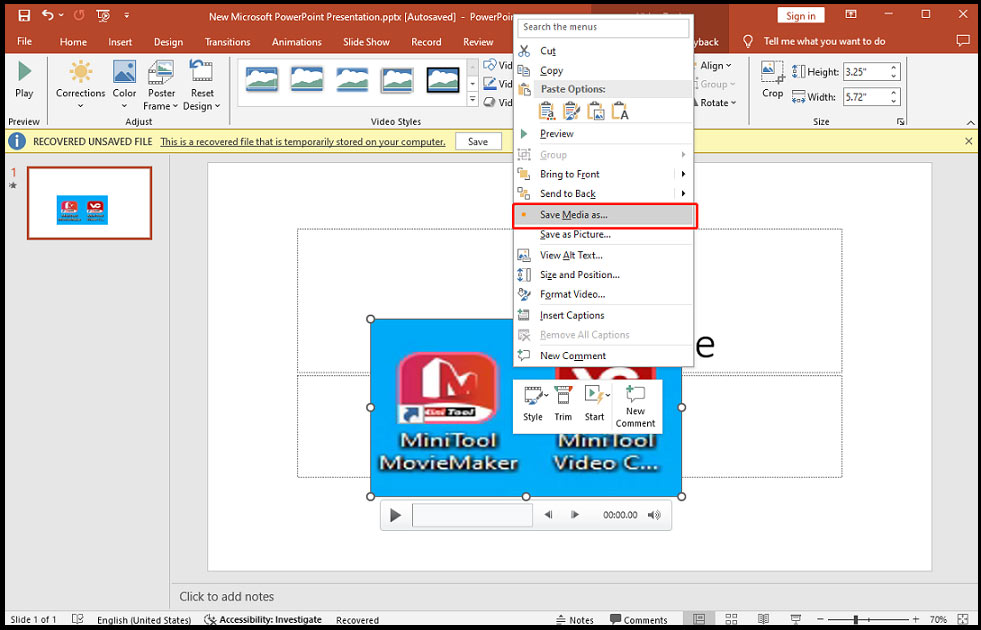
1. Right-click the video frame and select Save Media as.
2. You can choose an output and type the name for the video.
3. Select Save.
A Better Tool to Record Screen
The PowerPoint built-in screen recording tool is easy to use, but it may not satisfy all your needs. So, MiniTool Video Converter is recommended here. It’s an easy-to-use and free video converter for Windows. It can convert video to video, audio to audio, video to audio, and vice versa without watermarks and time limits. It supports various conversion formats. It’s also a good tool to record your screen.
Here are the steps:
Step 1. Download and install MiniTool Video Converter.
MiniTool Video ConverterClick to Download100%Clean & Safe
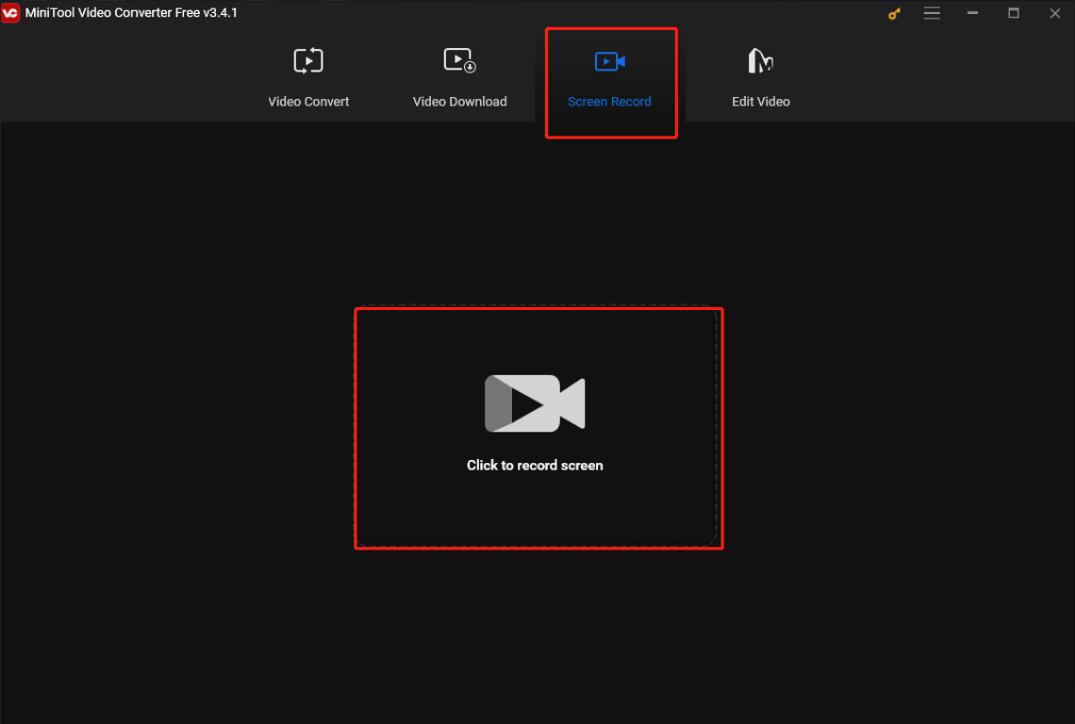
Step 2. Launch it. Click Screen Record and click the Click to record screen area.
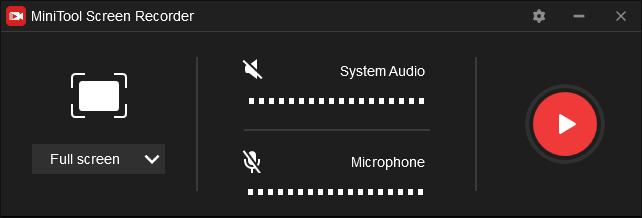
Step 3. If you want to select the recording area, click Full Screen to choose Select region on the down-drop menu. Click the Audio or Microphone icon if needed. For more settings, click the Settings icon.
Step 4. Click the Record button or press F6 to start your recording. Press F9 to pause your recording if needed.
Step 5. Press F6 again to stop the recording
Step 6. The recording video will appear on the list. You can right-click on it to preview, delete it, and more.
Conclusion
Now you already know how to stop PowerPoint screen recording and how to record screen with MiniTool Video Converter.
If you have any questions about MiniTool Video Converter, feel free to contact us via support@minitool.com!
User Comments :