How to record on Preply? This article will explain what Preply is and why record on Preply. It also gives detailed steps to record Preply teaching content with MiniTool Video Converter easily and quickly.
What Is Preply
Preply is a professional online one-on-one language learning platform offering learning resources in over 90 languages. It provides one-on-one online classrooms for teachers and students.
Teachers can teach their preferred language on Preply and offer customized learning plans and courses. They can also set their own unit price for each course. Moreover, teachers can also use the Preply platform’s teaching aids and mobile app for daily communication with students.
Why Record on Preply
Preply class recording has many benefits.
1. Recording on Preply helps teachers monitor student performance in class, track their progress at each stage, and compare their progress in areas such as pronunciation and oral fluency. This also helps teachers review key points that were unclear or areas for improvement, and optimize subsequent teaching plans.
2. For students, Preply courses are paid. Recording on Preply enables them to save more learning costs. Furthermore, since students can view the recordings without time or space restrictions, their learning efficiency can also be improved.
How to Record on Preply
For recording the screen on Preply, I would like to recommend the best screen recording software: MiniTool Video Converter.
About MiniTool Video Converter
MiniTool Video Converter is a watermark-free screen recorder. Its screen recording feature supports teachers to record the full screen or select a region to record. MiniTool Video Converter also allows customization of the frame rate and video quality of the recording. In addition, it supports presetting the duration for recording the screen on Preply.
How to Record on Preply via MiniTool Video Converter
How to record on Preply through MiniTool Video Converter? You can follow my demonstration to complete the recording step by step.
Step 1. Download and install Minitool Video Converter.
Click on the download button below to download and install MiniTool Video Converter easily and quickly. Then, start it.
MiniTool Video ConverterClick to Download100%Clean & Safe
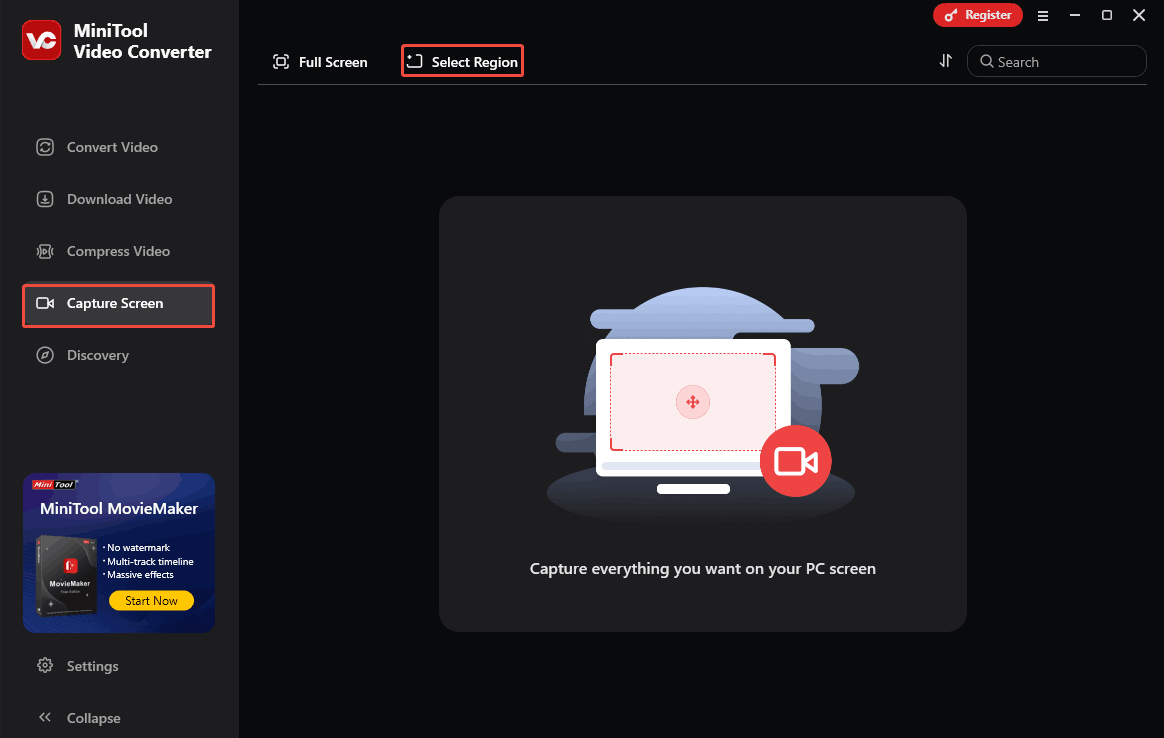
Step 2. Set the screen recording area.
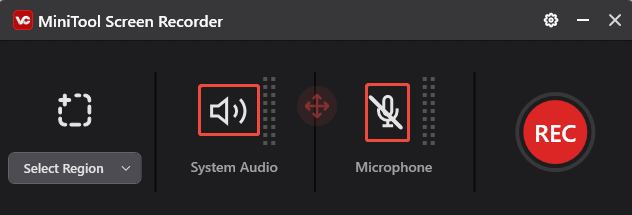
Switch to the Capture Screen module. There, click on the Select Region option to trigger the MiniTool Screen Recorder window.
Drag the red dotted border to determine the recording area.
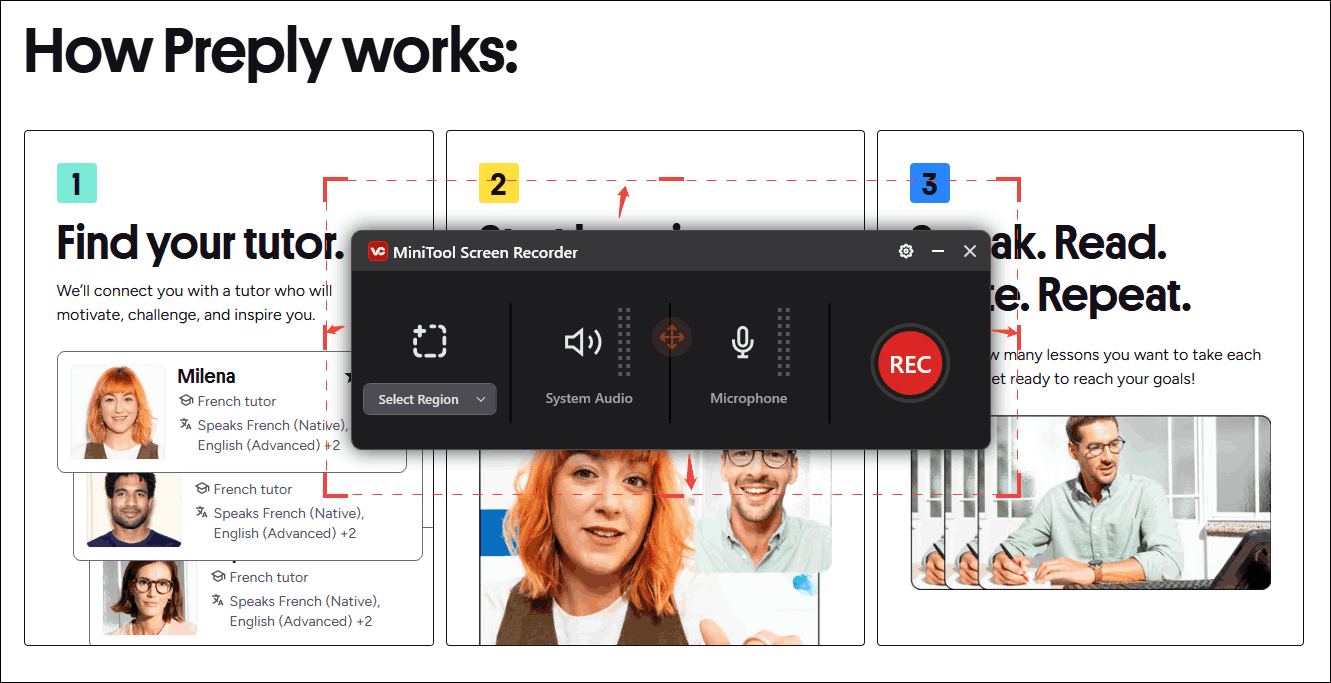
Step 3. Control the recording audio.
Click on the System Audio icon and the Microphone icon to turn on/off the system and microphone audio. Since you plan to record on Preply, it is suggested that you turn on the system sounds and turn off the microphone audio.
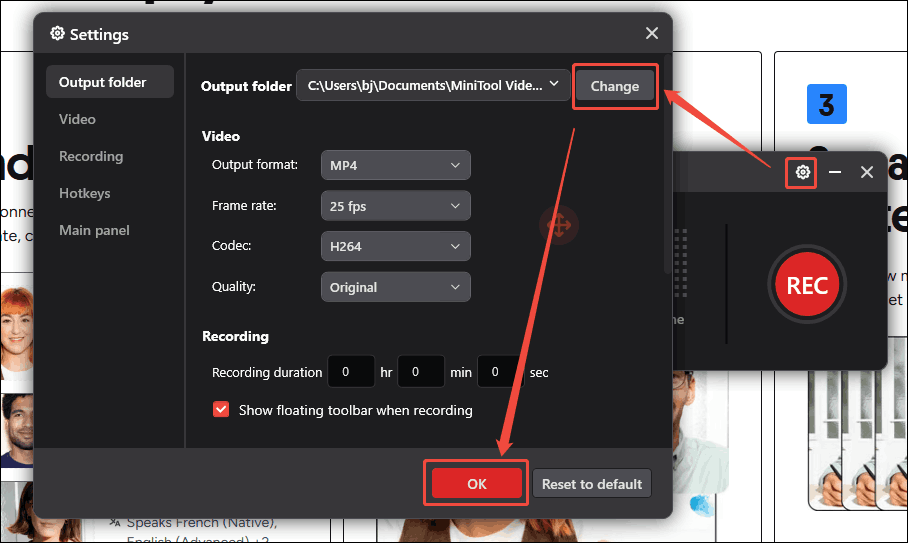
Step 4. Choose a saving location.
Click on the Gear icon to open the Settings window. There, click on the Change option to choose a saving location. Then, click on the OK button.
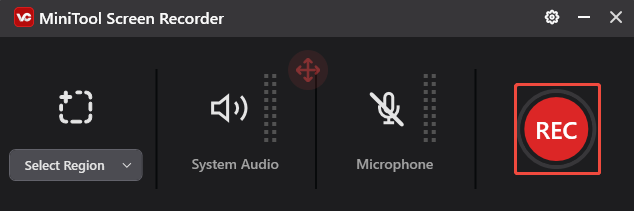
Step 5. Start and end the recording process.
Click on the REC button to start recording Preply teaching content. After a 3-second countdown, start your class. When the recording process ends, press the F6 key to stop it.
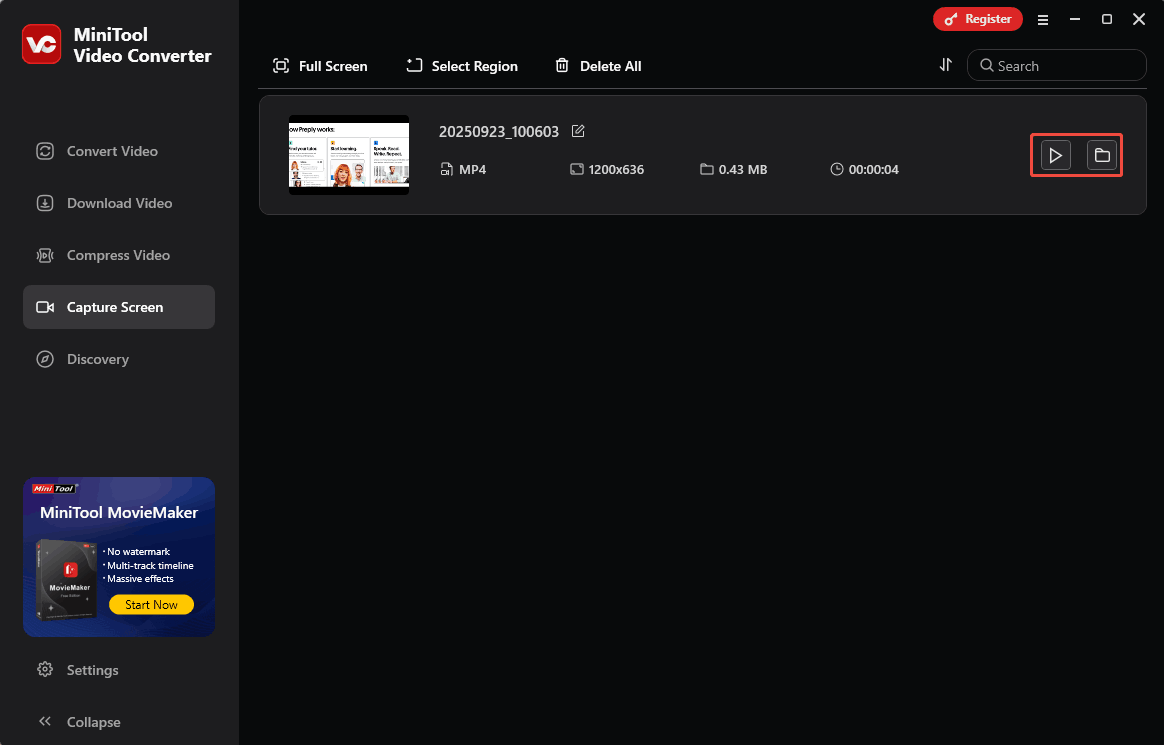
Step 6. Check the recorded video.
When the recording ends, the recorded course will automatically redirect to the main panel. There, click on the Play icon or the Folder icon to check or locate the recorded course.
The above is guidance on how to record on Preply.
By the way, MiniTool Video Converter is a free video converter that supports various video and audio conversions.
Bonus: How to Edit the Recorded Video
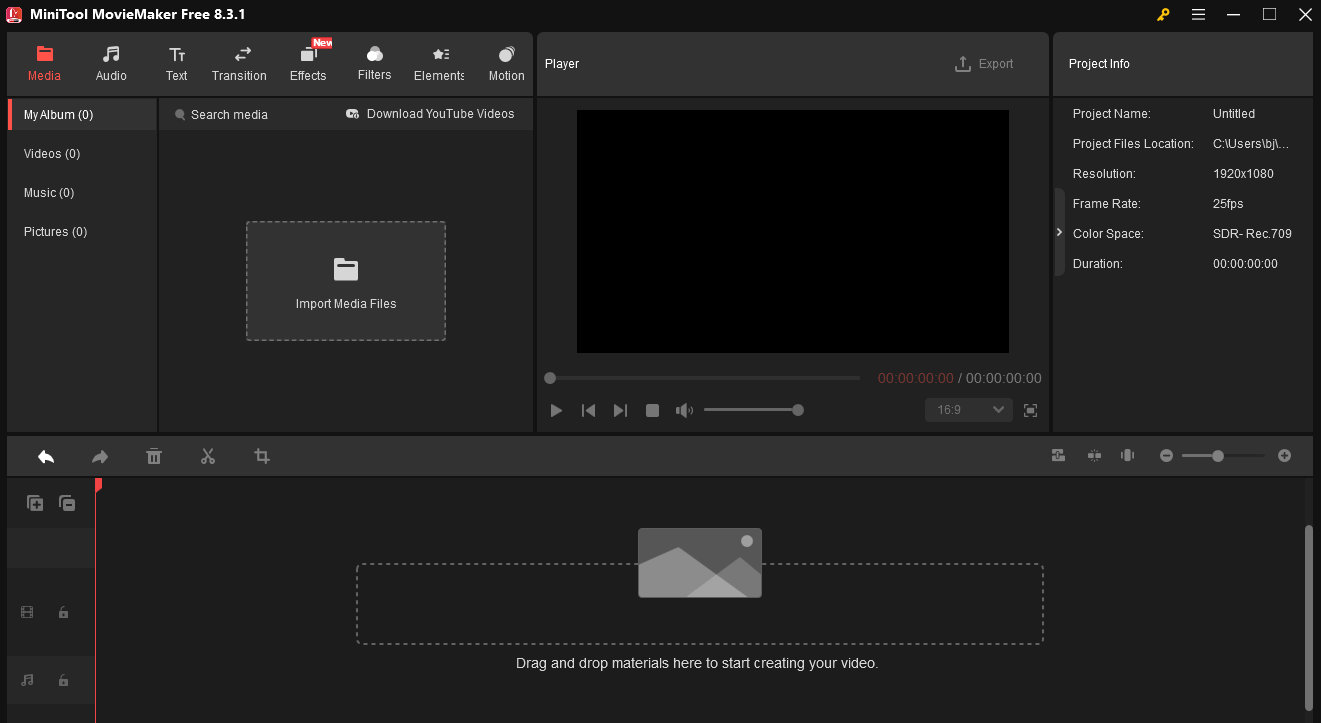
MiniTool MovieMaker is an excellent editing software. If you want to make your screen recordings more creative and attract more students, you can add MiniTool MovieMaker’s various elements, such as transitions, filters, effects, and motions, and more to your recording file.
MiniTool MovieMaker also supports adding background music and various sound effects to your recordings. It also allows you to export your edited screen recordings to a variety of formats, such as MP4, MKV, AVI, MKV, WebM, and more.
MiniTool MovieMakerClick to Download100%Clean & Safe
Conclusion
Recording on Preply not only allows teachers to improve their teaching skills but also helps students learn these courses better. If you don’t know how to record on Preply, never miss MiniTool Video Converter.
User Comments :