Online meetings have become the norm nowadays and knowing how to record them is useful. In this article from the free file converter, we’ll explore how to record Lifesize video conference for free.
What Is Lifesize
Lifesize is a leading provider of high-quality video conferencing solutions. A Lifesize meeting offers crystal-clear audio and video, allowing participants from different locations to communicate as if they were in the same room. It supports features like screen sharing, chat functionality, and breakout rooms, making it a comprehensive platform for various types of meetings, be it business negotiations, project updates, or educational seminars.
How to Record Lifesize Video Conference with Built-in Recorder
Lifesize itself offers a recording feature. You can record meetings if your admin has enabled the feature for your Lifesize account. Following the steps below to record Lifesize meetings with its built-in recorder.
Step 1. Start the video conference and click the record button to start recording.
Step 2. Select the stop icon to stop the recording. Only the user who started the recording can stop the recording. Ending the meeting for all automatically stops the recording.
Step 3. To check the recorded video, select View Recordings.
How to Record Lifesize Video Conference with MiniTool Video Converter
As the name suggests, MiniTool Video Converter is a video converter. However, it can do more than video conversion. This tool also comes with excellent recording capabilities that can be used to capture Lifesize meetings.
MiniTool Video Converter has an intuitive layout, making it easy for you to navigate. As a high-quality recorder,it can record your 4K screen.
Additionally, this tool has flexible recording options. You can choose to record the entire screen or a specific window. You can also adjust the recording frame rate, audio source, etc.
How to record a Lifesize meeting with MiniTool Video Converter? You can:
Step 1. Download and install MiniTool Video Converter on your computer.
MiniTool Video ConverterClick to Download100%Clean & Safe
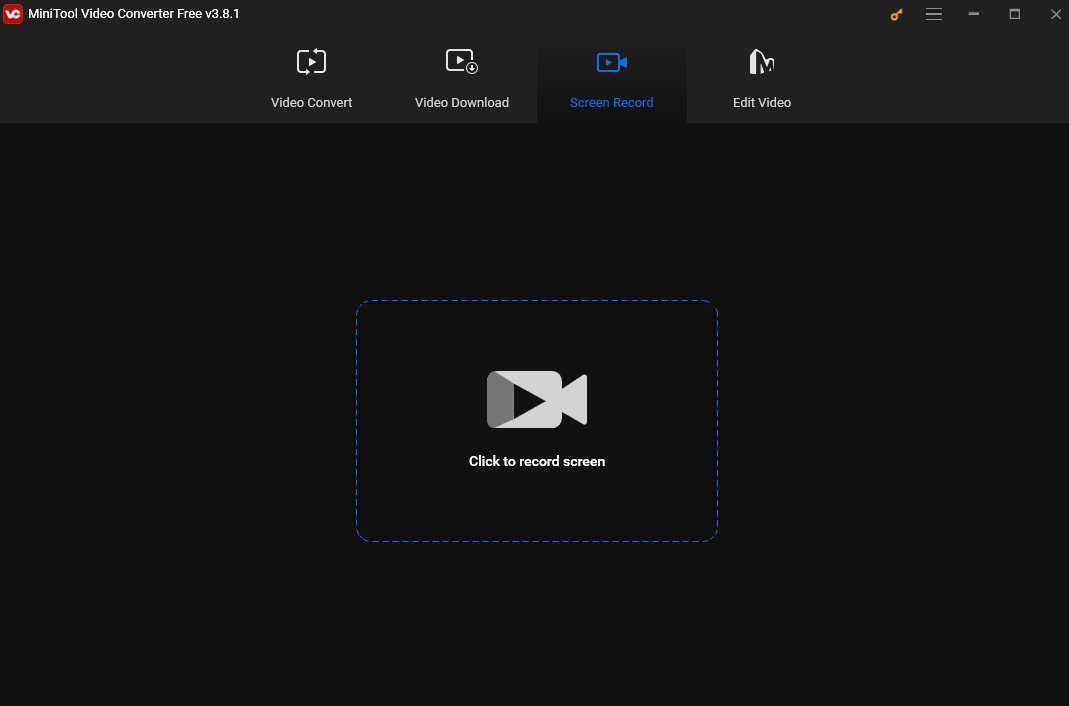
Step 2. Open this tool. Choose the Screen Record option and click the Click to record screen region to access its screen recorder tool.
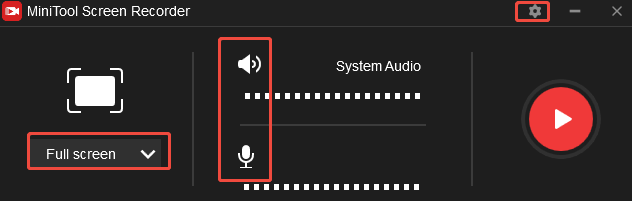
Step 3. After that, you will see the MiniTool Screen Record panel. By default, this tool captures your entire screen. If you have a specific area to record, click Full Screen in the panel, choose Select region from the dropdown, and move your cursor to choose your desired recording area.
Click the System Audio and Microphone icons to record the external and internal sounds.
For more settings, click the gear icon at the top-right corner of the panel.
Step 4. Click the Record button on the panel or press F6 on your keyboard to start recording.
Step 5. During the recording, you can press F9 to pause and resume the process.
Step 6. To end the recording, press F6 again. Then, the Screen Record panel will reappear on your screen with the recorded video listed on it. You can right-click the recording to preview, rename, and delete it.
How to Record Lifesize Video Conference with Mac QuickTime Player
If you use a Mac, you can useQuickTime Player to record the screen. Here are the steps.
Step 1. Open QuickTime Player (It’s preinstalled on Mac, so you don’t have to download and install it).
Step 2. Go to File > New Screen Recording.
Step 3. In the toolbar, click Options to adjust the recording settings. For example. you can set the location to save your recording, choose to capture the pointer or clicks during recording, etc.
Step 4. Click Record. To stop recording, press Command + Control + Escape.
Conclusion
Recording a Lifesize meeting is easy. With the built-in tool or third-party software like MiniTool Video Converter and QuickTime Player, you can capture important meetings accurately and easily. Choose the method that best suits your needs and begin recording.
User Comments :