How to record audio in Clipchamp? This article from the free video converter offers a quick and easy method to help you accomplish this task. In addition, you will learn how to record screen/webcam with audio in Clipchamp. In the last part, this post introduces an alternative to the Clipchamp screen recorder.
Clipchamp is a beginner-friendly online video editing tool that can crop, trim, add text to your video, and more. This tool can also function as a recorder that can record your screen and webcam. In addition, it can record the audio only.
How to Record Audio in Clipchamp
Clipchamp can record your voice, record screen with audio, and record a webcam with Audio.
How to Record Your Voice in Clipchamp
Step 1. Go to the Clipchamp website with your browser and sign up.
Step 2. Click Try it in the bottom right corner of Record yourself to open the Clipchamp recorder.
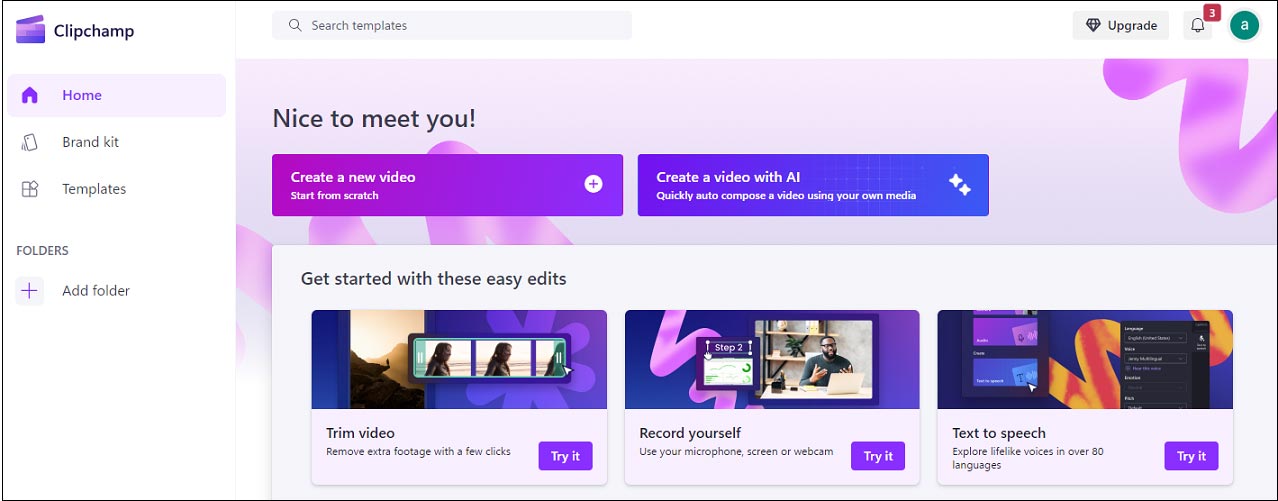
Step 3. In the next window, select Audio under the Record & create tab. In the following window, click the allow button in the pop-up dialog.
Step 4. Click the red record button to start recording your voice.
Step 5. To end the process, click the red record button. Click Retake recording if you would like to redo your video. Click the save and edit button to save and return to the editor. Your voiceover will automatically be added to the timeline.
How to Screen Record with Audio in Clipchamp
Step 1. Under the Record & create tab in the Clipchamp recorder window, click Screen.
Step 2. In the screen recorder window, choose your microphone source and turn off/on speaker coach.
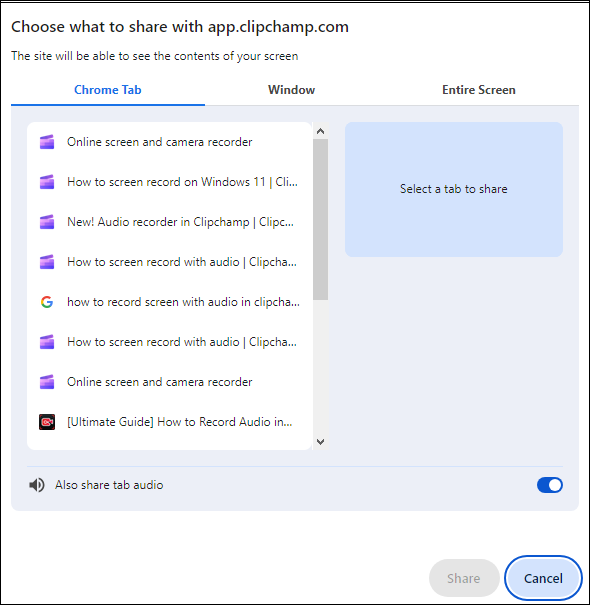
Step 3. Click the red record button to start recording. Then you will see a pop-up window with screen recording options: Chrome tab, Window, and Entire Screen. To record audio, select the Chrome tab only. Make sure to turn on the audio sharing toggle to allow audio access. Once finished, click Share.
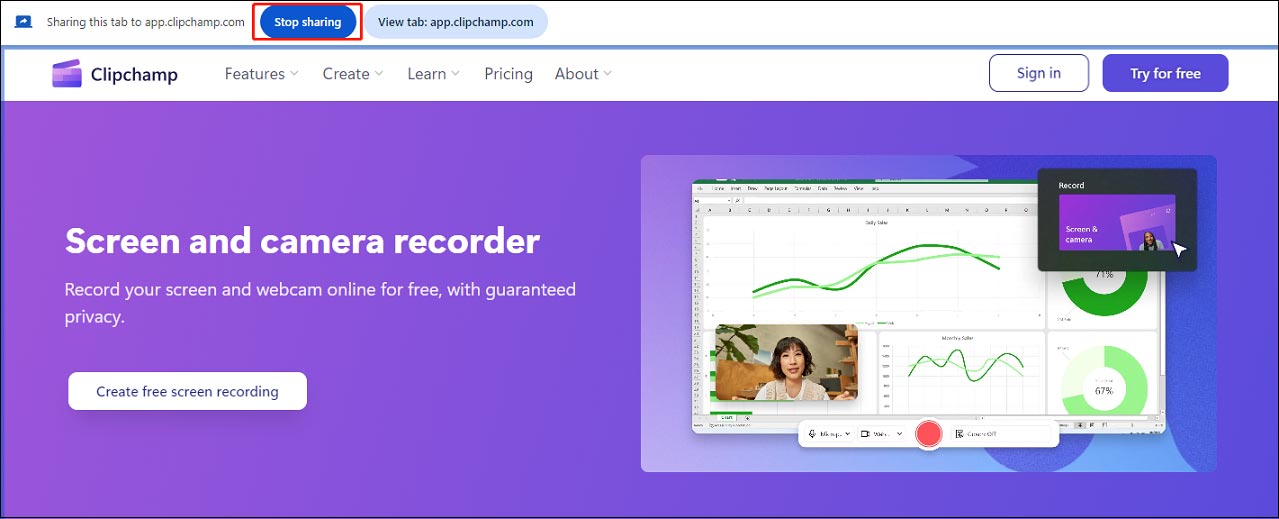
Step 4. After that, you will automatically be led to the tab in a full-screen preview. To end the process, click Stop sharing at the top of the window. Click save and edit. Then your recording will be added to your timeline and downloaded to your device in MP4 format automatically.
How to Record Webcam with Audio in Clipchamp
Step 1. Select Camera under the Record & create tab.
Step 2. In the following window, allow Clipchamp access to your camera and microphone.
Step 3. Click the red record button to start recording.
Step 4. Click the red record button to end the process. Click Save and edit to add your recording to the timeline and download it.
Alternative to Clipchamp Screen Recorder – MiniTool Video Converter
MiniTool Video Converter is a screen recorder that has no time limits and watermarks. This tool can record any activities on your screen with the system audio and microphone simultaneously and respectively. In addition, it allows users to record the entire window or a specific area.
The following are the steps.
Step 1. Hit the button below to download and install MiniTool Video Converter.
MiniTool Video ConverterClick to Download100%Clean & Safe
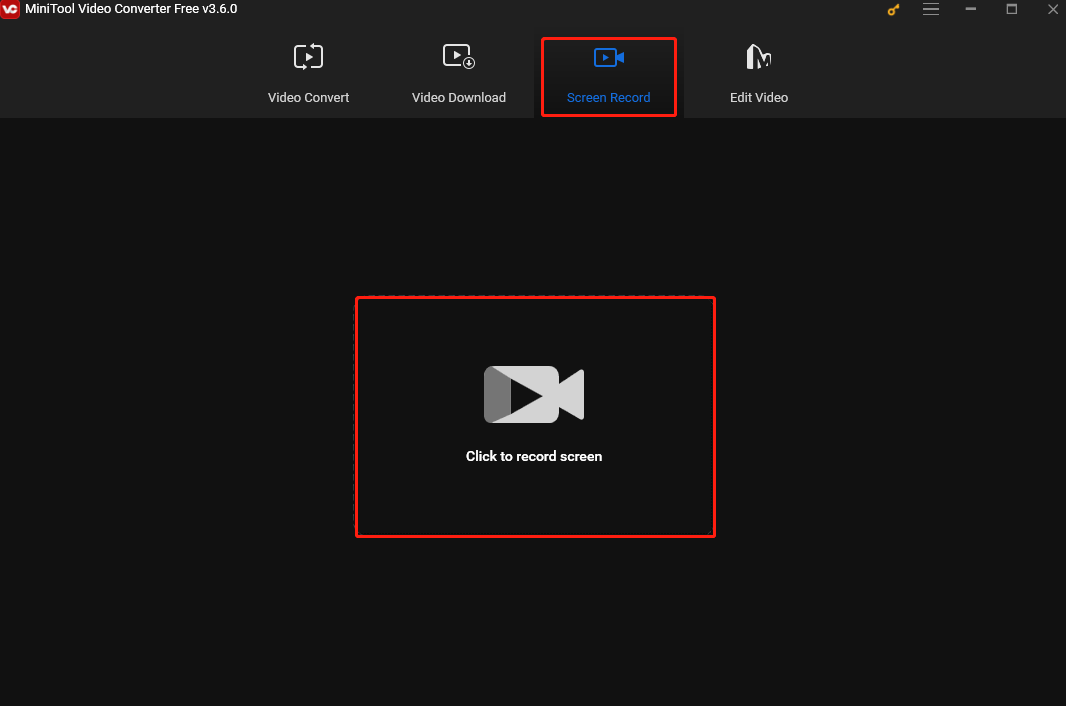
Step 2. Launch this software. Under the Video Converter tab, click Screen Record and the Click the record screen area to open MiniTool Screen Recorder.
Step 3. In MiniTool Screen Recorder, users can customize the audio source and recording area. This tool records the entire screen by default. To record a specific area, click the Full screen box and choose Select region from the down-drop menu.
You can also turn on/off the system audio and Microphone simultaneously and separately.
Step 4. Click the record button or press F6 to start recording. Click F9 to pause and resume the process.
Step 5. To end the recording, press F6 again.
Conclusion
This post provides detailed instructions on how to record audio in Clipchamp, screen record with audio in Clipchamp, and record webcam with audio in Clipchamp. In addition, it introduces an alternative to the Clipchamp screen recorder – MiniTool Video Converter. I hope you find it useful.


User Comments :