ClickMeeting is a web-based video conferencing platform for online meetings, training sessions, and webinars. It has many features such as screen sharing, file uploading, and breakout rooms for private conversations. It aims to provide a reliable and efficient way for a remote connection. But sometimes people need to record a webinar for various reasons. How do you Record ClickMeeting webinar? This post from the free file converter will walk you through 3 methods to achieve it.
How to Record ClickMeeting Webinar with its Built-in Feature
ClickMeeting has a built-in recorder for users to record a webinar. Here are the steps:
Step 1. Create or join a webinar after signing in.
Step 2. Click the REC button on the right-top of the webinar window.
Step 3. Click the REC button again to stop recording. Recordings are automatically saved in your account panel. You can go to the Storage section, and choose Recordings on the drop-down menu to check all your recordings. Click Actions next to each recording to play, download, or share it.
How to Record ClickMeeting Webinar with a Third-party Tool
ClickMeeting’s built-in recorder is the most direct way to record a webinar. All the recordings will be saved in MP4 format. However, the chat box or the attendee list won’t be recorded. What if you want to record the chat box or save your recordings as MOV, AVI, or other formats? See as follows.
Method 1. MiniTool Video Converter
The most recommended software is MiniTool Video Converter. It’s a free video converter. It enables users to convert plenty of audio and video formats without watermarks or time limits. Batch conversion is also allowed. In addition, it can record the computer screen. Users can save their recordings as MP4, MOV, AVI, etc. It simplifies the recording process. You can record the webinar with just a few simple steps.
Below are the steps:
Step 1. Download and install MiniTool Video Converter on your computer.
MiniTool Video ConverterClick to Download100%Clean & Safe
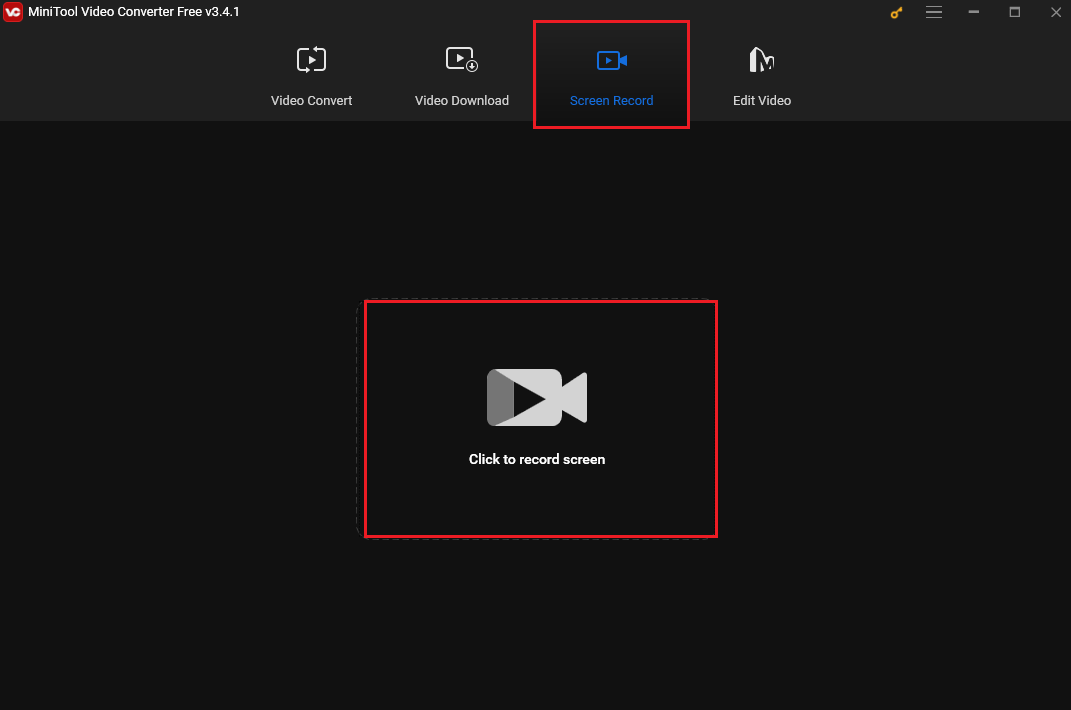
Step 2. Hit Click to record screen area after clicking Screen Record to open MiniTool Screen Recorder.
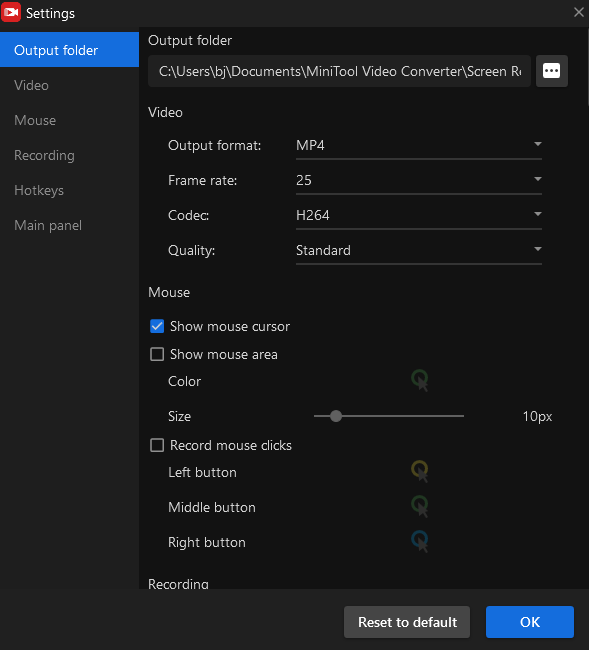
Step 3. Full-screen mode is set by default. You can click Full screen and choose Select region to record your preferred area. Click the System Audio icon or Microphone icon to turn on the system audio or microphone if needed. Click the Settings icon to choose the output format. Hit OK to save the change.
Step 4. Go to ClickMeeting and create or join a webinar. Click the red Record button of MinTool Screen Recorder or press F6 to start recording.
Step 5. Press F6 to stop the recording.
Step 6. Your recording will appear on the MiniTool Screen Recorder window. You can double-click it to preview it or click the Folder icon on the left-bottom corner to open the folder.
Method 2. QuickTime Player
If you are a Mac user and reluctant to download and install other software on your computer, you can try QuickTime Player. It’s a media player built into Mac. It can playback and edit videos. It also has a screen recording feature.
Step 1. Open QuickTime Player.
Step 2. Click File and New Screen Recording from the menu bar.
Step 3. Click the arrow next to the Record button to change the recording settings.
Step 4. Click the Record button and click anywhere on the screen to start the full-screen recording. Or drag to select your desired recording area, then click Start Recording.
Step 5. Click the Stop button or press Command-Control-Esc (Escape) to end the process. The software will automatically open the recording after you finish it. You can play, edit, or share it.
Conclusion
Recording a ClickMeeting webinar is not difficult. Now try your favorite tool and start recording.
If you have any problems with MiniTool Video Converter, don’t hesitate to contact us via support@minitool.com.
User Comments :