Microsoft Teams video file size limit is 250GB, but your total cloud space is limited. Large videos can quickly fill up all available storage. This article will show you how to compress videos using MiniTool Video Converter and EchoWave.
What Is Microsoft Teams?
Microsoft Teams is a collaboration platform that supports video conferencing, document sharing, real-time communication, and more. It is ideal for teamwork and improving work efficiency. Microsoft Teams can be used on a variety of devices, including computers, smartphones, and tablets. It supports collaboration using multiple devices simultaneously with the same account.
What Is Microsoft Teams Video File Size Limit?
The maximum Microsoft Teams video upload size is 250GB. This is because the videos you send will ultimately be stored on OneDrive, and this cloud storage service can only store files up to 250GB.
In theory, you can send video files no larger than 250GB from your computer at one time. However, Microsoft Teams has storage limitations. For example, the free version of Teams has a total file storage limit of only 5GB per user. Therefore, you must reduce Microsoft Teams video file size to avoid exceeding this total limit.
How to Bypass Microsoft Teams Video File Size Limit?
If you don’t want Microsoft Teams’ total file storage space to quickly fill up, you can use some video compressors to reduce the size of Microsoft Teams video files. Here are 2 compressors you can choose from: MiniTool Video Converter and EchoWave.
Option 1: Use MiniTool Video Converter
MiniTool Video Converter is a free, watermark-free video compressor. Its intuitive interface makes video compression easy and simple. It can import and compress videos in multiple formats, such as MP4, MOV, FLV, AVI, WMV, MKV, and F4V.
MiniTool Video Converter has no limitations on file size or number of files. It also supports batch compression if you want to compress multiple files at once. If you want to compress videos for Microsoft Teams, try this free tool:
Step 1: Download and Install MiniTool Video Converter
To download MiniTool Video Converter, simply click the button below, run the installer, and follow the on-screen prompts.
MiniTool Video ConverterClick to Download100%Clean & Safe
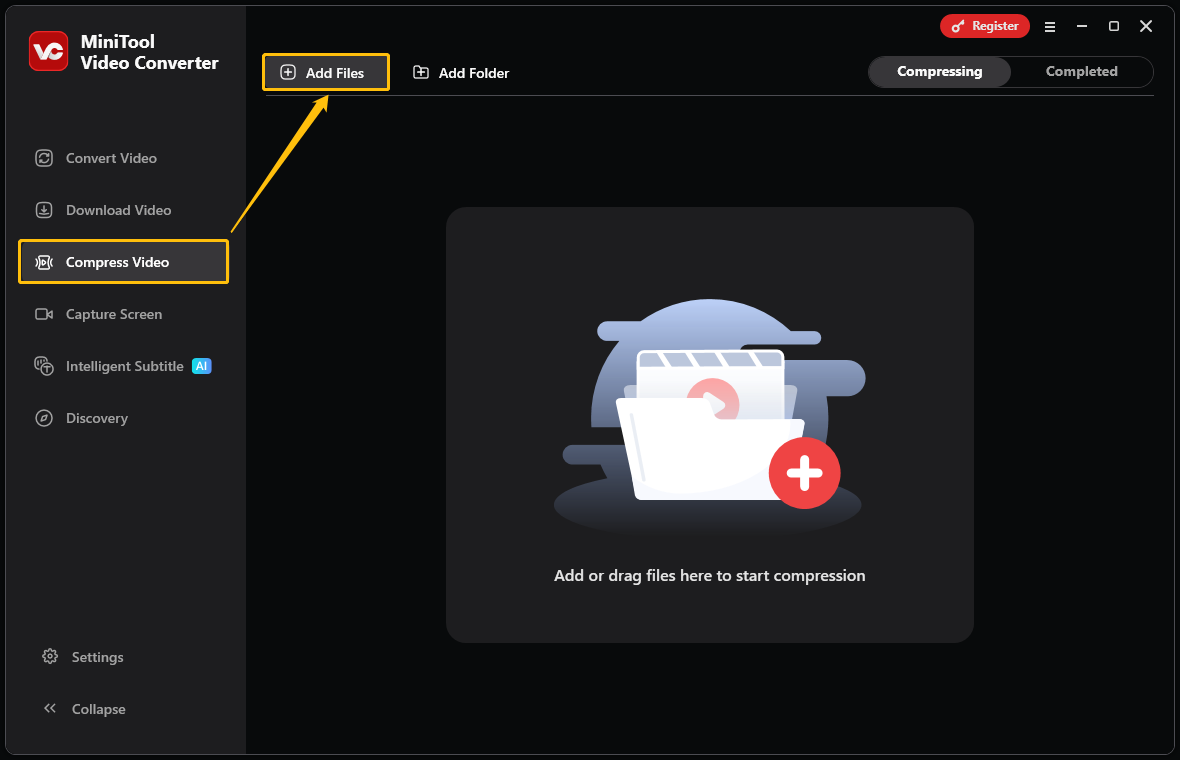
Step 2: Import Your Video
Open this free compressor. Then, switch to the Compress Video tab, and click Add Files to import the video you want to compress.
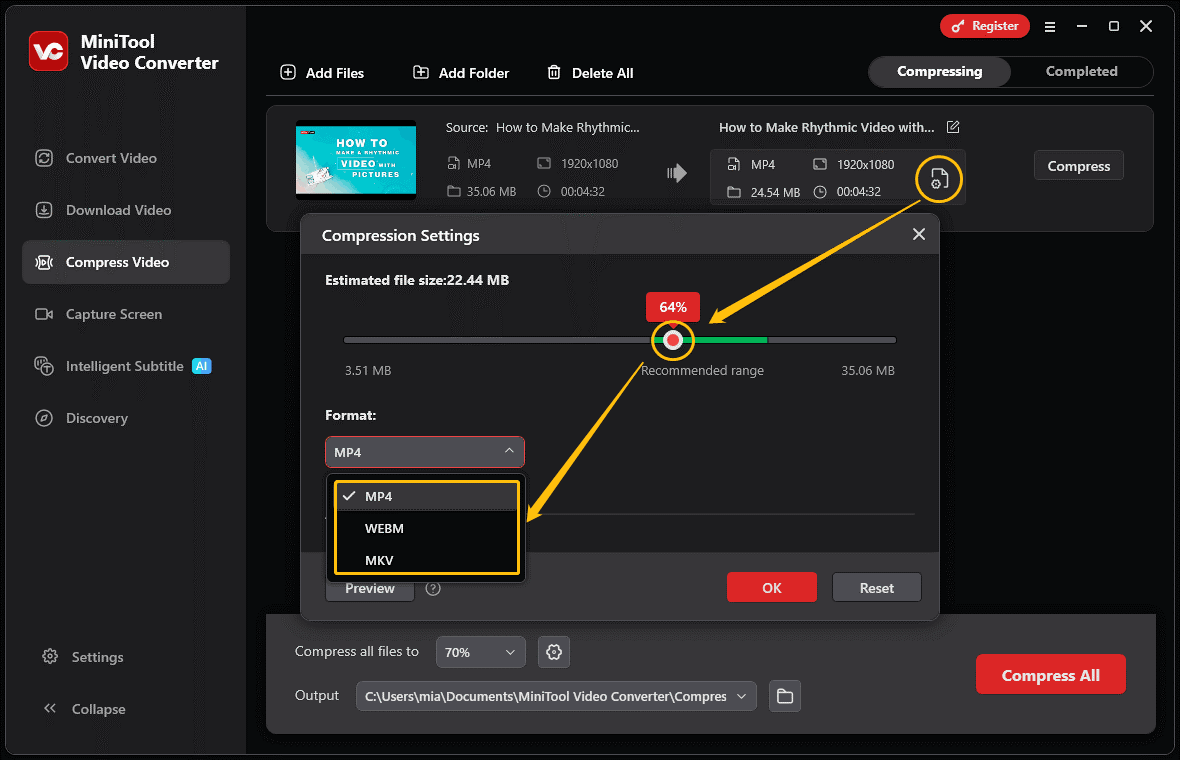
Step 3: Set the Compression Level
Click the settings icon to open the Compression Settings window. Then, slide the red dot to set your preferred compression level.
Step 4: Choose Output Format
Drop down the Format list and select MP4, WebM, or MKV as the output format.
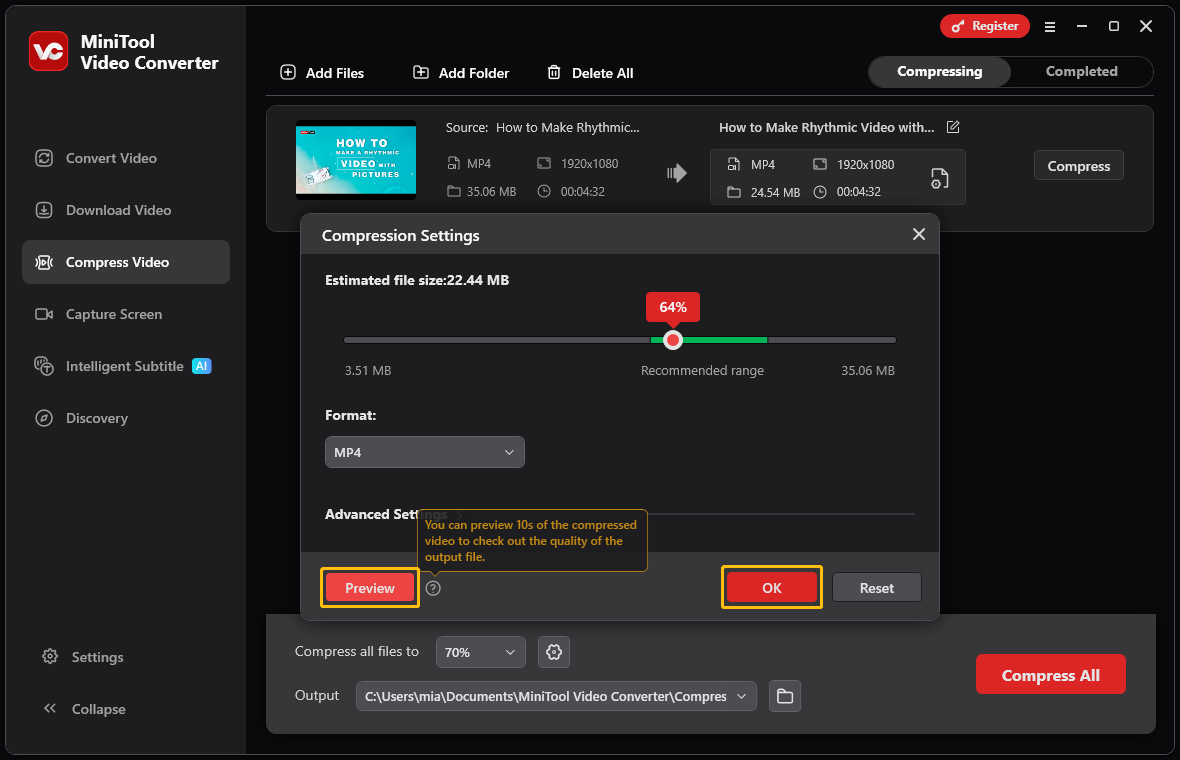
Step 5: Preview the Video
You can click the Preview button to preview the quality of the compressed video. Then click OK to confirm your compression level and export format.
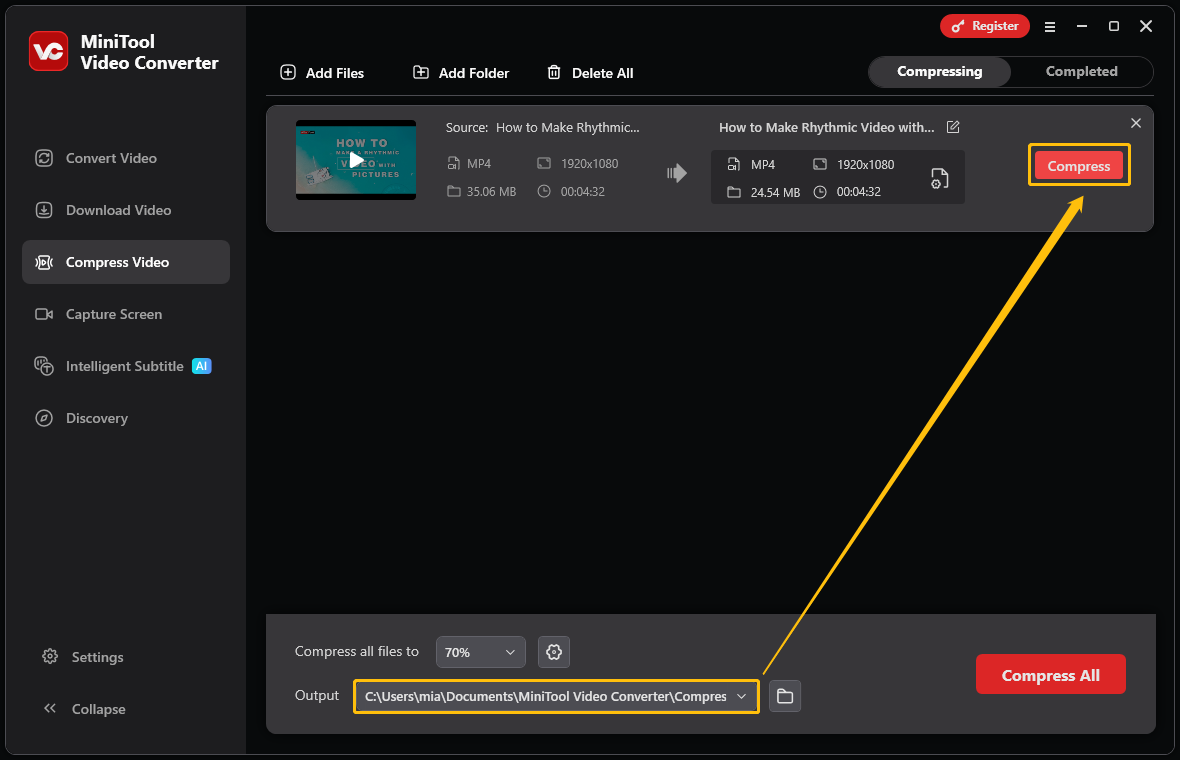
Step 6: Set the Save Location
Click the Output option and choose the save location from the drop-down menu.
Step 7: Start Compression
Click the Compress button to start the compression process.
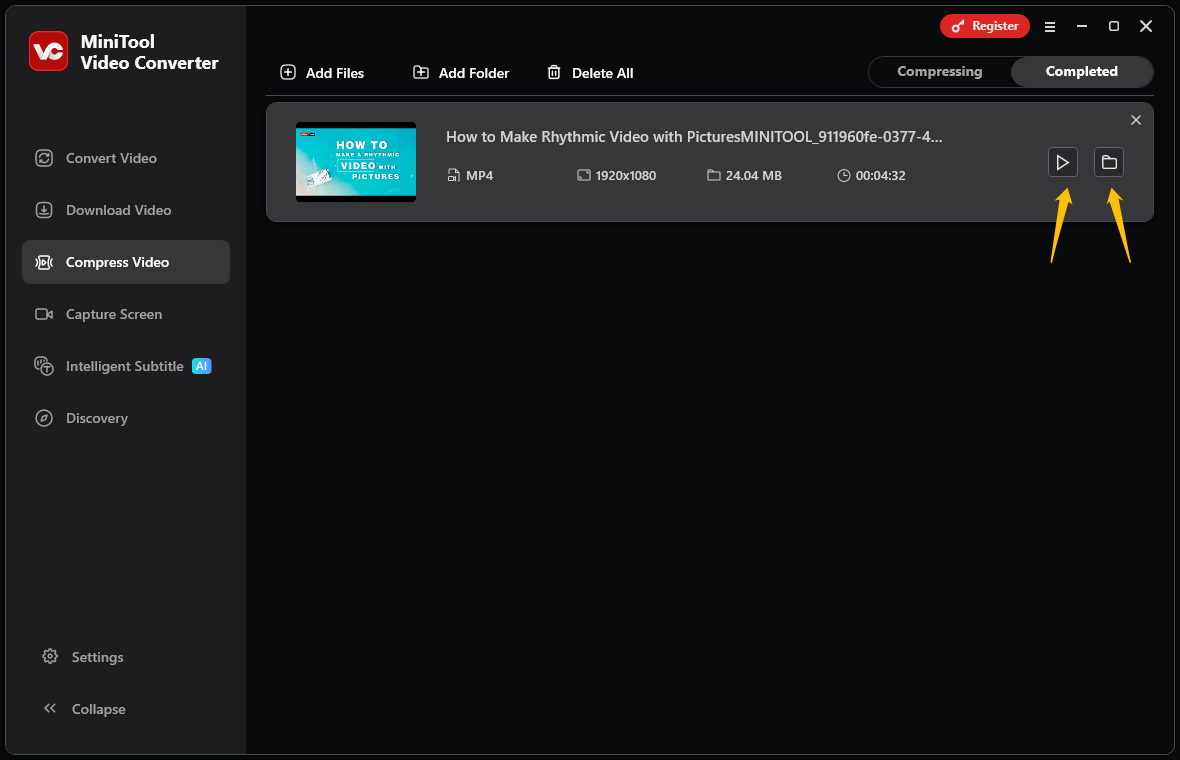
Step 8: Check the Compressed Videos
When the video compression completes, the interface will automatically switch to the Completed section. Then, you can view the compressed videos by clicking on the play icon. Or locate the compressed video by clicking on the folder icon.
By following the detailed steps above, you can easily reduce the file size of your video to meet Microsoft Teams’ file size requirements. You can also use MiniTool Video Converter to convert the video to your desired format, turning it into SRT or TXT text, and more.
Option 2: Use EchoWave
EchoWave is a simple and easy-to-use online video compressor. It allows users of all skill levels to compress videos easily. Furthermore, EchoWave optimizes file size while maintaining high video quality. You can compress videos for Microsoft Teams with this tool. Here’s how:
Step 1: Visit the EchoWave Website
Navigate to https://echowave.io/tools/video-compressor/.
Step 2: Upload a Video
Click Choose Files to upload a video from your computer.
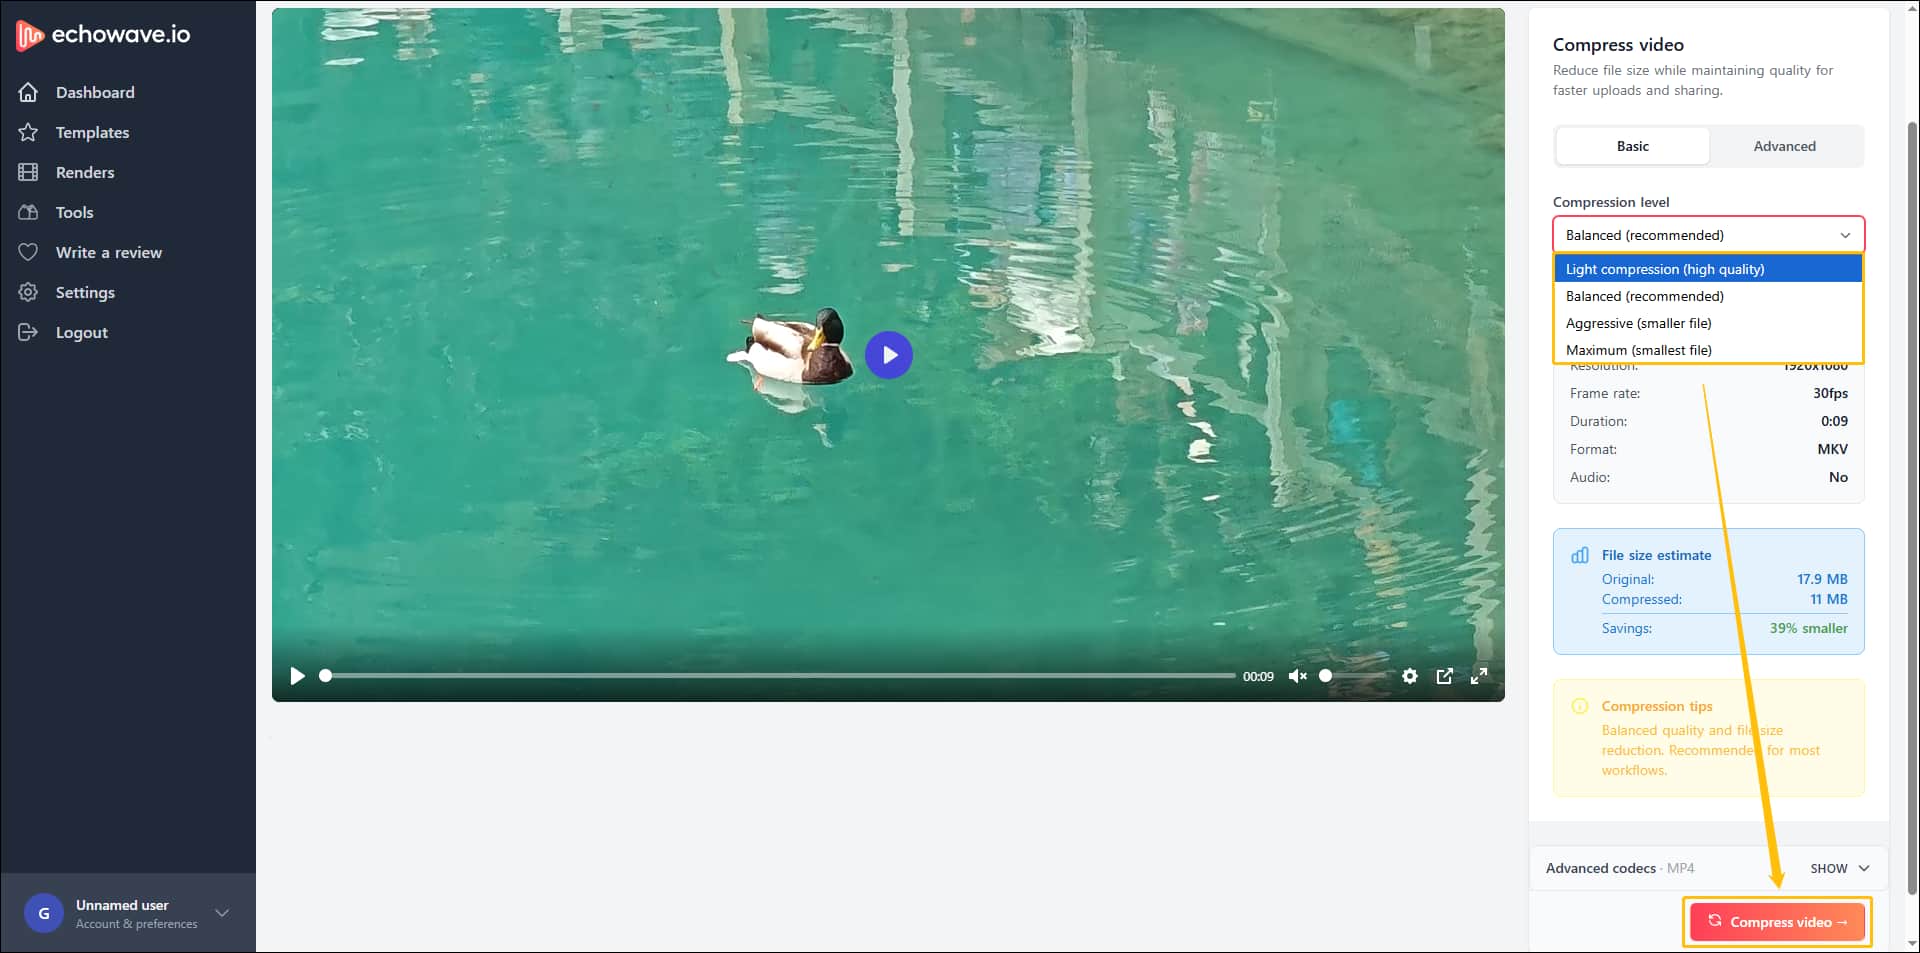
Step 3: Adjust Compression Level and Start Compressing
Expand the Compression level option and select an option. Then, click Compress video to start compressing.
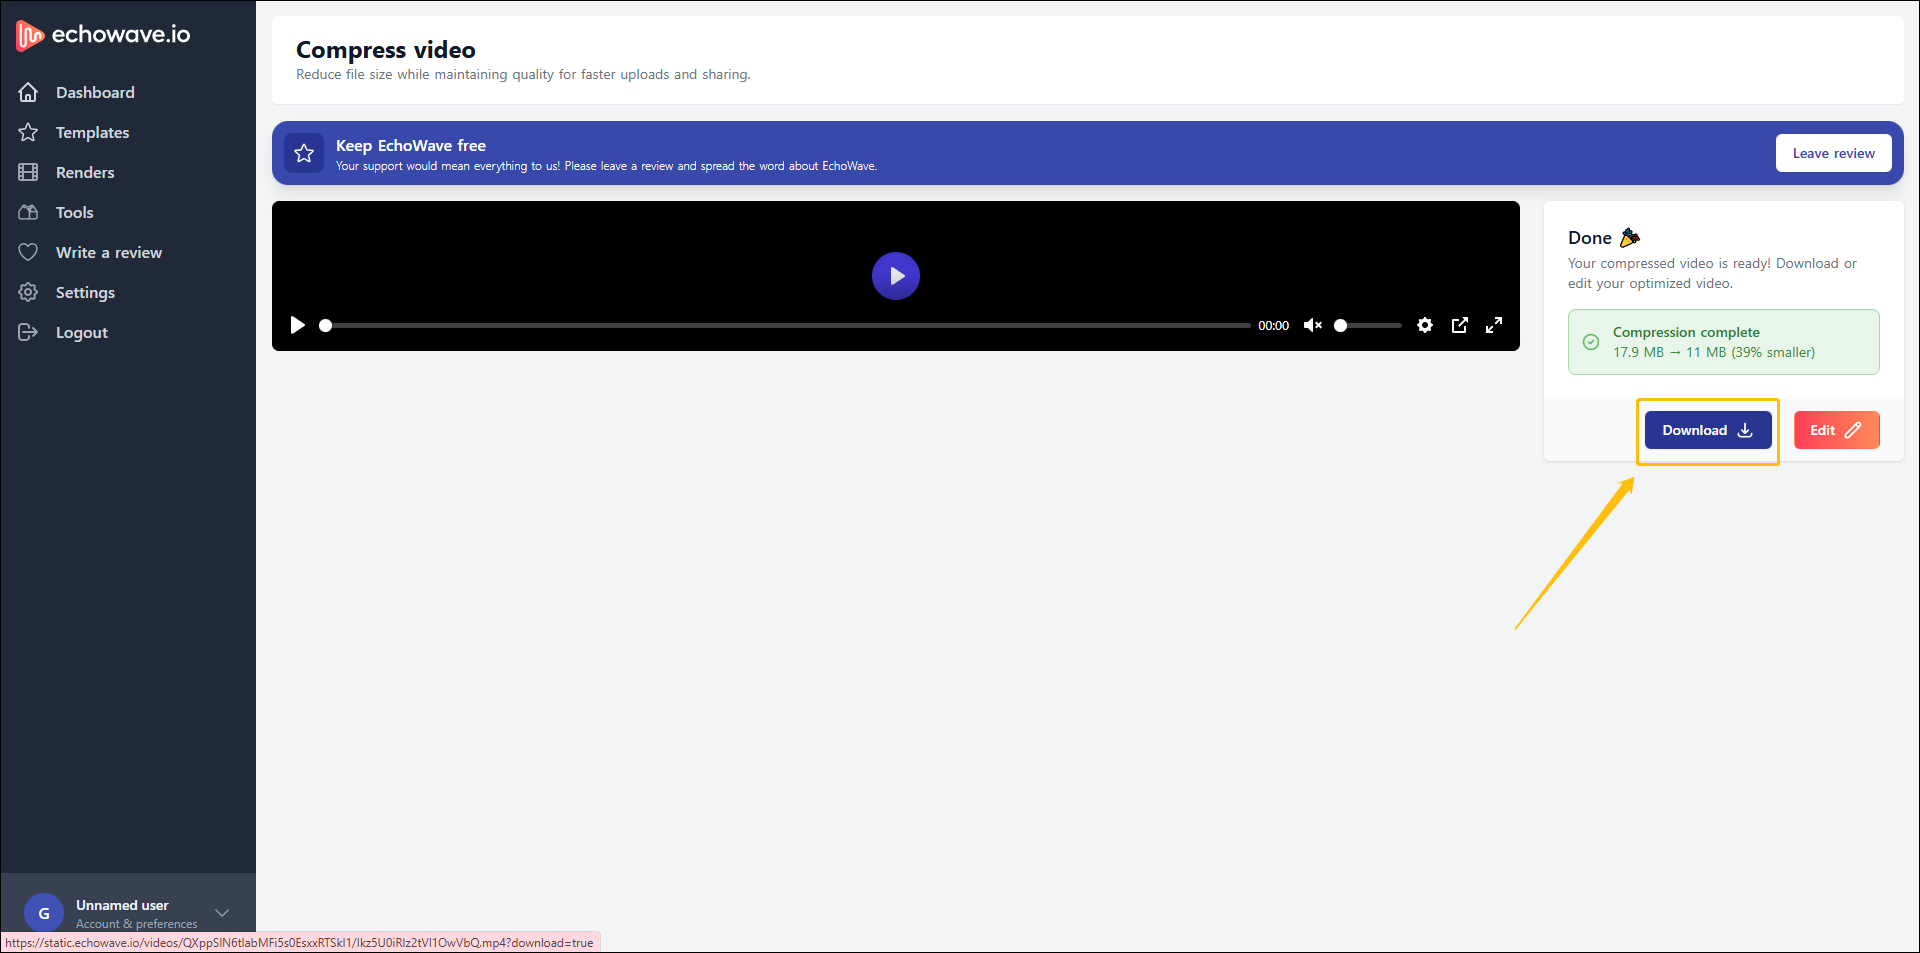
Step 4: Download the Compressed Video
Click the Download button to save the compressed video.
EchoWave offers four compression levels to meet your needs. Its compression speed is a bit slow, but thankfully, there’s no watermark on the compressed video.
Conclusion
While the Microsoft Teams video file size limit is 250GB, the total storage is limited. Compressing your videos can significantly reduce the required storage space. Both MiniTool Video Converter and EchoWave can compress videos. If you want to precisely adjust the compression level, I recommend using the former.
User Comments :