In this guide provided by MiniTool video recording app, we'll walk you through the process of connecting your VCR to a smart TV, ensuring that nostalgia and modern technology seamlessly converge.
In today's fast-paced digital landscape, the desire to relive cherished memories captured on VHS tapes hasn't waned. Connecting a VCR (Video Cassette Recorder) to a modern smart TV might seem like a challenge, but with the right knowledge, it's entirely achievable.
How to connect VCR to smart TV? Here are the steps.
Step 1. Assess Your Equipment and Ports
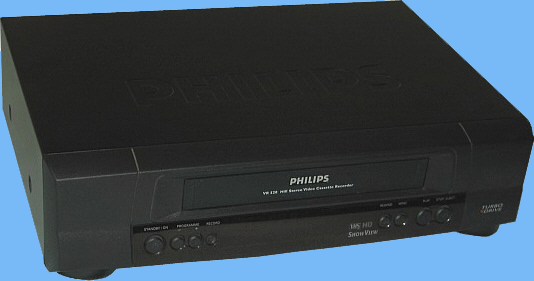
Before embarking on the connection process, it's essential to take stock of your VCR, smart TV, and the available ports on both devices. Most VCRs use RCA connectors (red, white, and yellow cables), while modern smart TVs often feature HDMI and USB ports.
Step 2. Gather the Necessary Cables
Depending on the ports available on your VCR and smart TV, you'll need the appropriate cables. For older VCRs, you'll likely need RCA cables, while newer models might support HDMI. Ensure you have the correct cables on hand before proceeding.
Step 3. Using RCA Cables
Connecting the VCR If your VCR uses RCA connectors, follow these steps:
- Locate the "Audio Out" and "Video Out" ports on your VCR. These are typically color-coded: red for right audio, white for left audio, and yellow for video.
- Connect the corresponding ends of the RCA cables to the "Audio Out" and "Video Out" ports on the VCR.
Step 4. Using HDMI
Connecting the VCR If your VCR and smart TV both support HDMI, the process is simpler:
- Connect one end of the HDMI cable to the HDMI output port on your VCR.
- Connect the other end of the HDMI cable to an available HDMI input port on your smart TV.
Step 5. Power Up and Configure
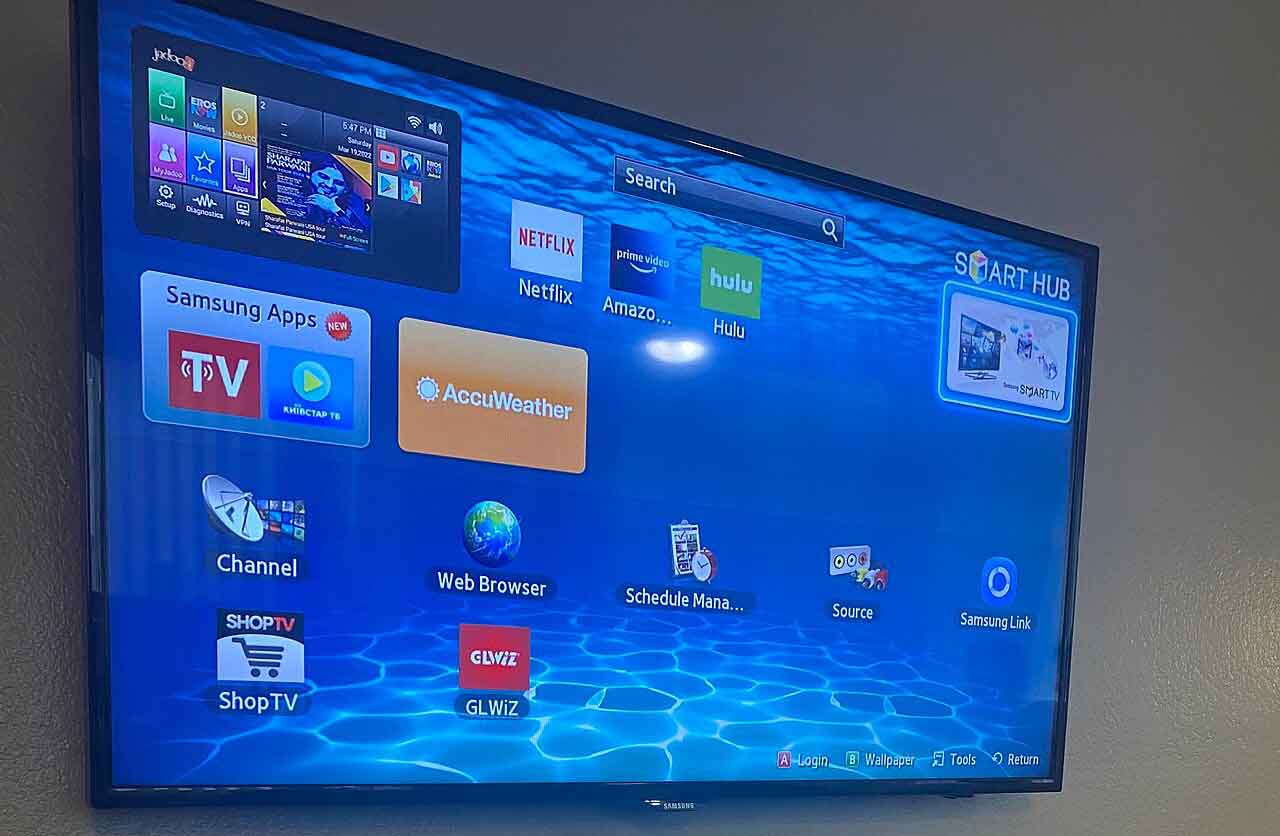
Once the physical connections are in place, power on your VCR and smart TV. On your smart TV, use the remote control to navigate to the source/input selection menu. Choose the appropriate input source that corresponds to the port where you connected the VCR. This might be labeled as "HDMI," "AV," or something similar.
Step 6. Fine-Tuning the Settings
Depending on your TV's settings and the VCR's output quality, you might need to adjust the aspect ratio and resolution settings for optimal playback. You can typically access these settings through the TV's menu options.
Step 7. Play and Enjoy
With everything connected and configured, insert a VHS tape into the VCR and press "Play." You should see the video and hear the audio on your smart TV screen.
Fix VCR No Signal On TV
If you encounter a "No Signal" message on your TV screen, double-check the cable connections, ensure that both the VCR and TV are powered on, and make sure you've selected the correct input source on the TV.
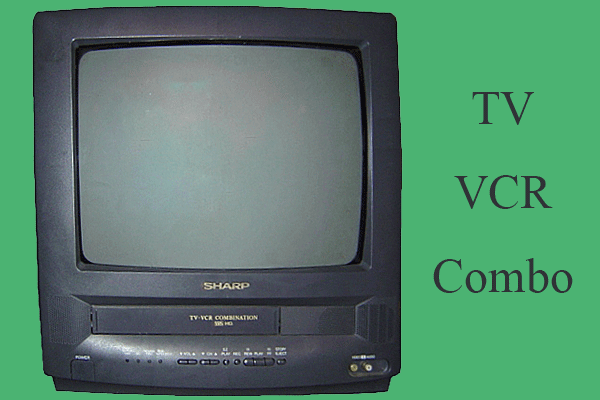
How to Connect DVD VCR Combo to TV with Cable Box?
If you have a DVD/VCR combo unit and you want to connect it to a TV with a cable box, you'll need to connect the cable box to the TV using HDMI or other appropriate cables. Then, use the TV's input/source selection to switch between the cable box and the VCR.
Conclusion for How to Connect VCR to Smart TV
Connecting VCR to smart TV is more than just a technical feat—it's a bridge between generations, a way to revisit old memories and a celebration of the past. With a little patience and the right cables, you can bring the analog magic of VHS tapes to the digital realm of your smart TV, creating a unique blend of nostalgia and modern convenience.
Also Read
About The Author

Position: Columnist
Helen is a tech writer with over 10 years of experience. She specializes in creating easy-to-follow guides for video editing, media file conversion, and computer performance. Helen doesn't just write—she tests every software herself and listens to feedback from users and experts. Her goal is to make complex programs simple so that everyone can solve their tech problems with confidence.
User Comments :